
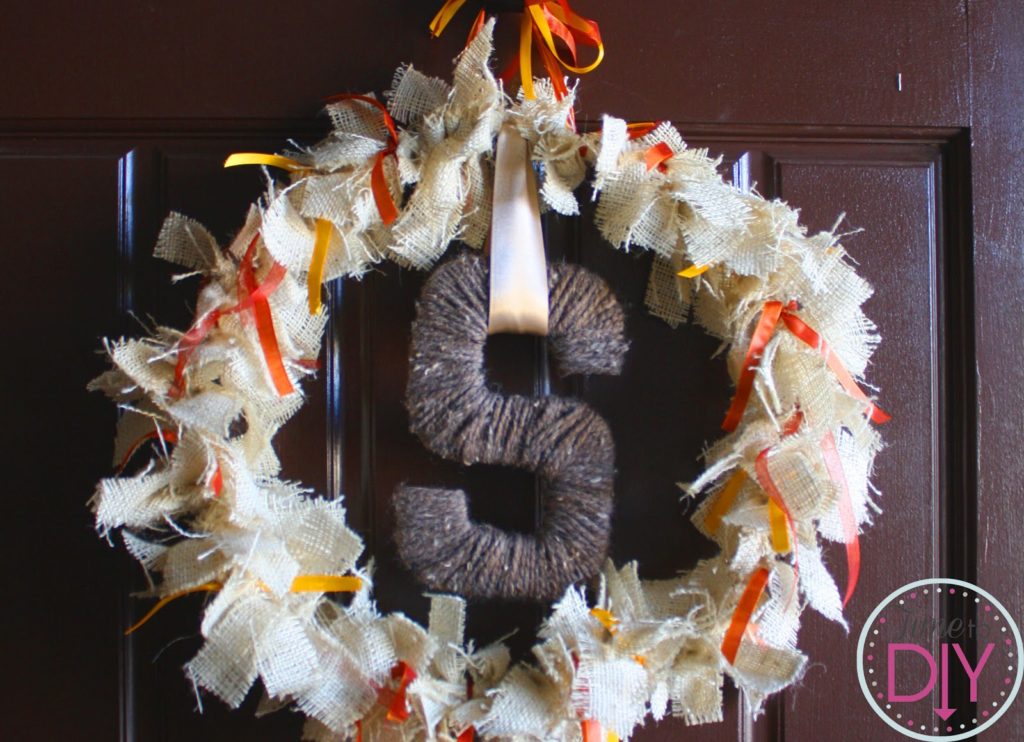
This wreath was not working for me. I had a different vision for it, but Hobby Lobby was out of regular brown burlap, so I bought cream burlap instead, and then the colors were off.
Before I dive into how I “fixed” it, this is how I made it…
My inspiration was a ribbon wreath on etsy and a Boo wreath from Craftsaholics Anonymous (my Pinterest group created the Boo wreaths – they were adorable!).
Shape hanger. Someone wrote on Pinterest to use a wire clothes hanger as the wreath base. It worked great! A friend asked if it took long to reshape the hanger, but it only took a few minutes.
Tie burlap strips. I tied burlap strips around the hanger until it was covered. I only did a single knot because the hanger was so thin. I think you’d need a double knot if you’re using a bigger wreath base like foam. There were burlap droppings everywhere. Be prepared for a mess.
Add ribbon. I tied the colored ribbon around randomly, and then tied two knots on either side at the top to make the bow hanger.
A friend is doing one of these with all ribbon for her little girl’s room, that will be adorable.
Yarn wrap initial. I got a wooden initial at Hobby Lobby, but I wanted to try it using cardboard so I traced it from the wooden one, cut it, and then wrapped the ribbon around it (that takes some time).
Using the cardboard was a little tricky because it’s flimsier, but overall, I think it’s the way to go (and cheap!). My friend laughed that I wanted to save $2 by using the cardboard. I used hot glue to loop the brown ribbon so the initial could hang from it.
Here it is, again. Done, but not.
I hung it on my door for a few weeks just because I spent time on it, but I decided I would change it a tad, and give it to my mom…
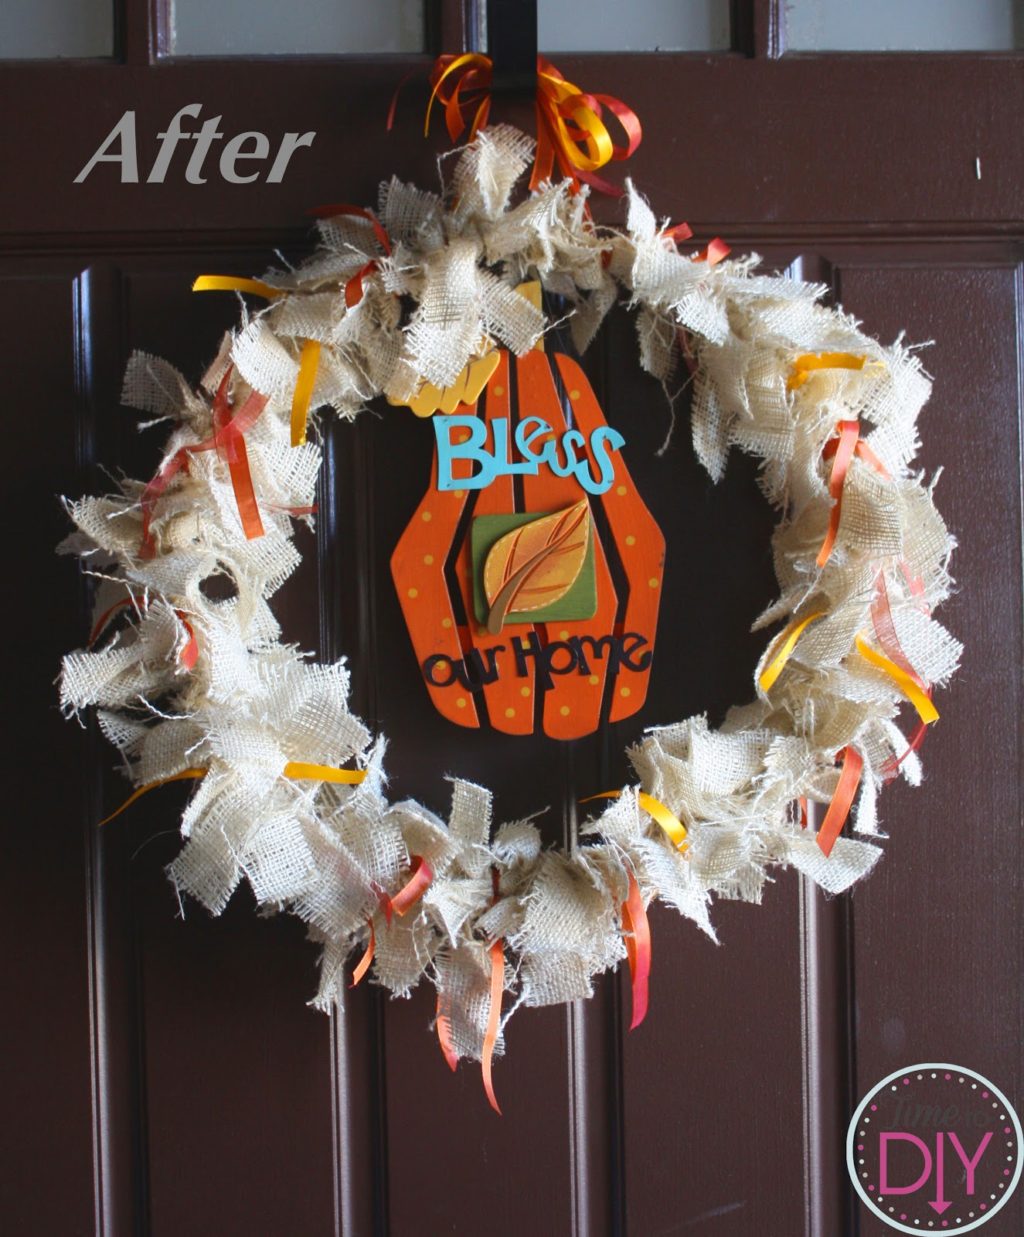
I bought a harvest decor sign at Michael’s. I could have made my own, but I was in a time crunch and I had already spent enough time on this wreath.
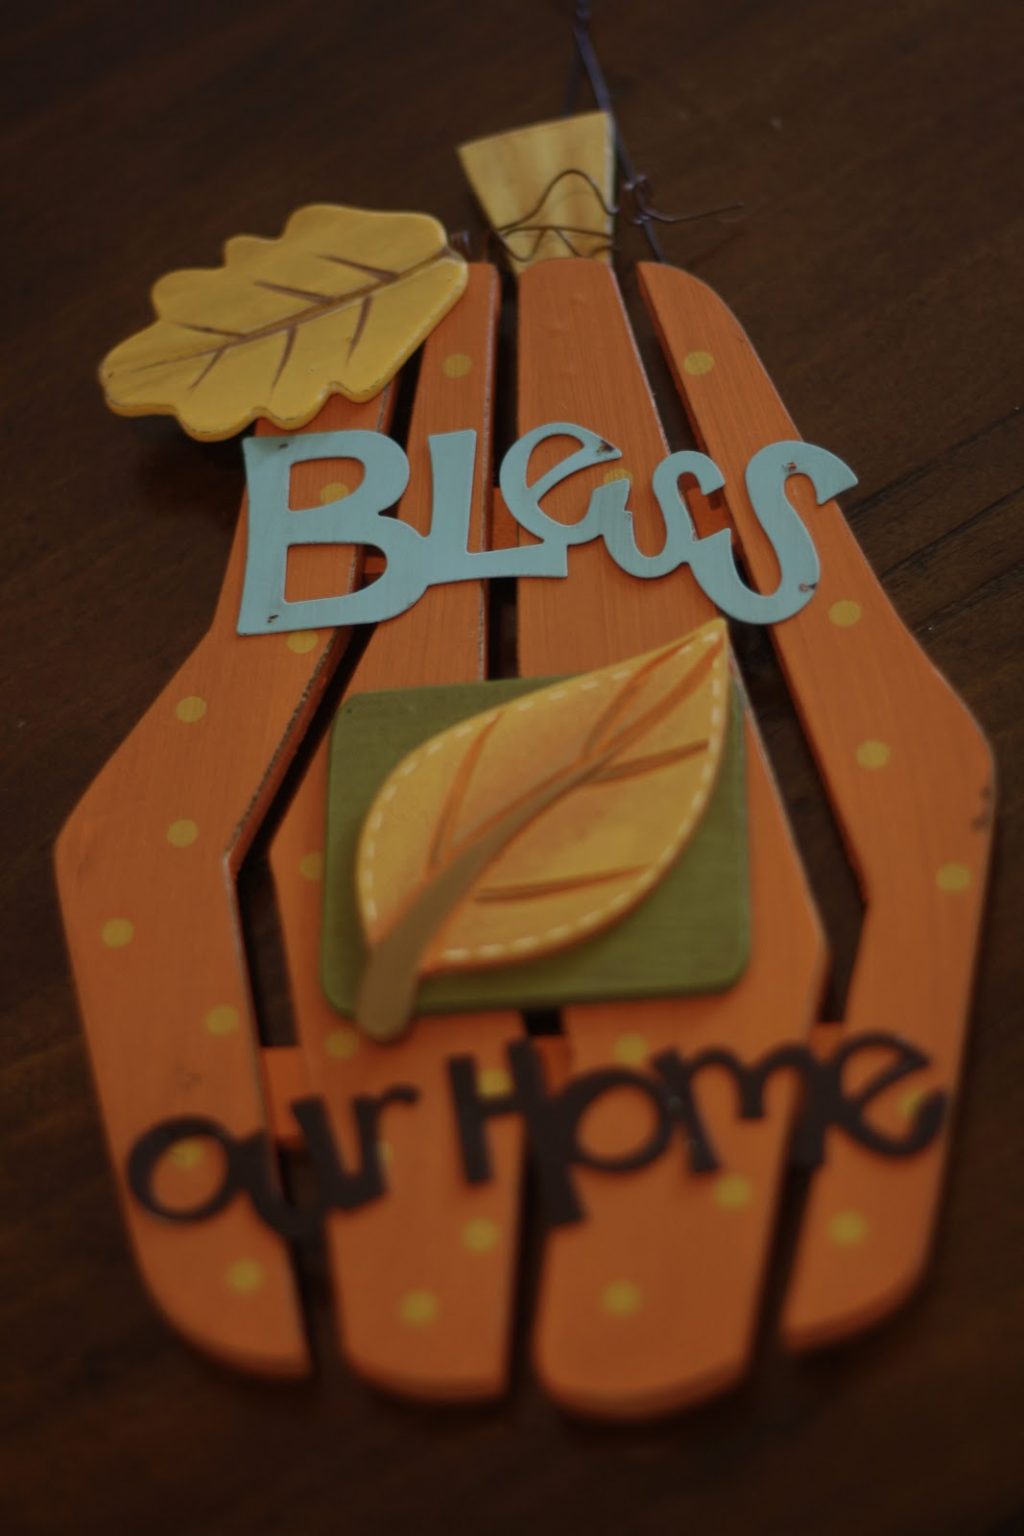
It was small enough to fit inside the wreath, and the colors were similar. More importantly, it was cheap.
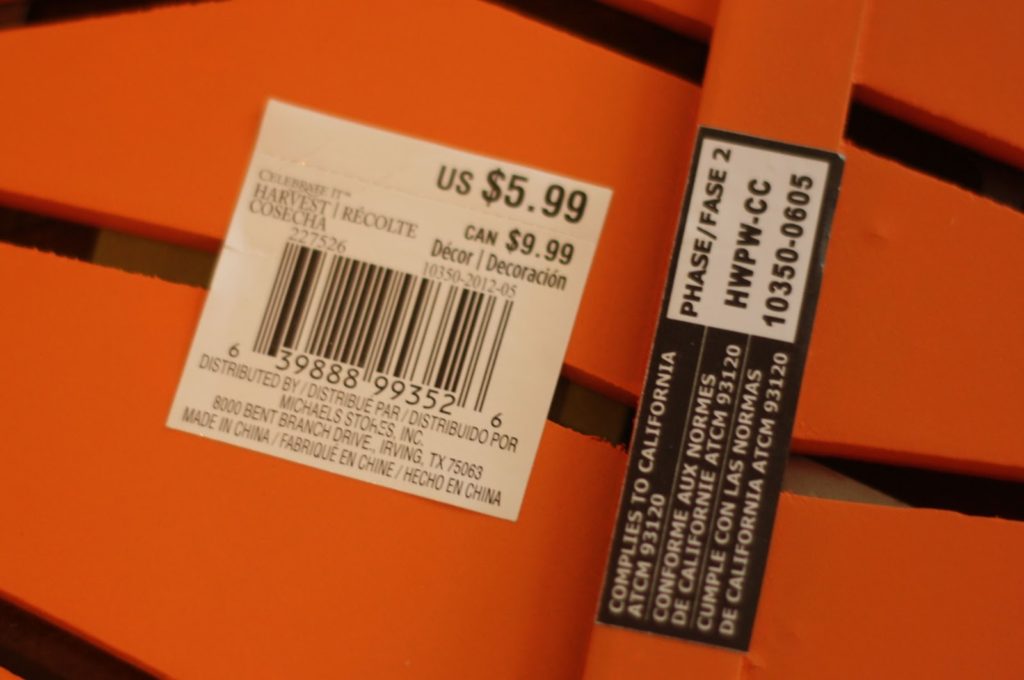
I got 40% off that price for their “fall decor sale.”
I took off the initial and looped the wire around the wreath.
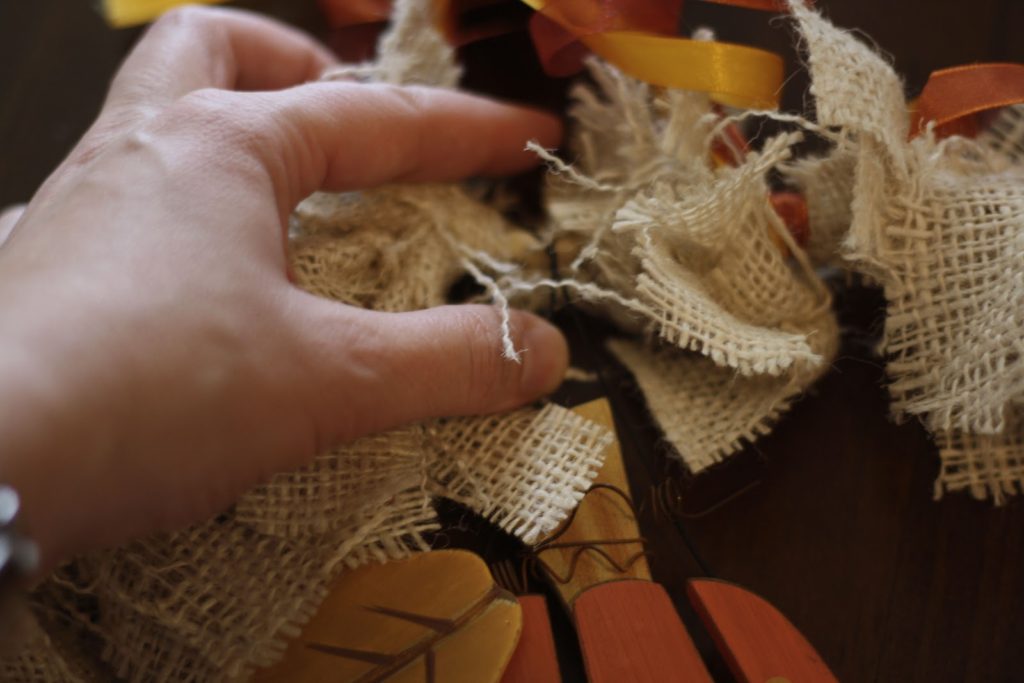
Done! The burlap was covering the top of the pumpkin in this picture, so it looks a little off.
Mom loved it!
I have a plan for that initial which I will blog about later. As for my door wreath, my cousin and I made another fall wreath we saw on etsy.
Thanks for stopping by Time to DIY!


This is a great blog, Debby! I am loving the Fall projects and photos!