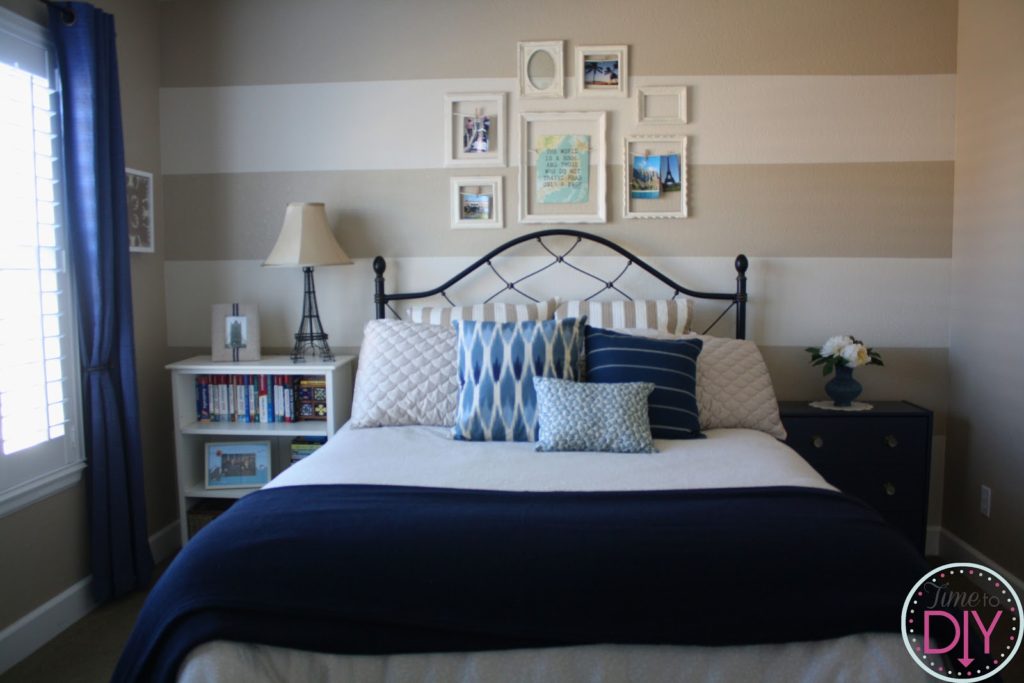
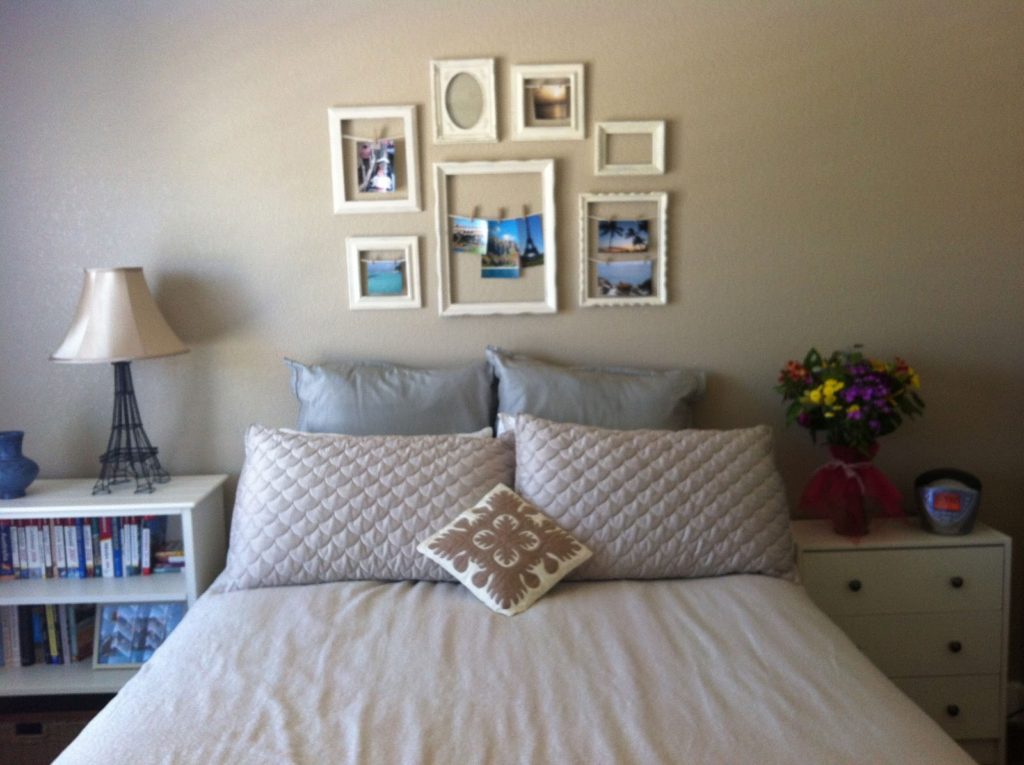
Here was my blah guest room. Chest of drawers are now painted blue. Whew. But, I know what you’re thinking: the back wall is boring. Stripes maybe? I pinned a few examples of horizontal stripes on my Guest Room board.
I’ve seen lots of striped walls on Pinterest, and wanted to give it a shot, but we have really textured walls…

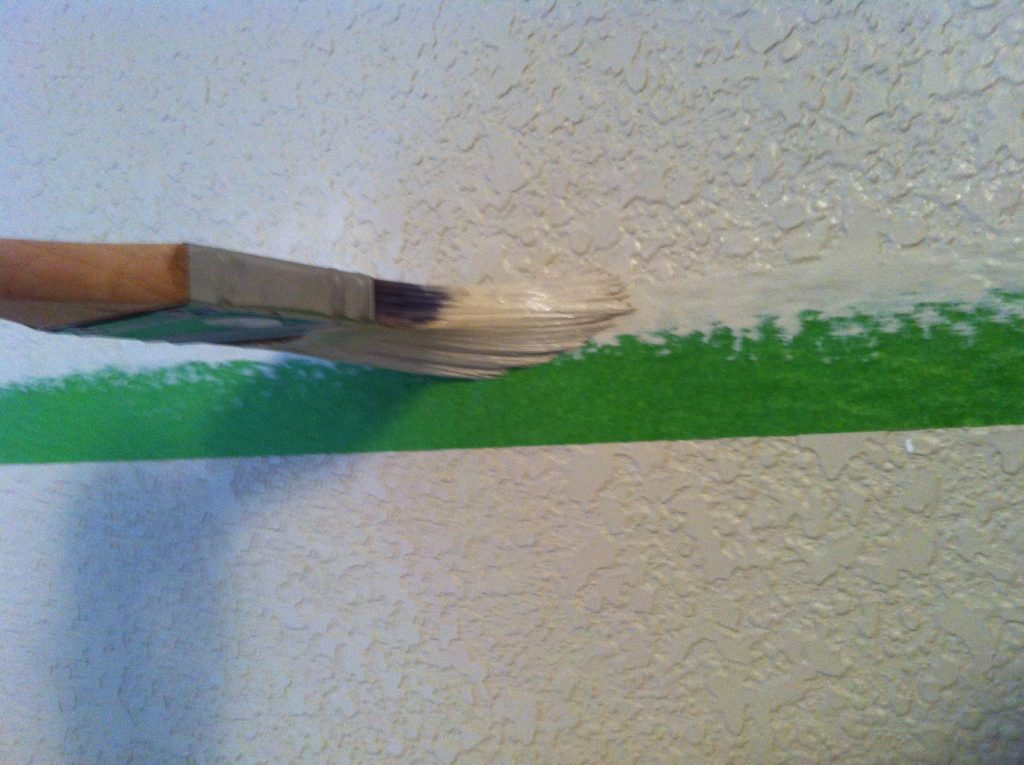
Makes it a little tricky. But I read Ask Anna’s tutorial on how to make a straight line, and I had hope. She recommends painting the base color over the edge of the tape.
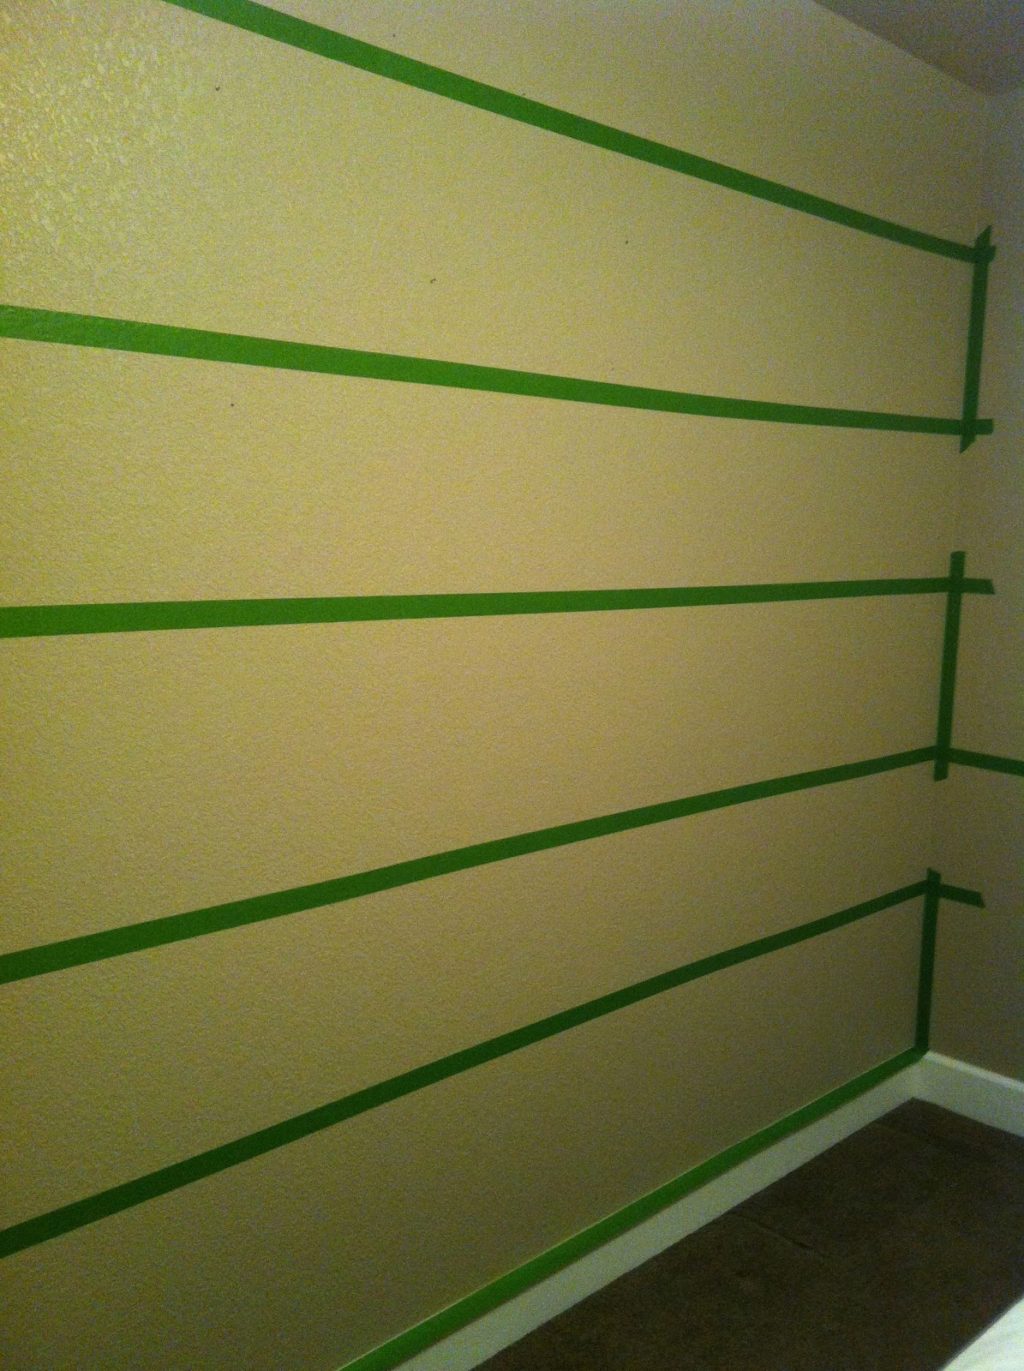
To measure the stripes, it’s a good idea to measure the length of the wall and then decide how big your stripes will be. I decided on a stripe height without knowing the length of the wall. Luckily, it worked out and I had an inch leftover on the bottom stripe and it wasn’t too noticeable, right?
I used Frog tape, since it says on their packaging that they are the best. The paint specialist said that you need to run a wet wash cloth over the tape before you paint because there is some type of chemical reaction that will help seal it. I figured it couldn’t hurt, so I tried it. I think he was right.
After taping, I used some of our moving packing paper to cover the carpet.
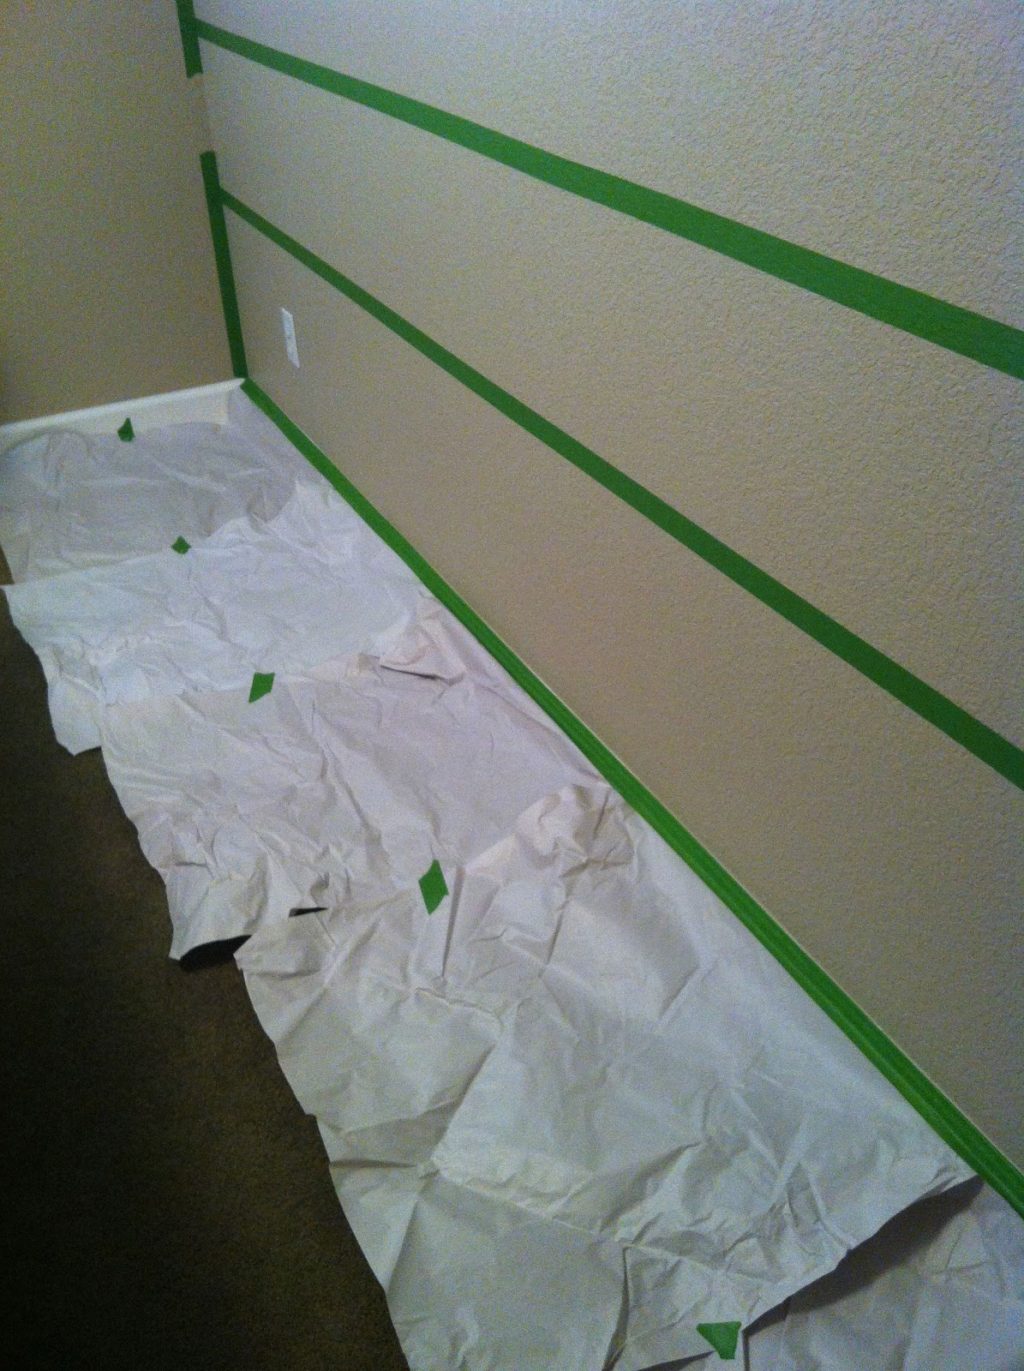
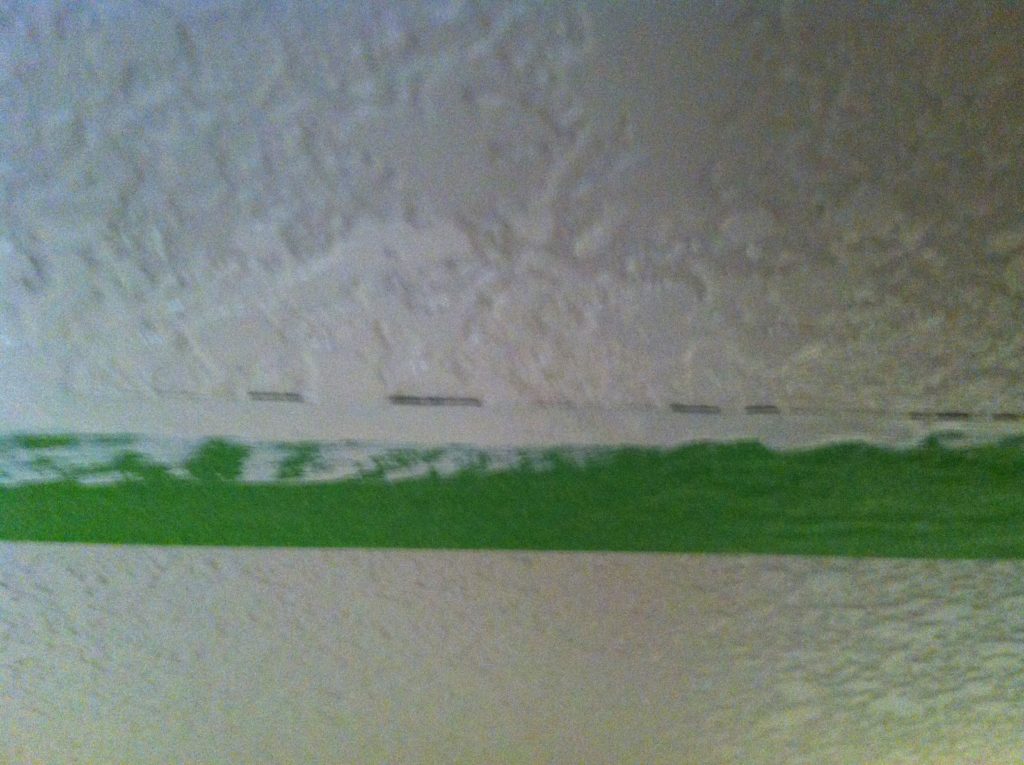
The next step is to take your base color and paint along the edge of the tape. So where I was going to paint white, I painted the inside edge with the original base color so if there are pockets where paint can seep through, it’s the original color. I had extra of the original color in my garage, so that was nice.
Here’s how it looked after it was painted.
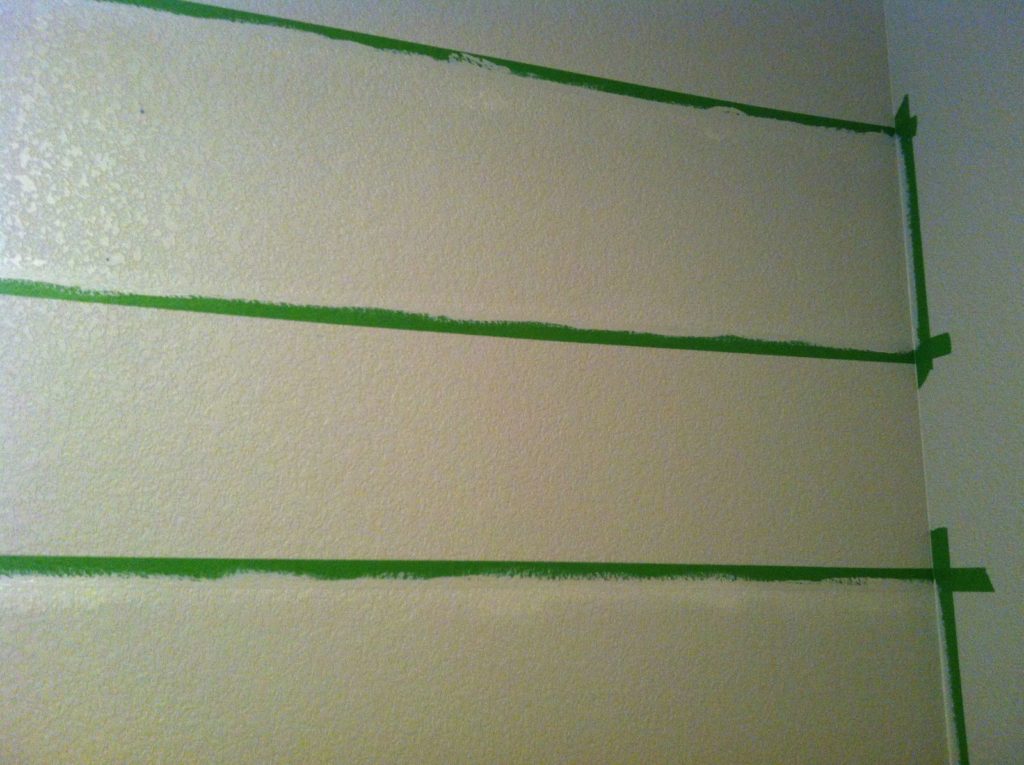
This gives a better view of all of it. I painted the tape on the adjacent wall as well. If your walls are really textured and you want to be sure, do two coats.
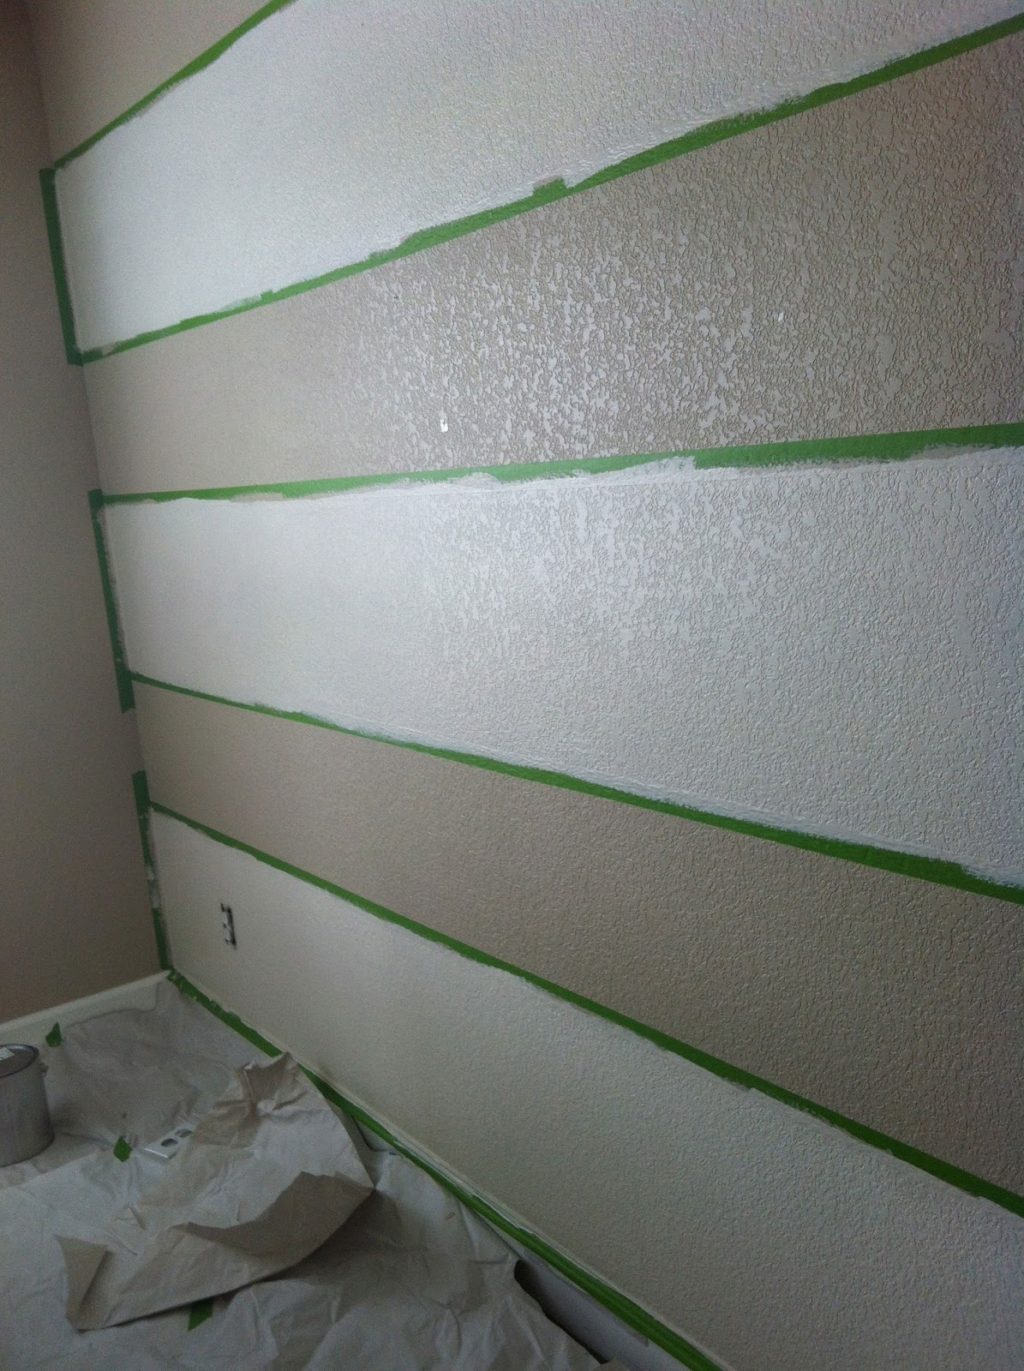
And then I painted the white stripes. For the white, I used the same color as the ceiling, so the only thing I bought for this project was the Frog tape. I like cheap.
We waited about 12 hours and then removed the tape. Crazy straight, right?

We couldn’t believe it, and then we removed the rest of the tape…
Thanks for stopping by Time to DIY!


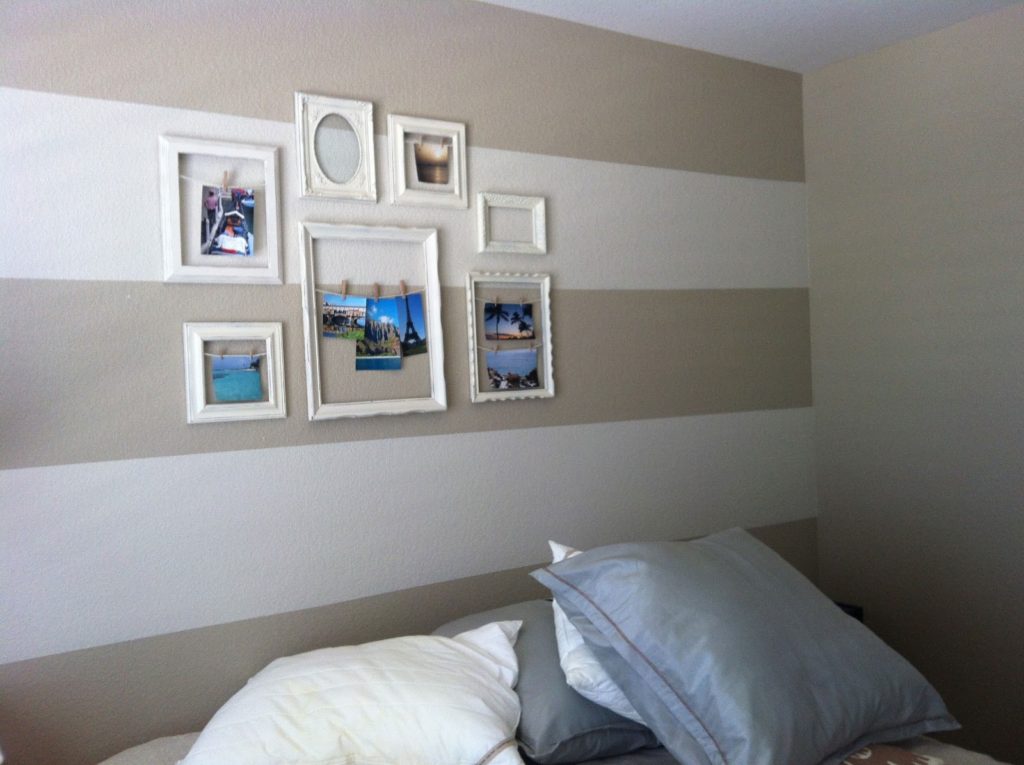
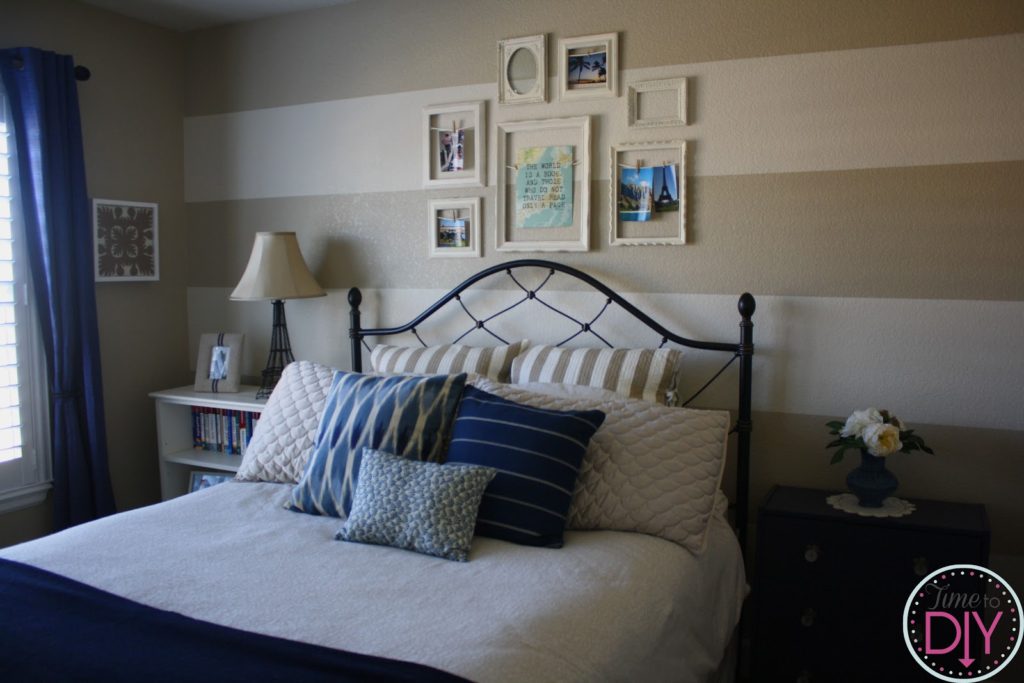
Turned out so cute! I love the empty frames showing the lines through!