So excited to share this fun new HEart DIY kit from one of my favorite artists, Candice from Heart by CC.
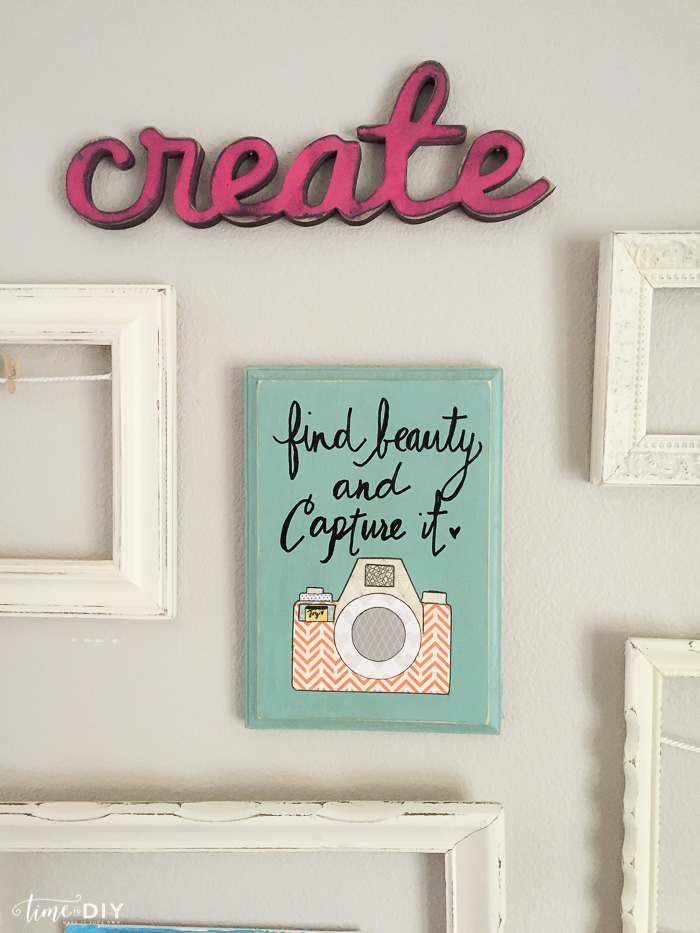
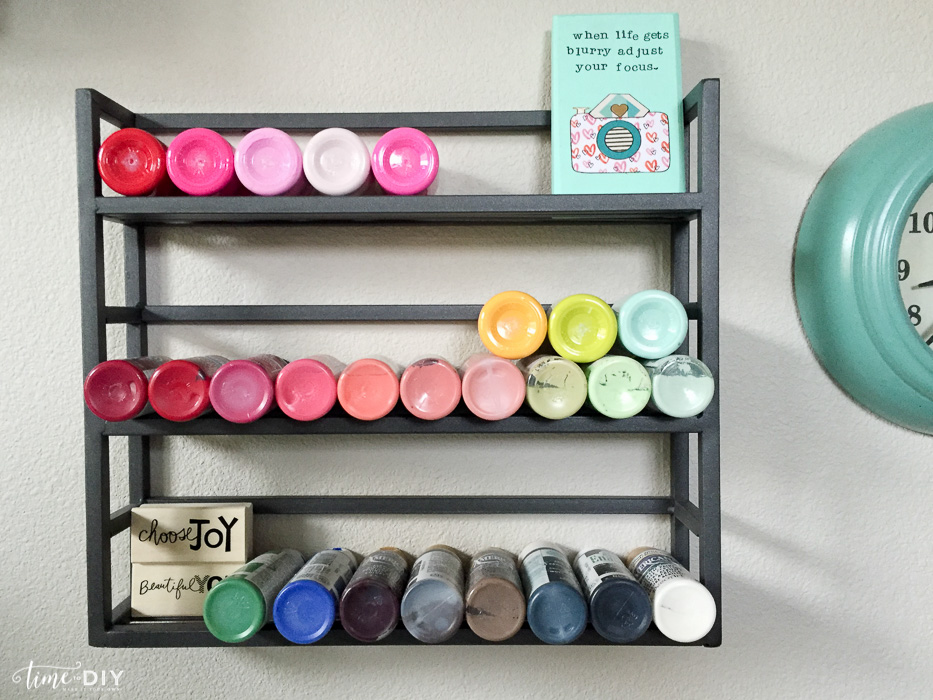
Her beautiful work is sprinkled throughout my craft/guest room…

And to top it off, she’s the sweetest, most genuine lady, and her faith and authenticity are so inspiring. So when she asked me to demo her HEart DIY kit, I was so honored and excited!
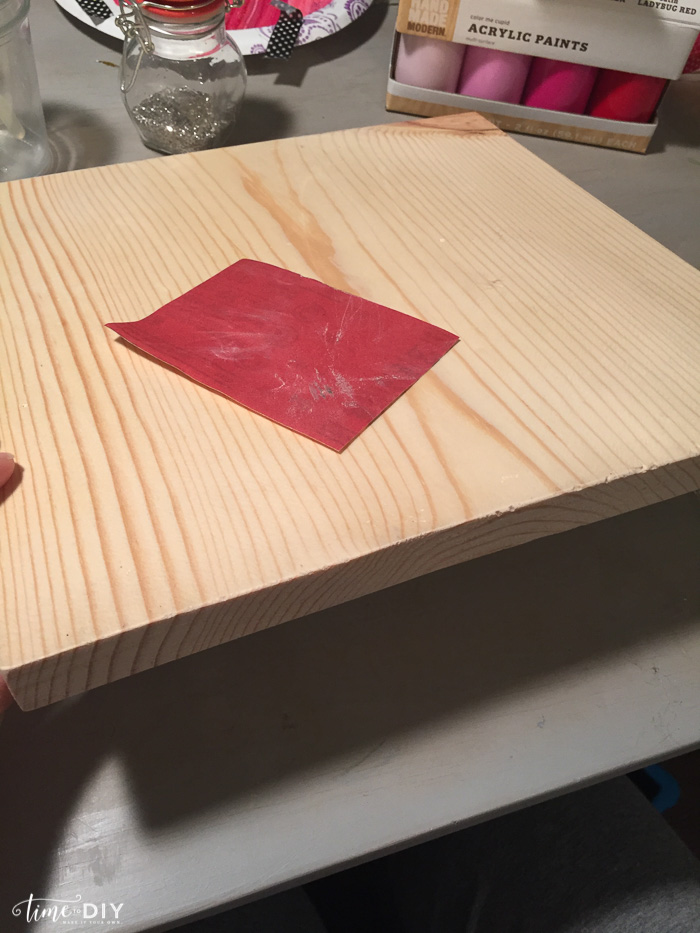
The kit includes the heart pattern, 11×11 wood backboard, 12 heart strips, sand paper, a saw tooth hanger, and detailed directions.
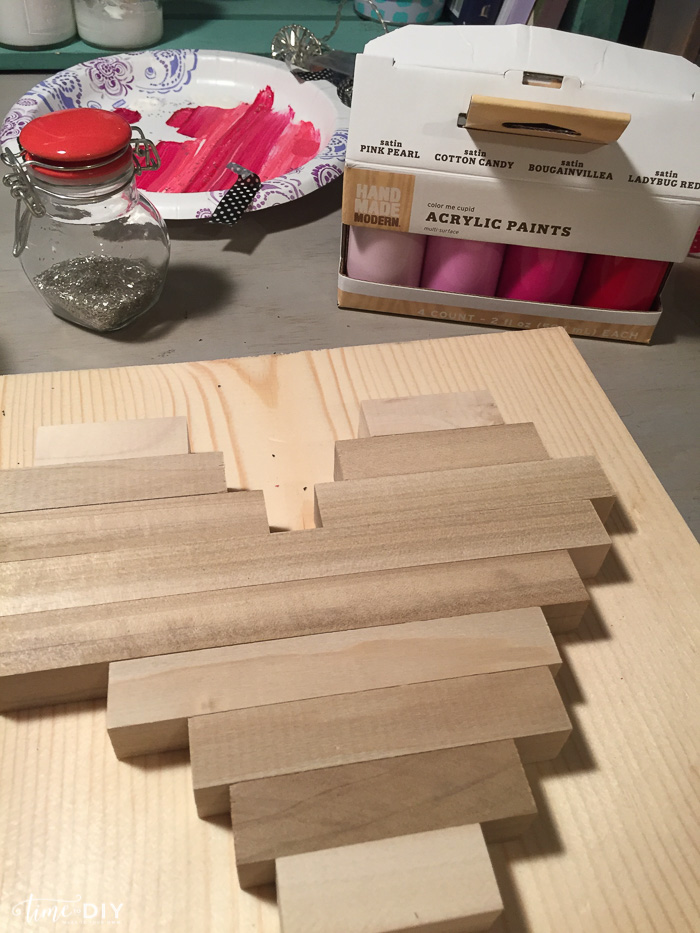
First I gave it a quick sand – it didn’t need much.
I wanted the backing to match my new craft desk (reveal coming soon!) so I did the BB Frosch faux stain technique.
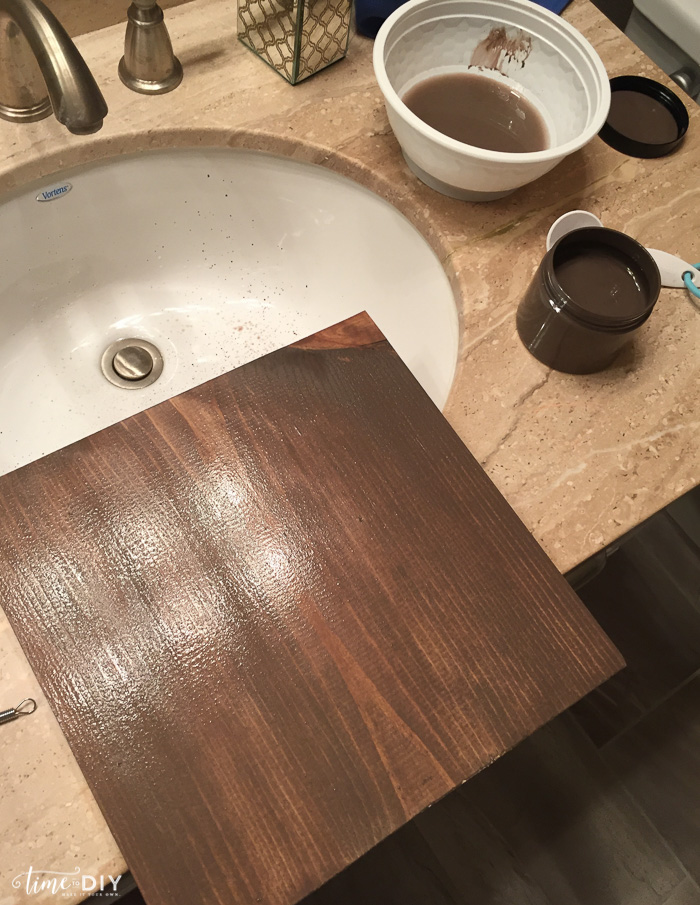
A little paint with the BB Frosch chalk paint powder and water and it’s “stained” in minutes!

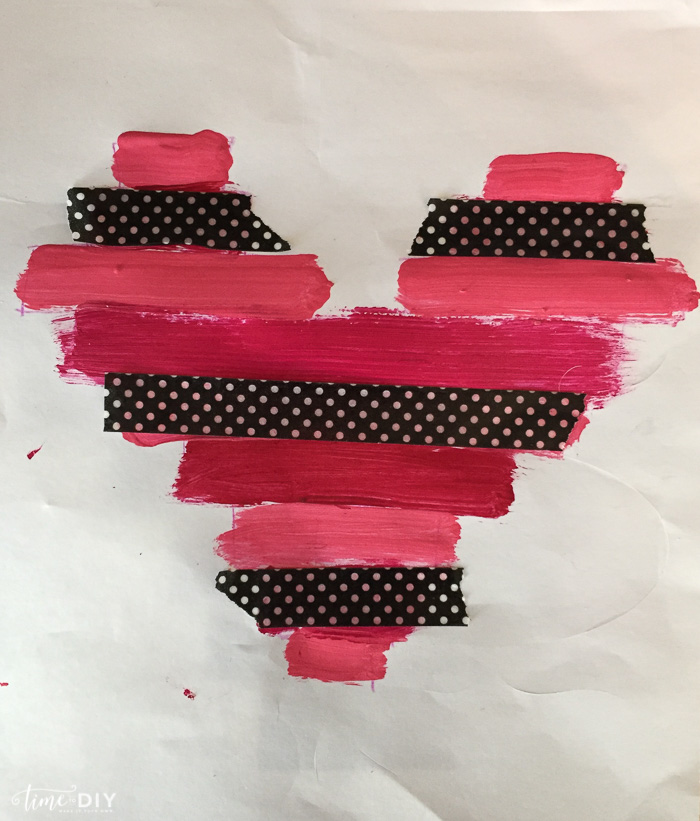
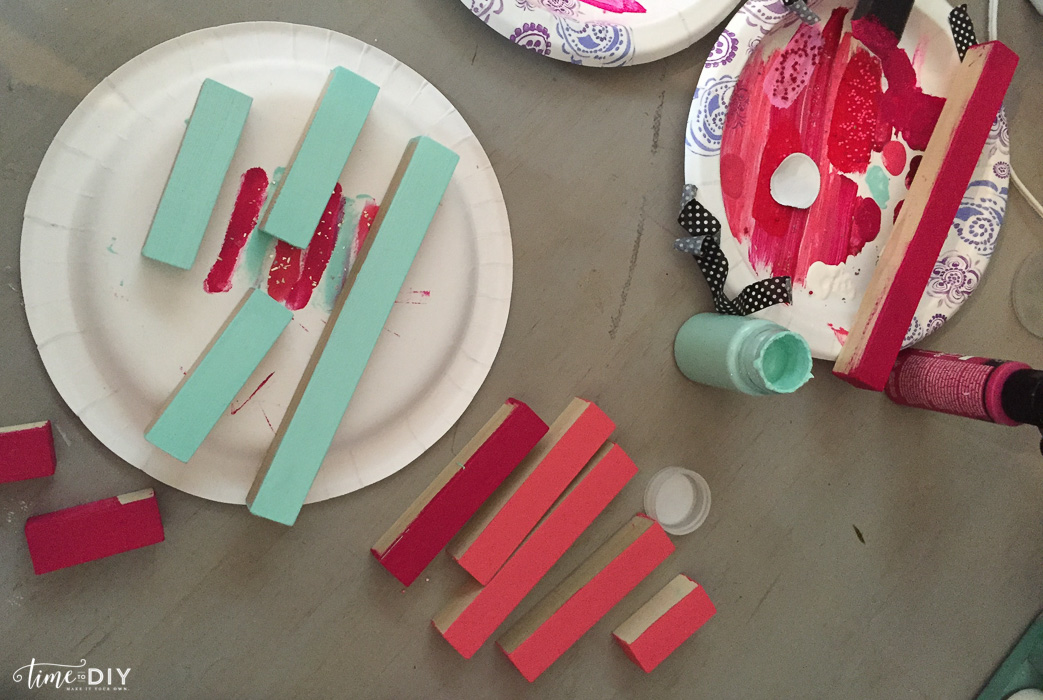
This is where it got a little tricky for me: deciding on colors. I did some Valentine’s colors drafting.
And then I played around with my new guest/craft room colors (another reveal coming soon!). Yes, I draft on paper plates. I’m fancy like that.

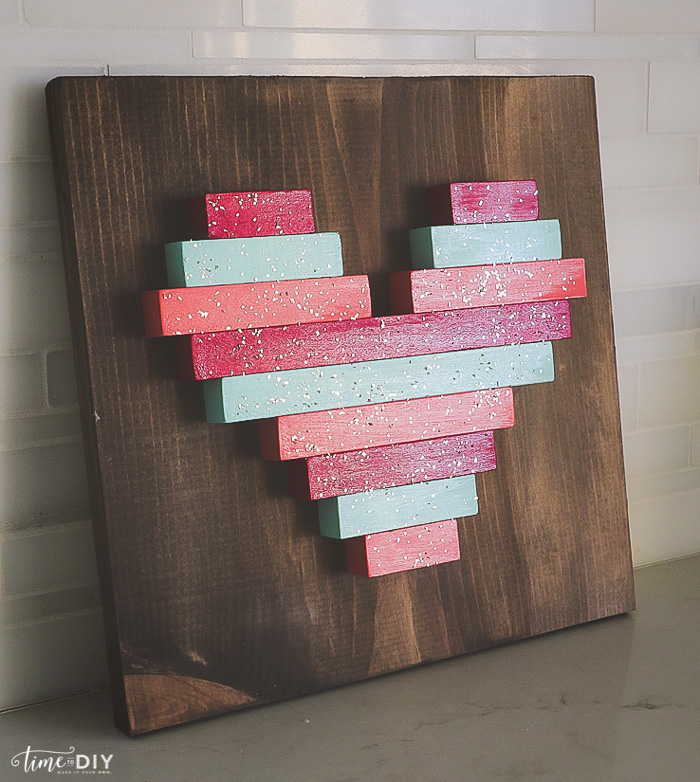
I had way too many ideas for this heart, it’s so versatile, but I ultimately went with my guest/craft room colors. Maybe I will do Vday on my next kit.
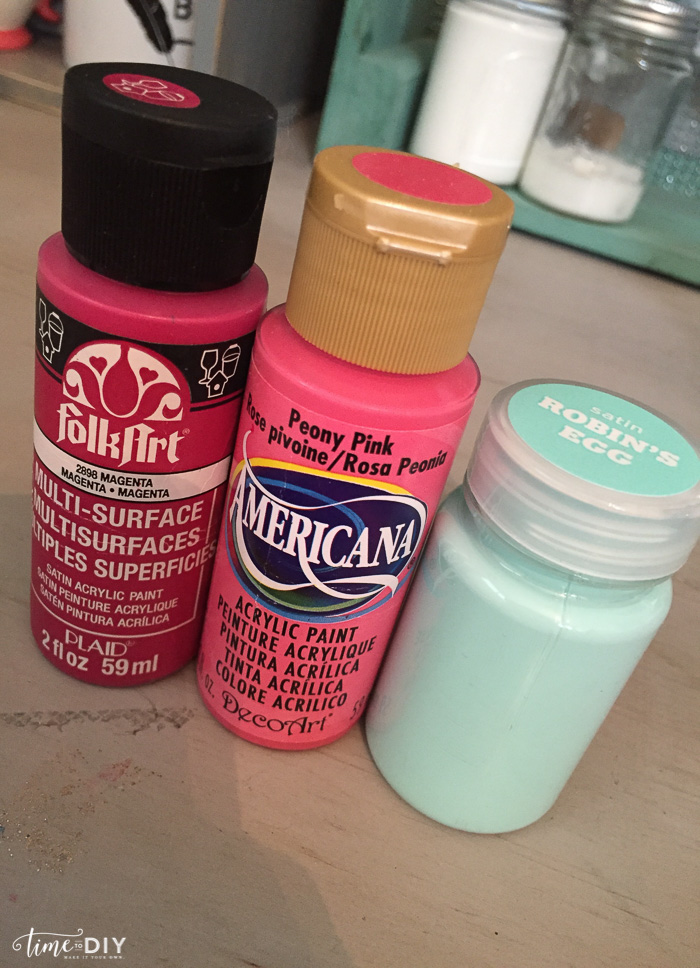
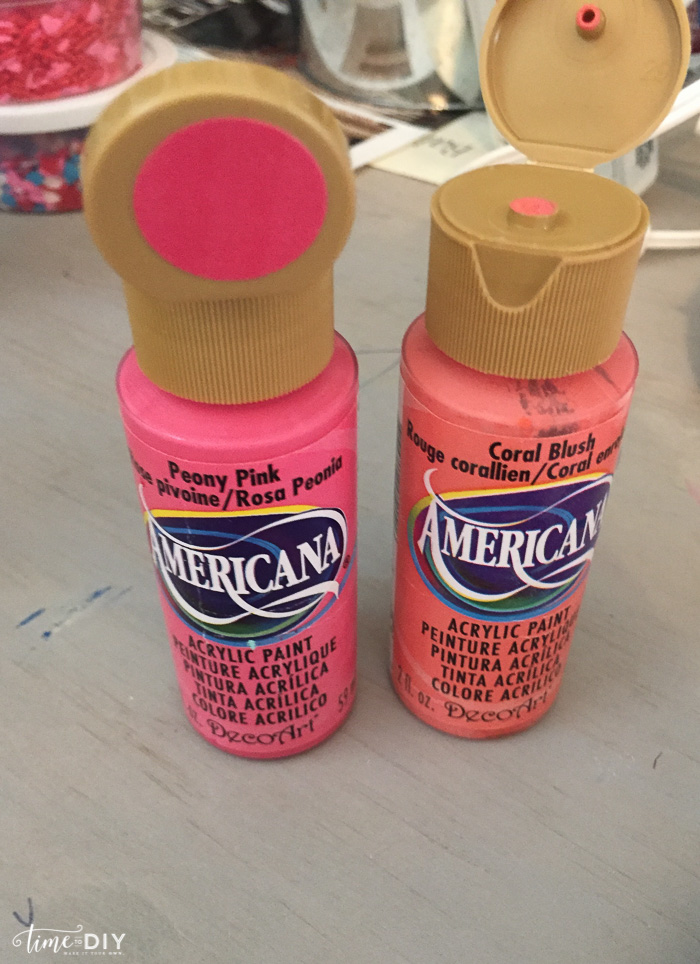
The peony pink wasn’t quite coral enough, so I mixed these two.
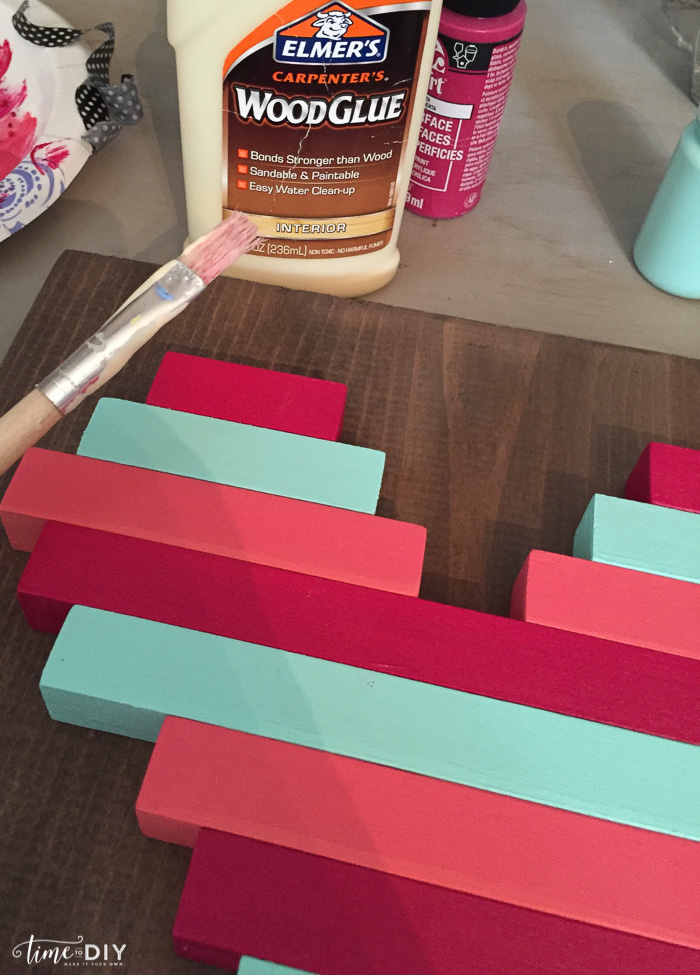
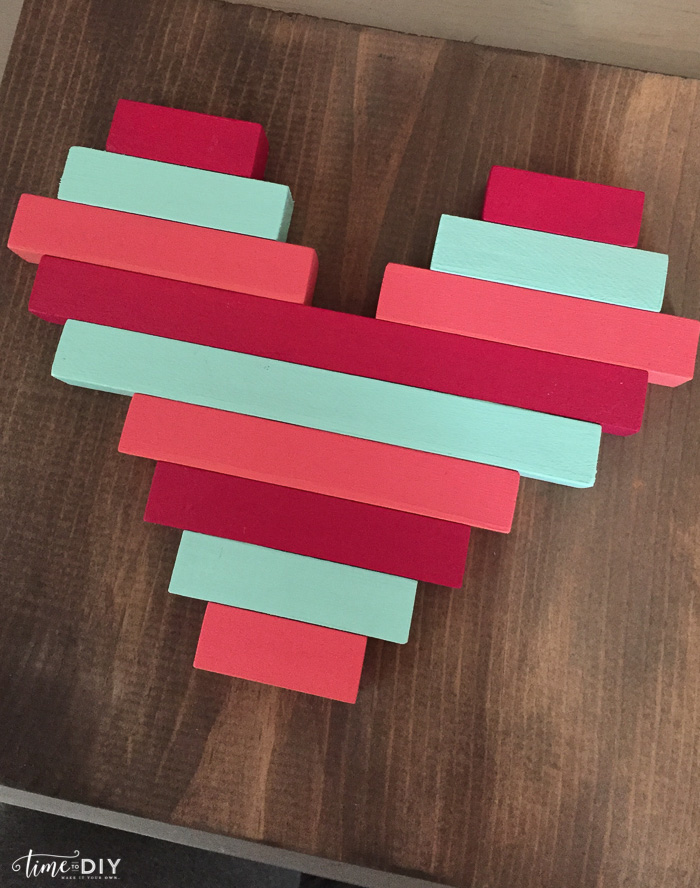
Then I added a thin layer of wood glue and wah-la!
I tried it out with some mod podge and glass glitter.
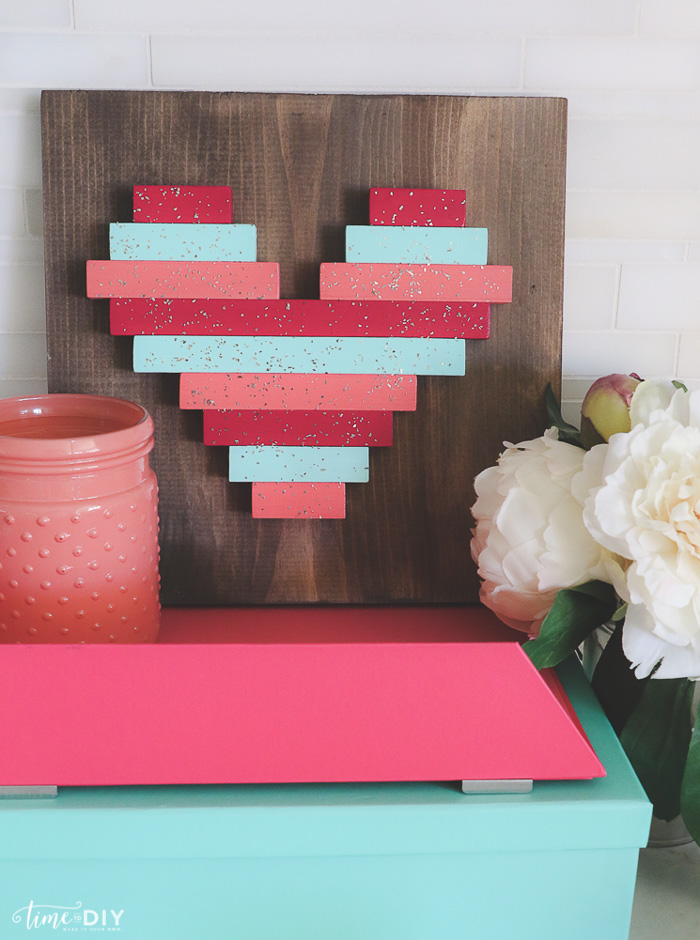
And styled it with some of my new closet work station stuff to see how it would look.
Then I found some washi tape…
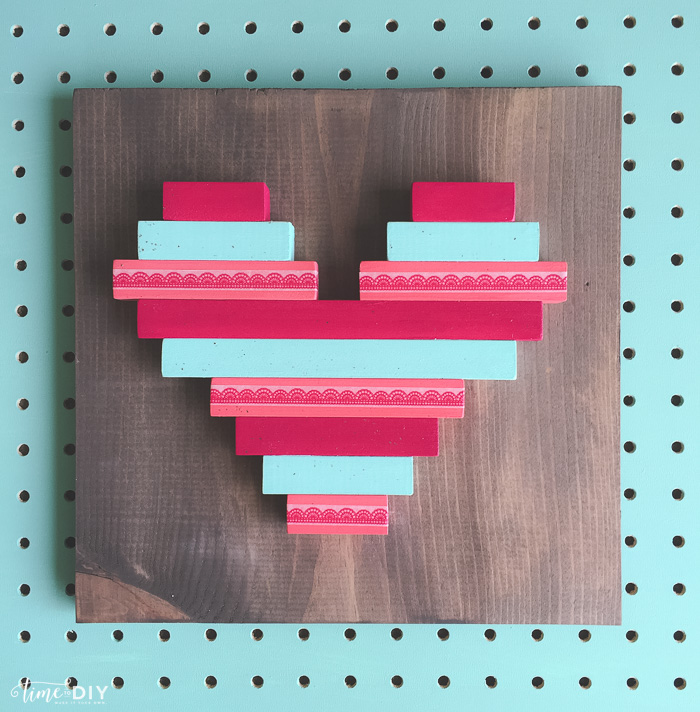
And that was it.
Coral is more of an accent color in my guest/craft room so I wanted to tone it down a bit. And I like that if I find a new washi tape favorite, I can just switch it out easily.
BTW, the pegboard will be a new addition in my closet turned work station, too.
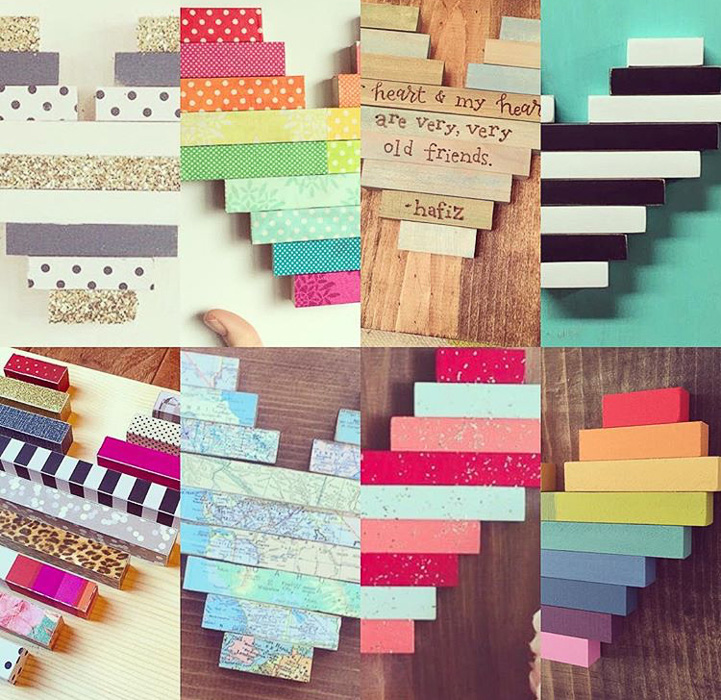
And now for the real artists’ creations! I linked up all their shops, too, so you can check out their work.
Jessica, Earth Cookie Creations, used vintage maps of all the places she and her husband traveled. Love!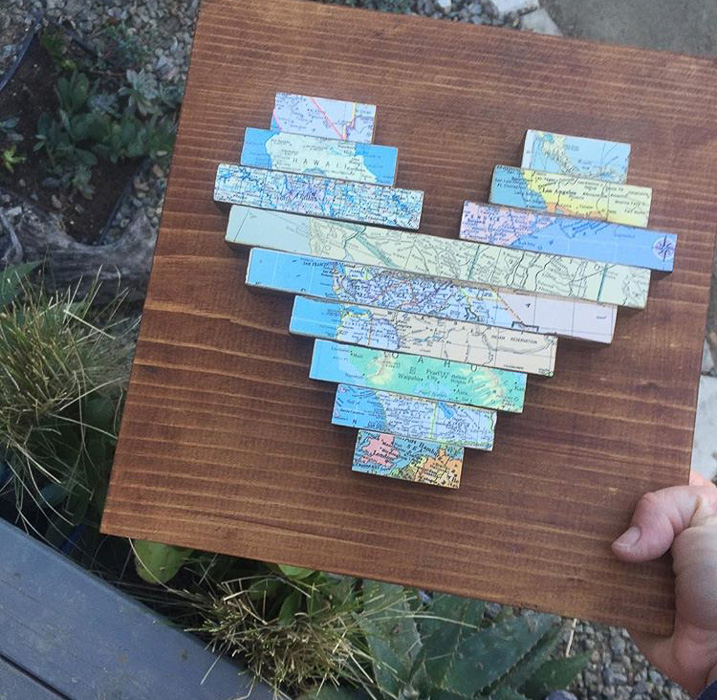
Katie, Just Add Sunshine Inc, used paint and made it pop with that awesome black & white/aqua combo. 
Annette, The Rustic Orange, used some glitter and gave it a perfect antique white distressed look. 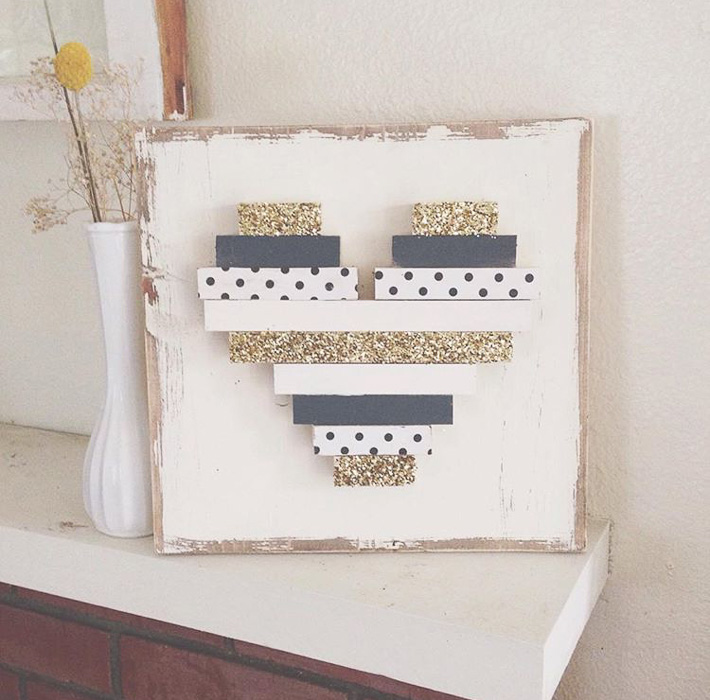
Emmy, It’s Just Emmy, used amazing colored and patterned paper and changed it up with some spacing.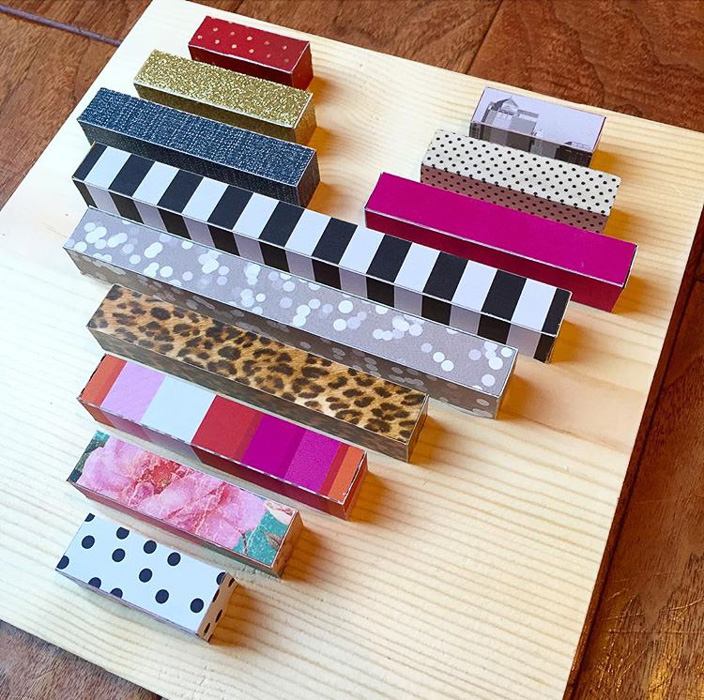
Jessie, Soul Made Goods, stained the pieces different colors and did a special wood burn quote. Talent! 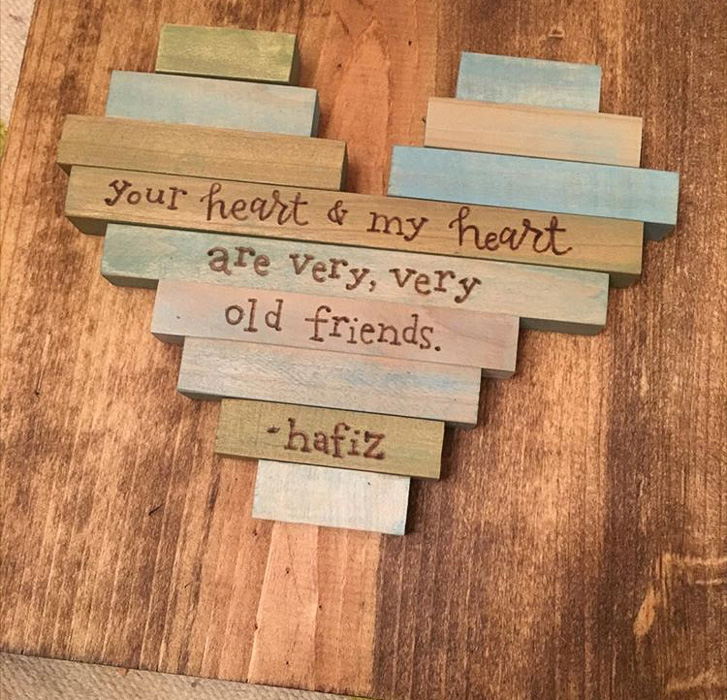
Jamie, Raising up Rubies, used the cute convo paper backing with those adorable colors. Heart eyes! 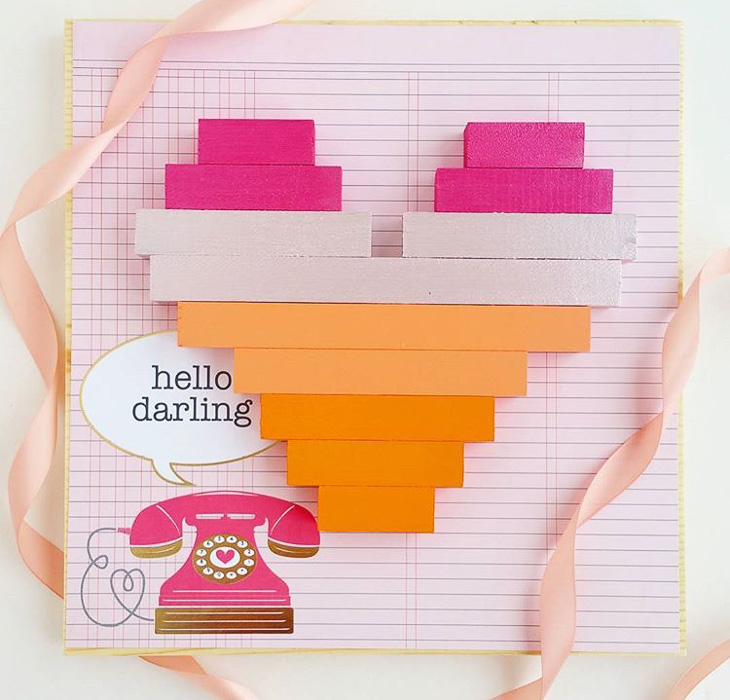
Kimberly, Walker and Cole, created one for her son with fun patterns and a gray stain. 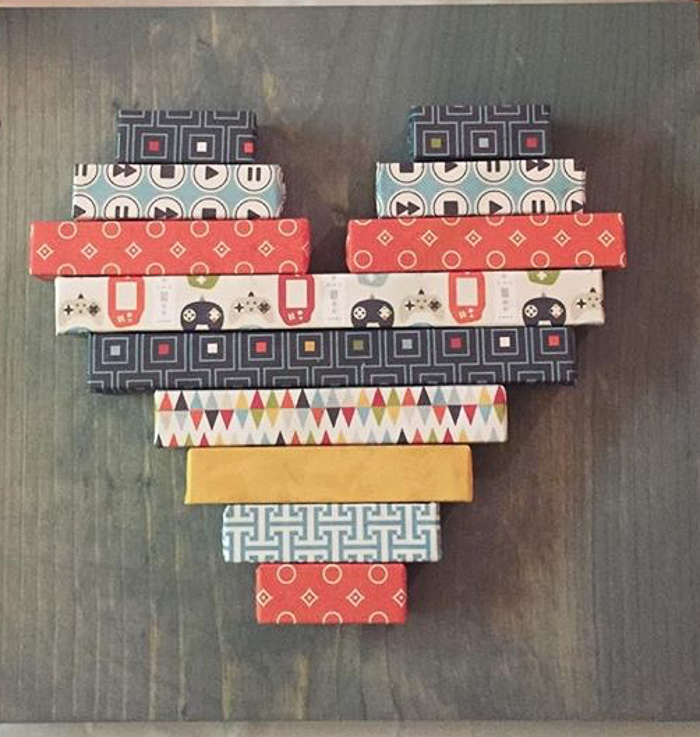
Debbie, Canfield House, created one with her boys and look at that adorable rainbow pattern! 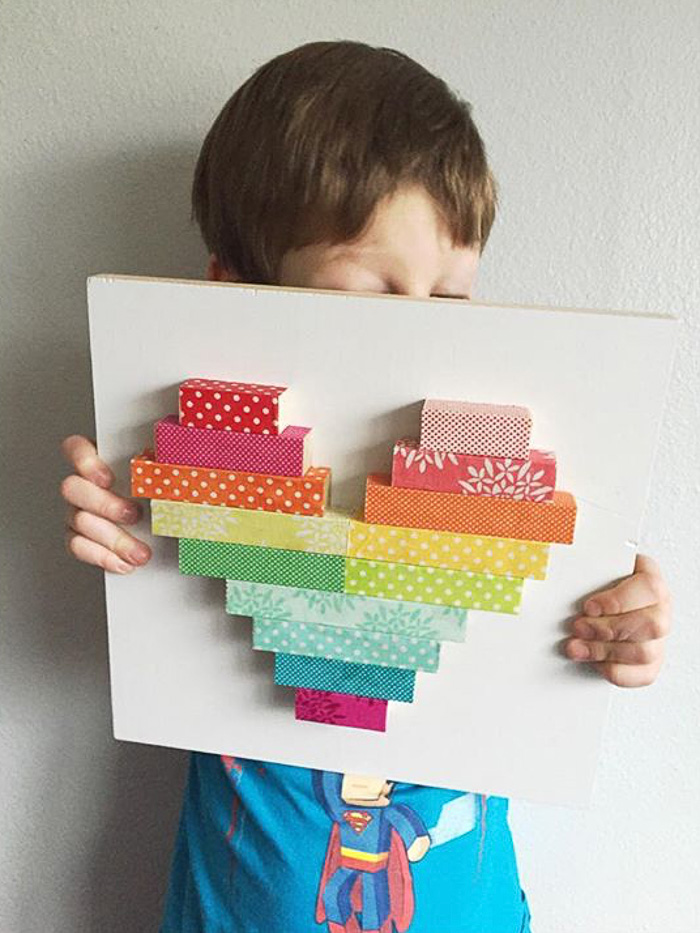
So many great designs and creativity! If you’re on Instagram, check out #heartsbyccdiy for more inspo!
I’m so inspired that I need to grab a few more…Valentine’s Day art, wedding gift idea, possible end-of-year teacher gift (have to figure out how to get 30 students artwork on it, but I think it’s doable).
And for TODAY only, Candice is offering 10% off the kits! Enter “DIY10” at check-out. 🙂 Just head on over to her shop (www.heartbycc.com) to check it out!
Happy crafting!


I’d love to know how to put scrapbook paper on wood. I imagine mod podge is involved somehow, but under or on top of the paper? Yours is so adorable!
Thank you, Dawn! Yes, you’re right – mod podge underneath, and then I usually do a layer on top as well.
Oh my goodness, I need to get one of these! It looks gorgeous and I can’t wait to see the craft desk!
Thank you, Rae! It’s such a cute design – Candice is so talented! You will love the kit!