When I saw the open pipe industrial shelves on season two of Fixer Upper, I knew they were the perfect solution for our living room TV wall. It would be great to do built-in cabinets, but we just bought our house and don’t have the money or time to redo our fireplace to make that happen. So I came up with a more reasonable DIY plan of attack: paint, add a top border, and install the open pipe shelving.
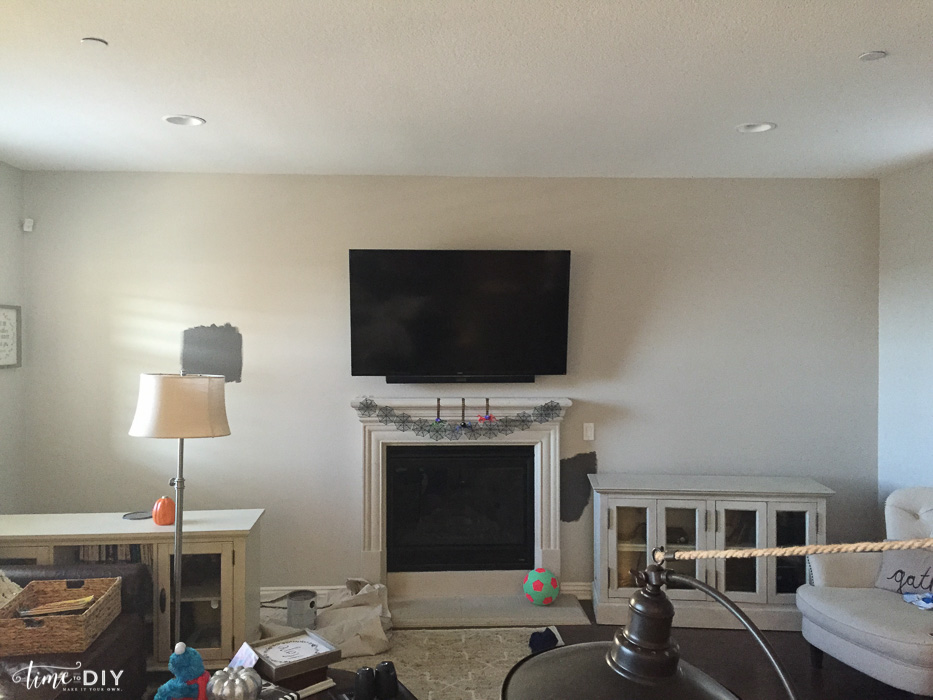
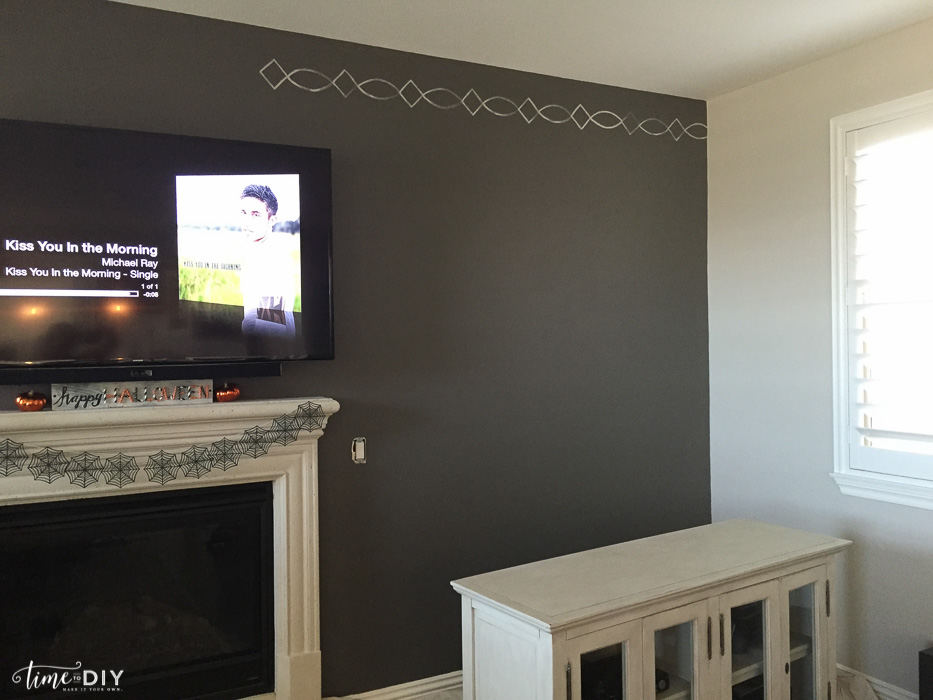
This is how the wall started.
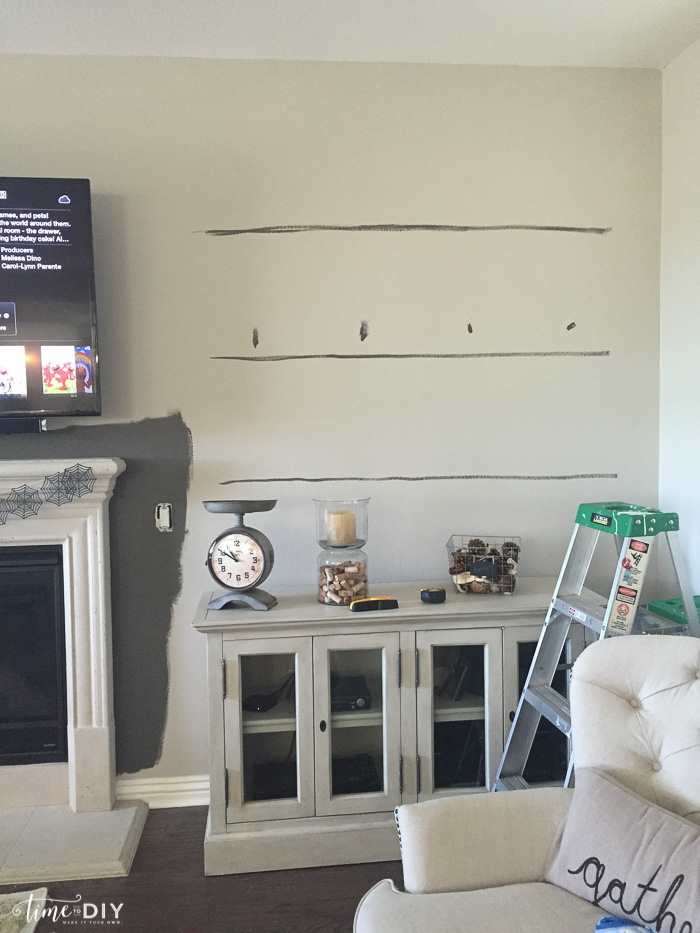
We tried out a few shelf options before we painted.
For the color, we used Benjamin Moore Kendall Charcoal.
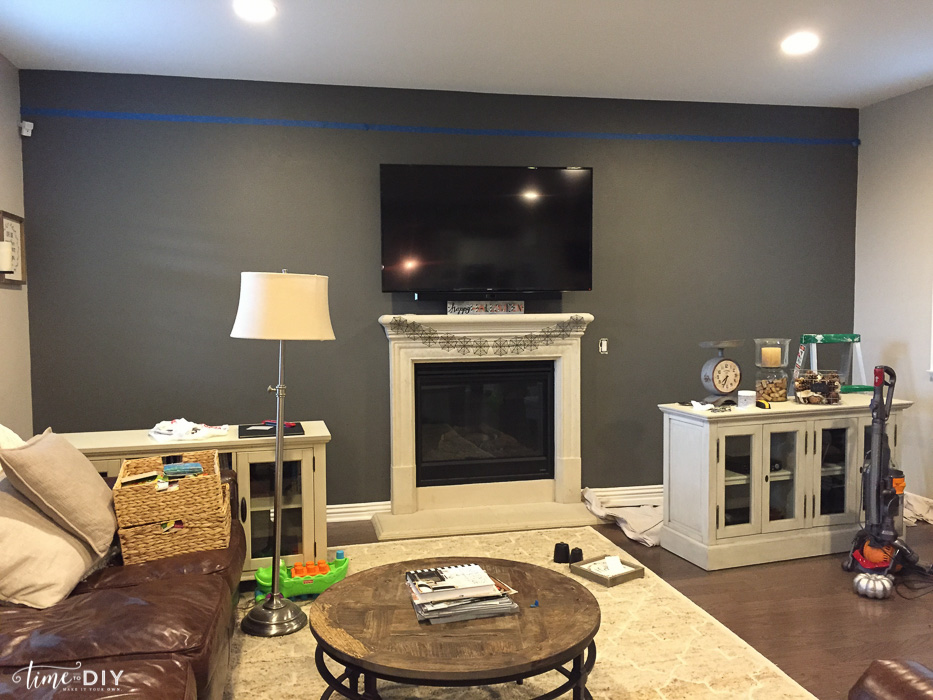
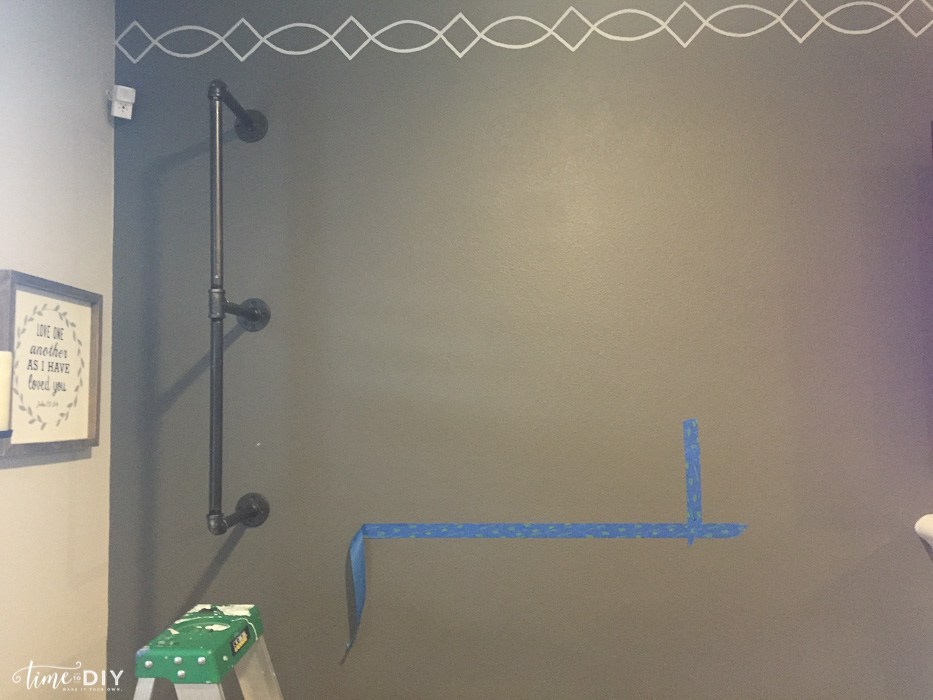
Next we added the border, more details here.
Then it was time to install the shelves. I was thankful there was a DIY open pipe shelving tutorial on the Magnolia Market website. We didn’t do the top mount and only did two shelves so our shopping list was a little different:
- 12 flanges
- 8 90-degree elbows
- 4 tee connectors
- 12 10-inch pipes
- 8 18-inch pipes
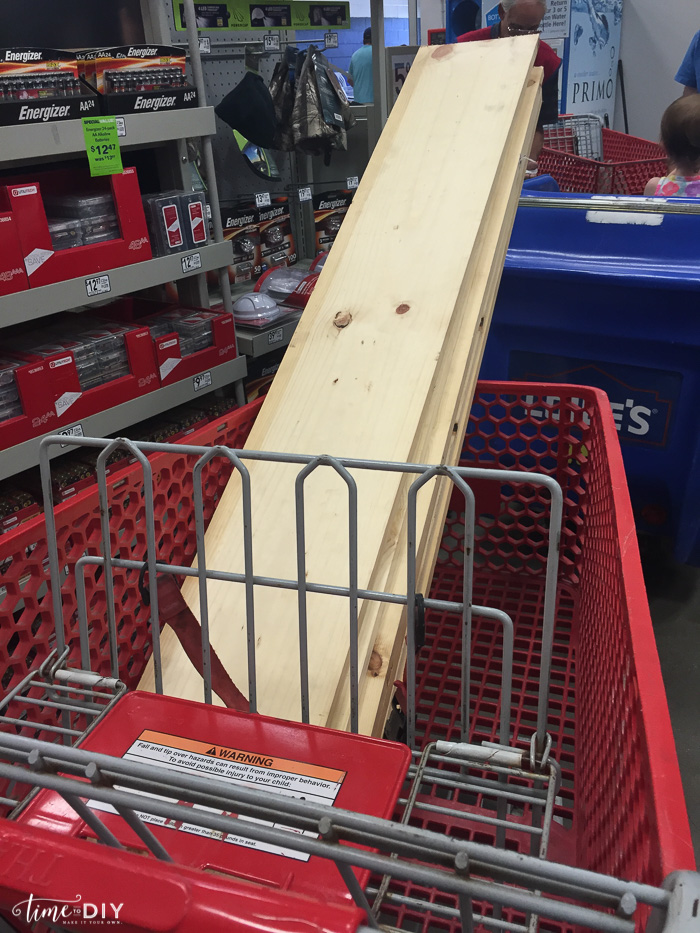
- 4 common board wood panels, 60 in. L x 9.25 D x 0.75 H
**All pipes and fittings are 3/4 inches in diameter.
I originally picked up two 10-foot boards to cut in half. That was a mistake because they were warped and I didn’t check them before we left. So later on we went back to Home Depot to get non-warped boards. The smaller boards were less warped so we had them cut a six-foot board down to five feet.
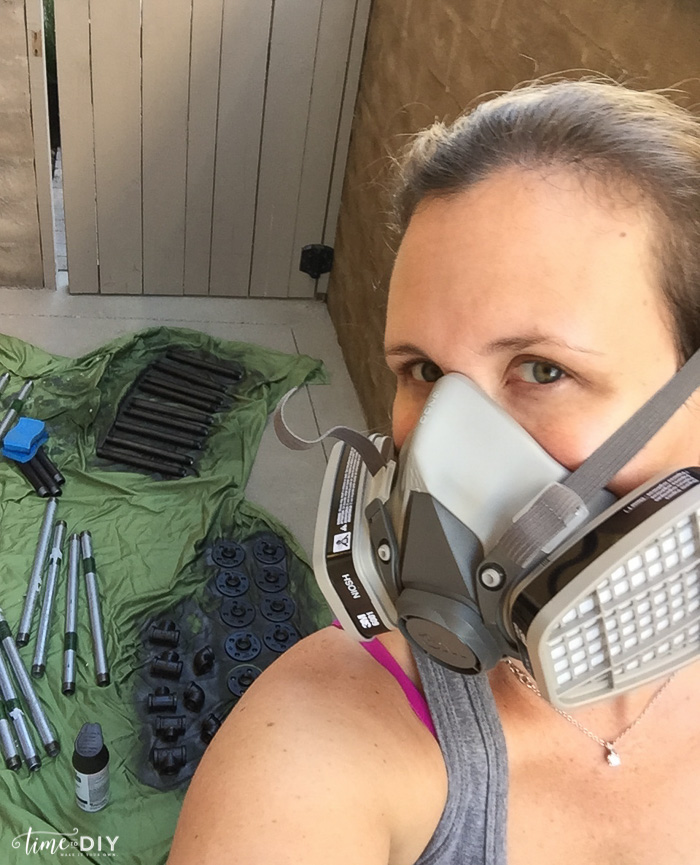
Then I cleaned and spray painted the pipes. The cleaning process took a little longer than I thought – I used Lysol cleaning wipes, and I didn’t end up getting it all off, but since I was going for an industrial look, it didn’t matter. I read that nail polish remover works well, but I didn’t have any to try.
I used Rust-Oleum Oil Rubbed Bronze spray paint to make the pipes look like wrought iron. Remember to always wear a mask while spray painting!
Then it was time to “faux stain” the boards using BB Frosch chalk paint powder. I followed the faux stain tutorial on whipperberry.com.
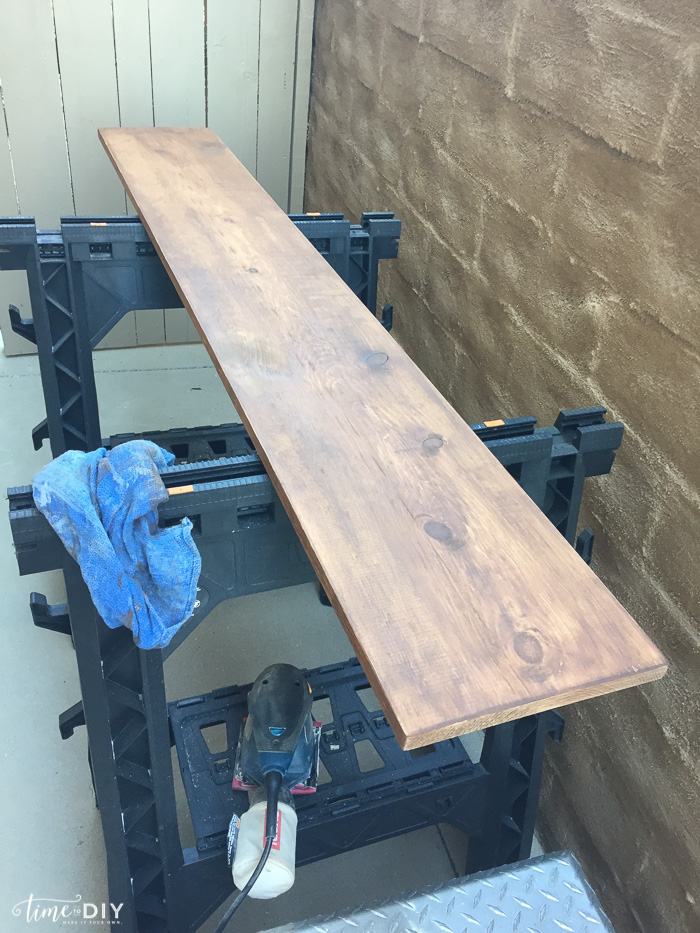
Except that I made a key mistake. I didn’t get Benjamin Moore Mink, I had Lowe’s color match it with Sherwin Williams paint, but that color was different. I later bought Benjamin Moore mink and compared the two, and the Sherwin Williams version was redder.
It was a pretty color, but I wanted it to pick up the gray in my floors so I had to redo.
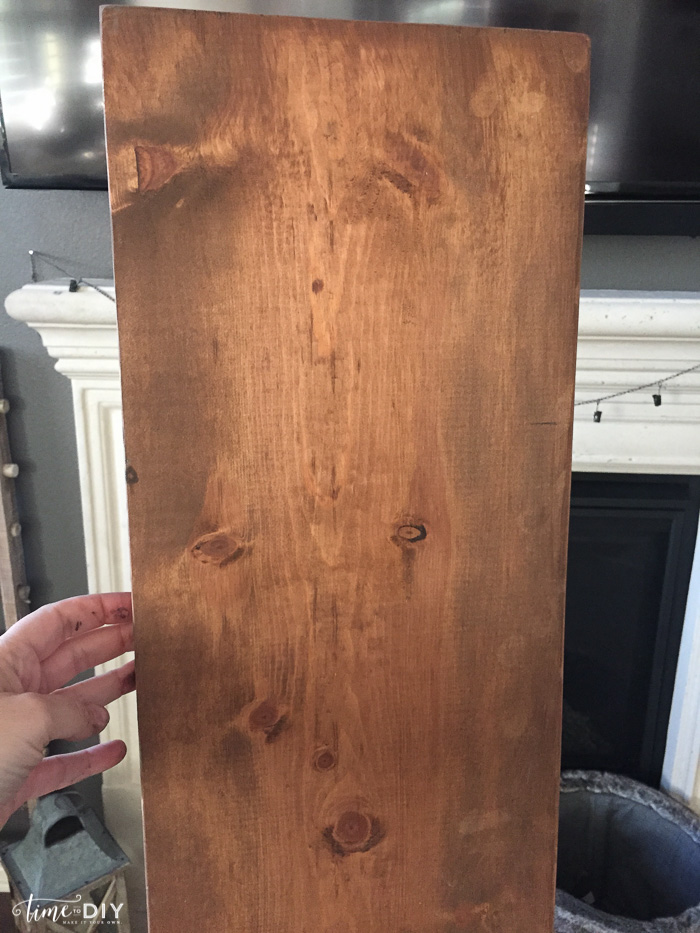
I added a coat of Benjamin Moore Stone Gray to put on top.
To compare, this is Sherwin Williams color-matched Mink (just one coat).

And this is with the Benjamin Moore Stone Gray second coat. A little more gray.

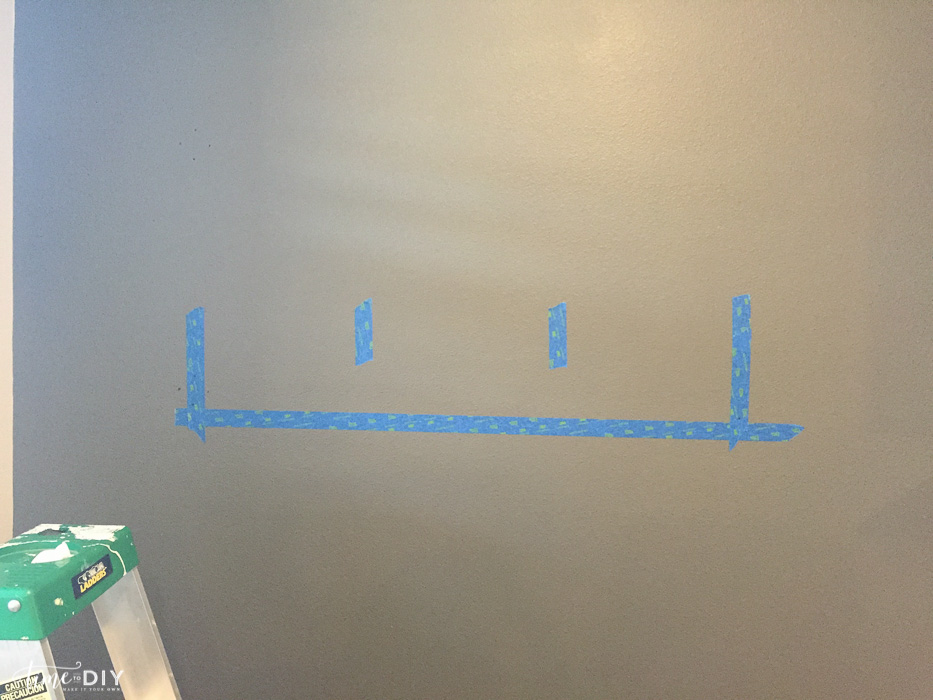
Meanwhile, my hubby was working on the piping. He assembled the pipes, lined them up with the studs/height of the shelves, and then pencilled in where the screws would go.

And then just like that, one side was up!
It was a fairly easy installation. We measured from the ground, since sometimes almost always ceilings are uneven.
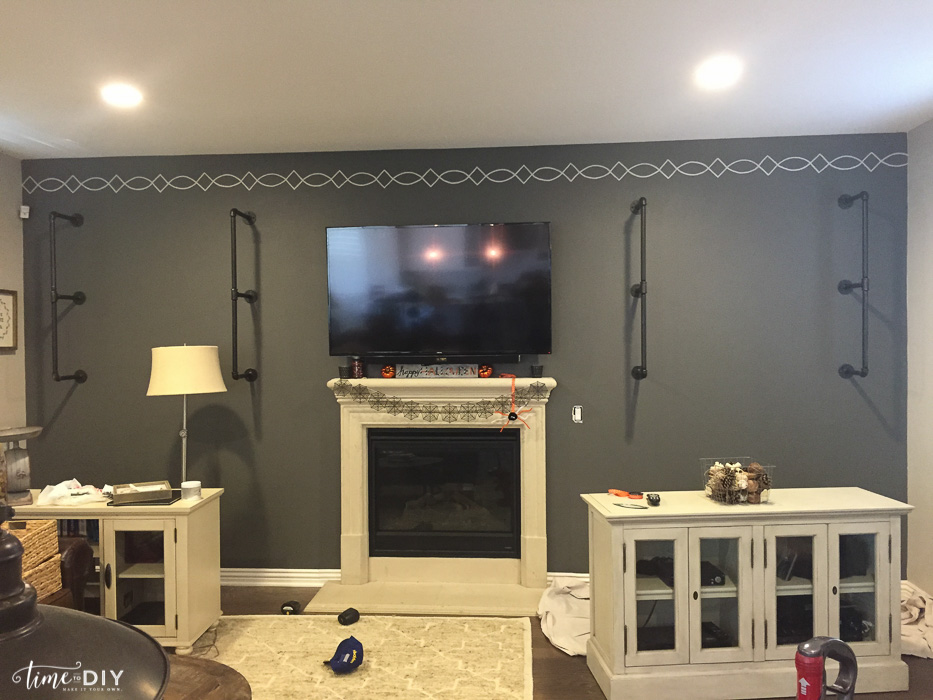
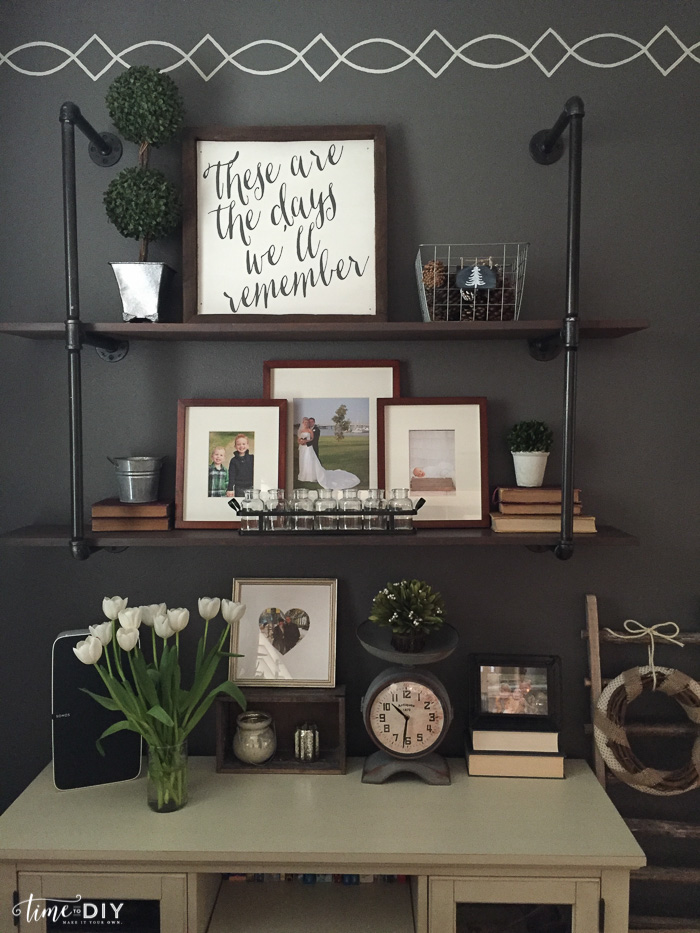
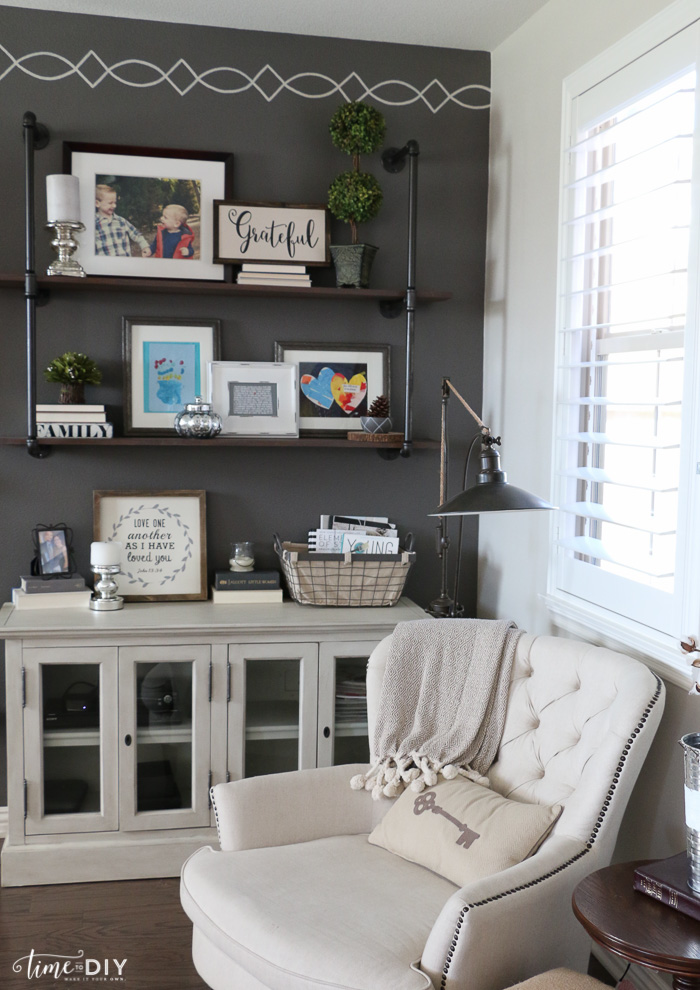
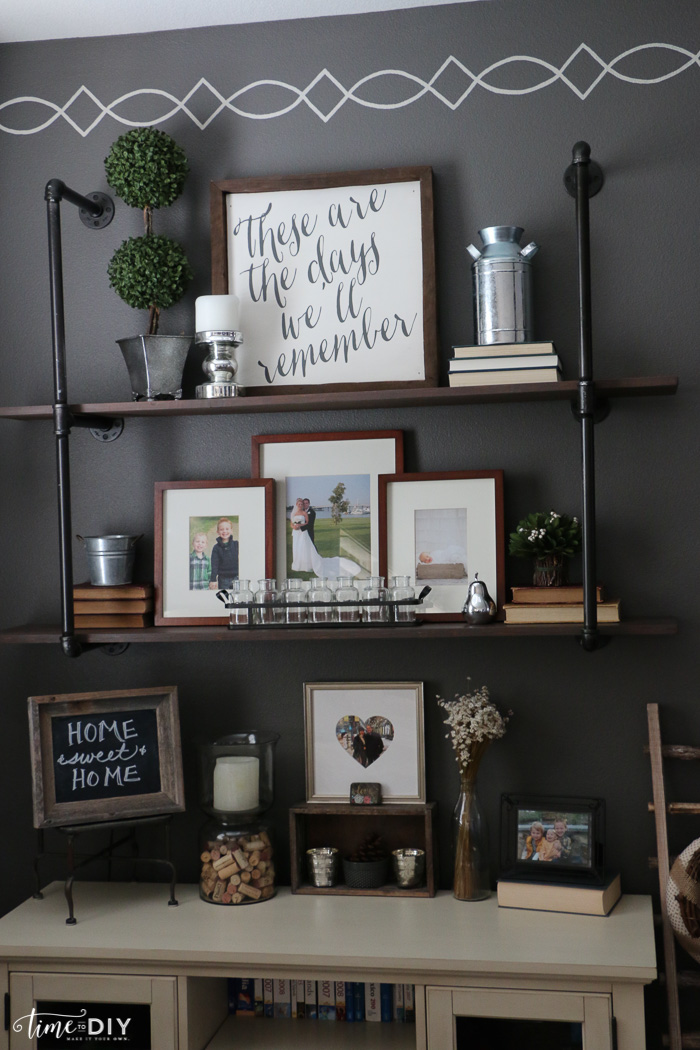
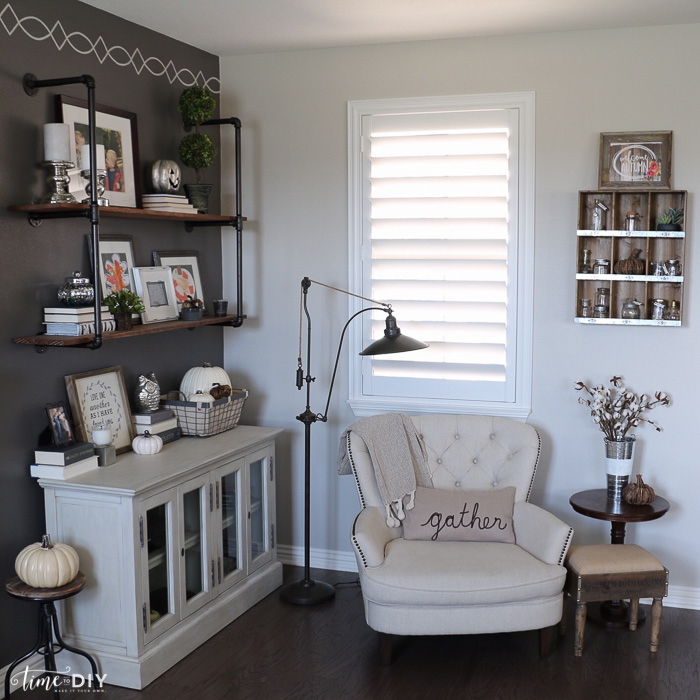
Overall, a pretty easy DIY project that makes a big impact.
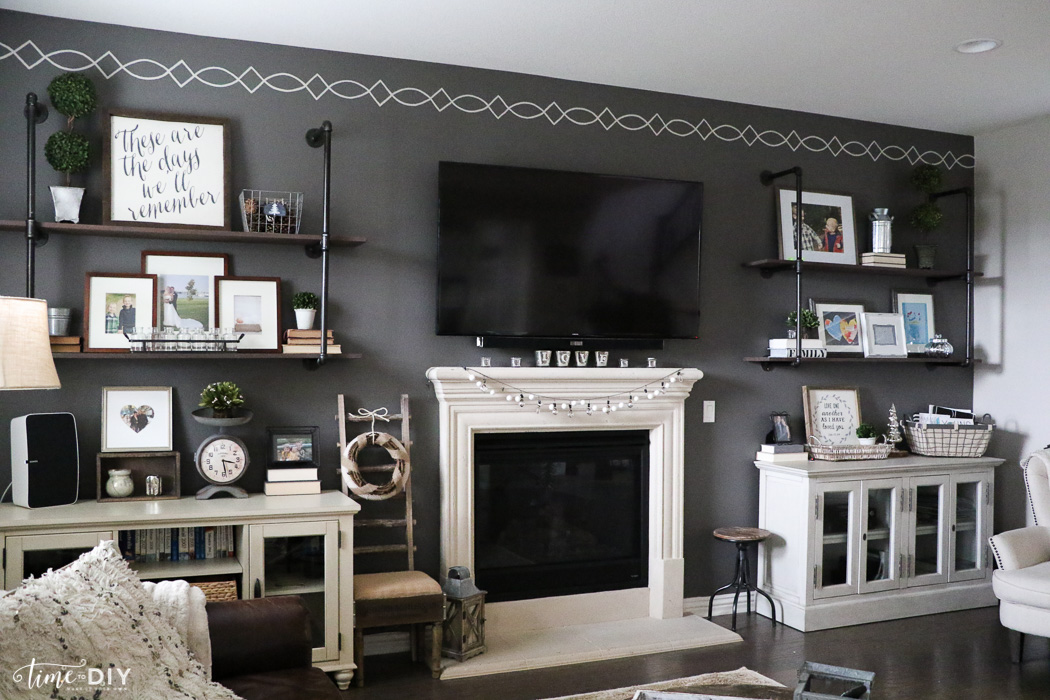
Total material costs = Around $400.


Wow! You really transformed that room between the paint, stencil and shelving. I love it! I’d like to change the wall color on our main floor to a light gray, but am afraid that would then snowball into needing new curtains, new couches, new throw pillows, etc. since everything goes with the brown walls right now. This is only an issue from a budget perspective, of course, because otherwise I’d love the “challenge” of swapping furniture and décor. 🙂
Oh, I totally get that! So easy for it to snowball! BUT you could make curtains and pillows…you guys did redo your entire kitchen! 😉