Lately I’ve heard several people say they don’t have pictures up because they are waiting for their hubbies or dads to hang them, and although it’s nice for our guys to feel needed, picture hanging is pretty easy if you use the painter’s tape trick!
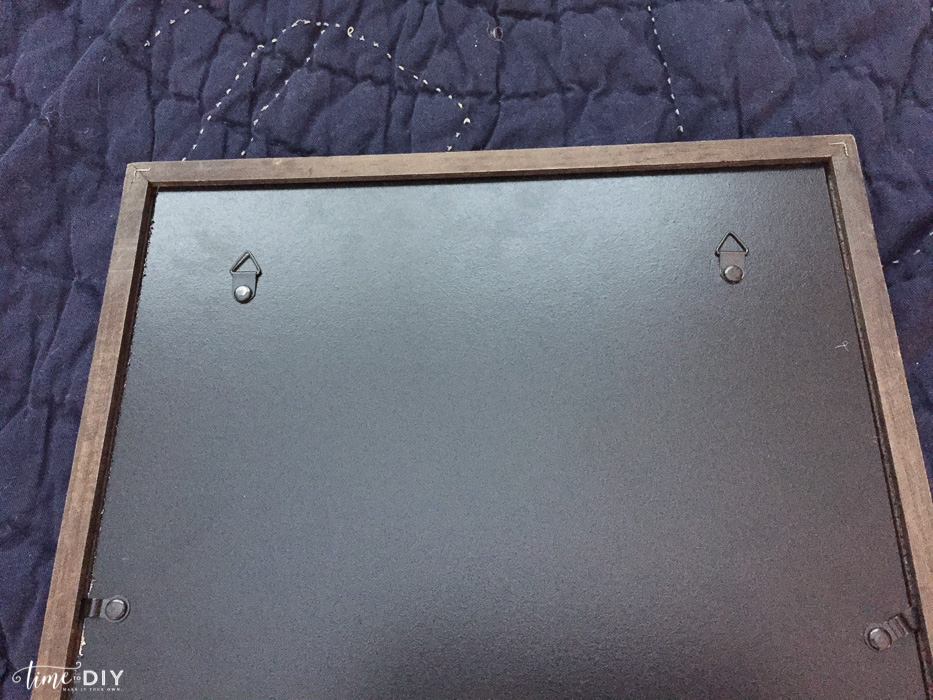
This technique will even work with those pesky two-hook frames.
Supplies:
- Painter’s tape
- Pencil
- Tape measure
- Level
- Hammer
- Nails
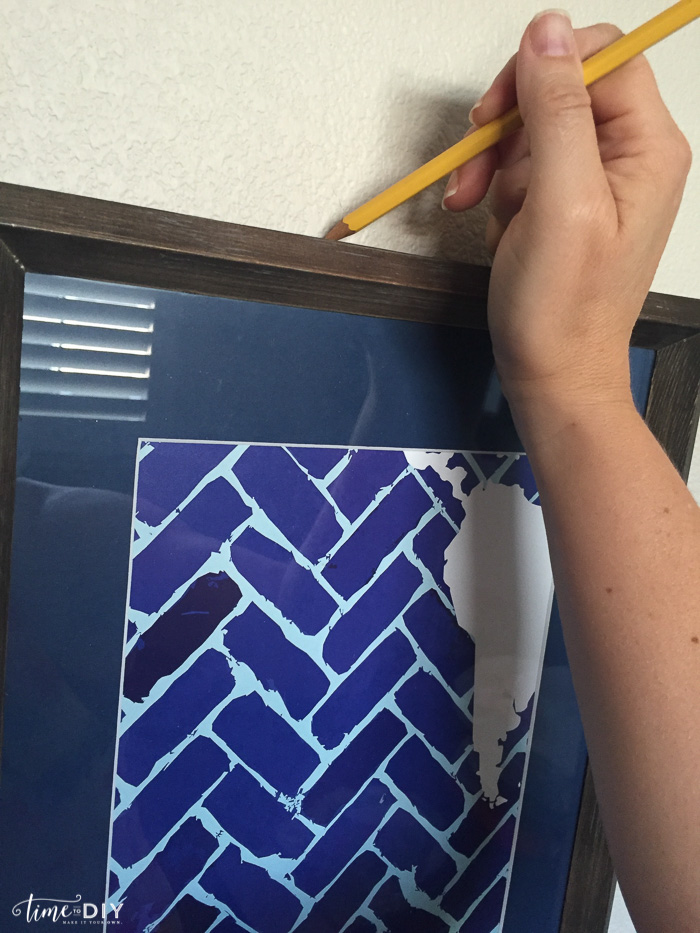
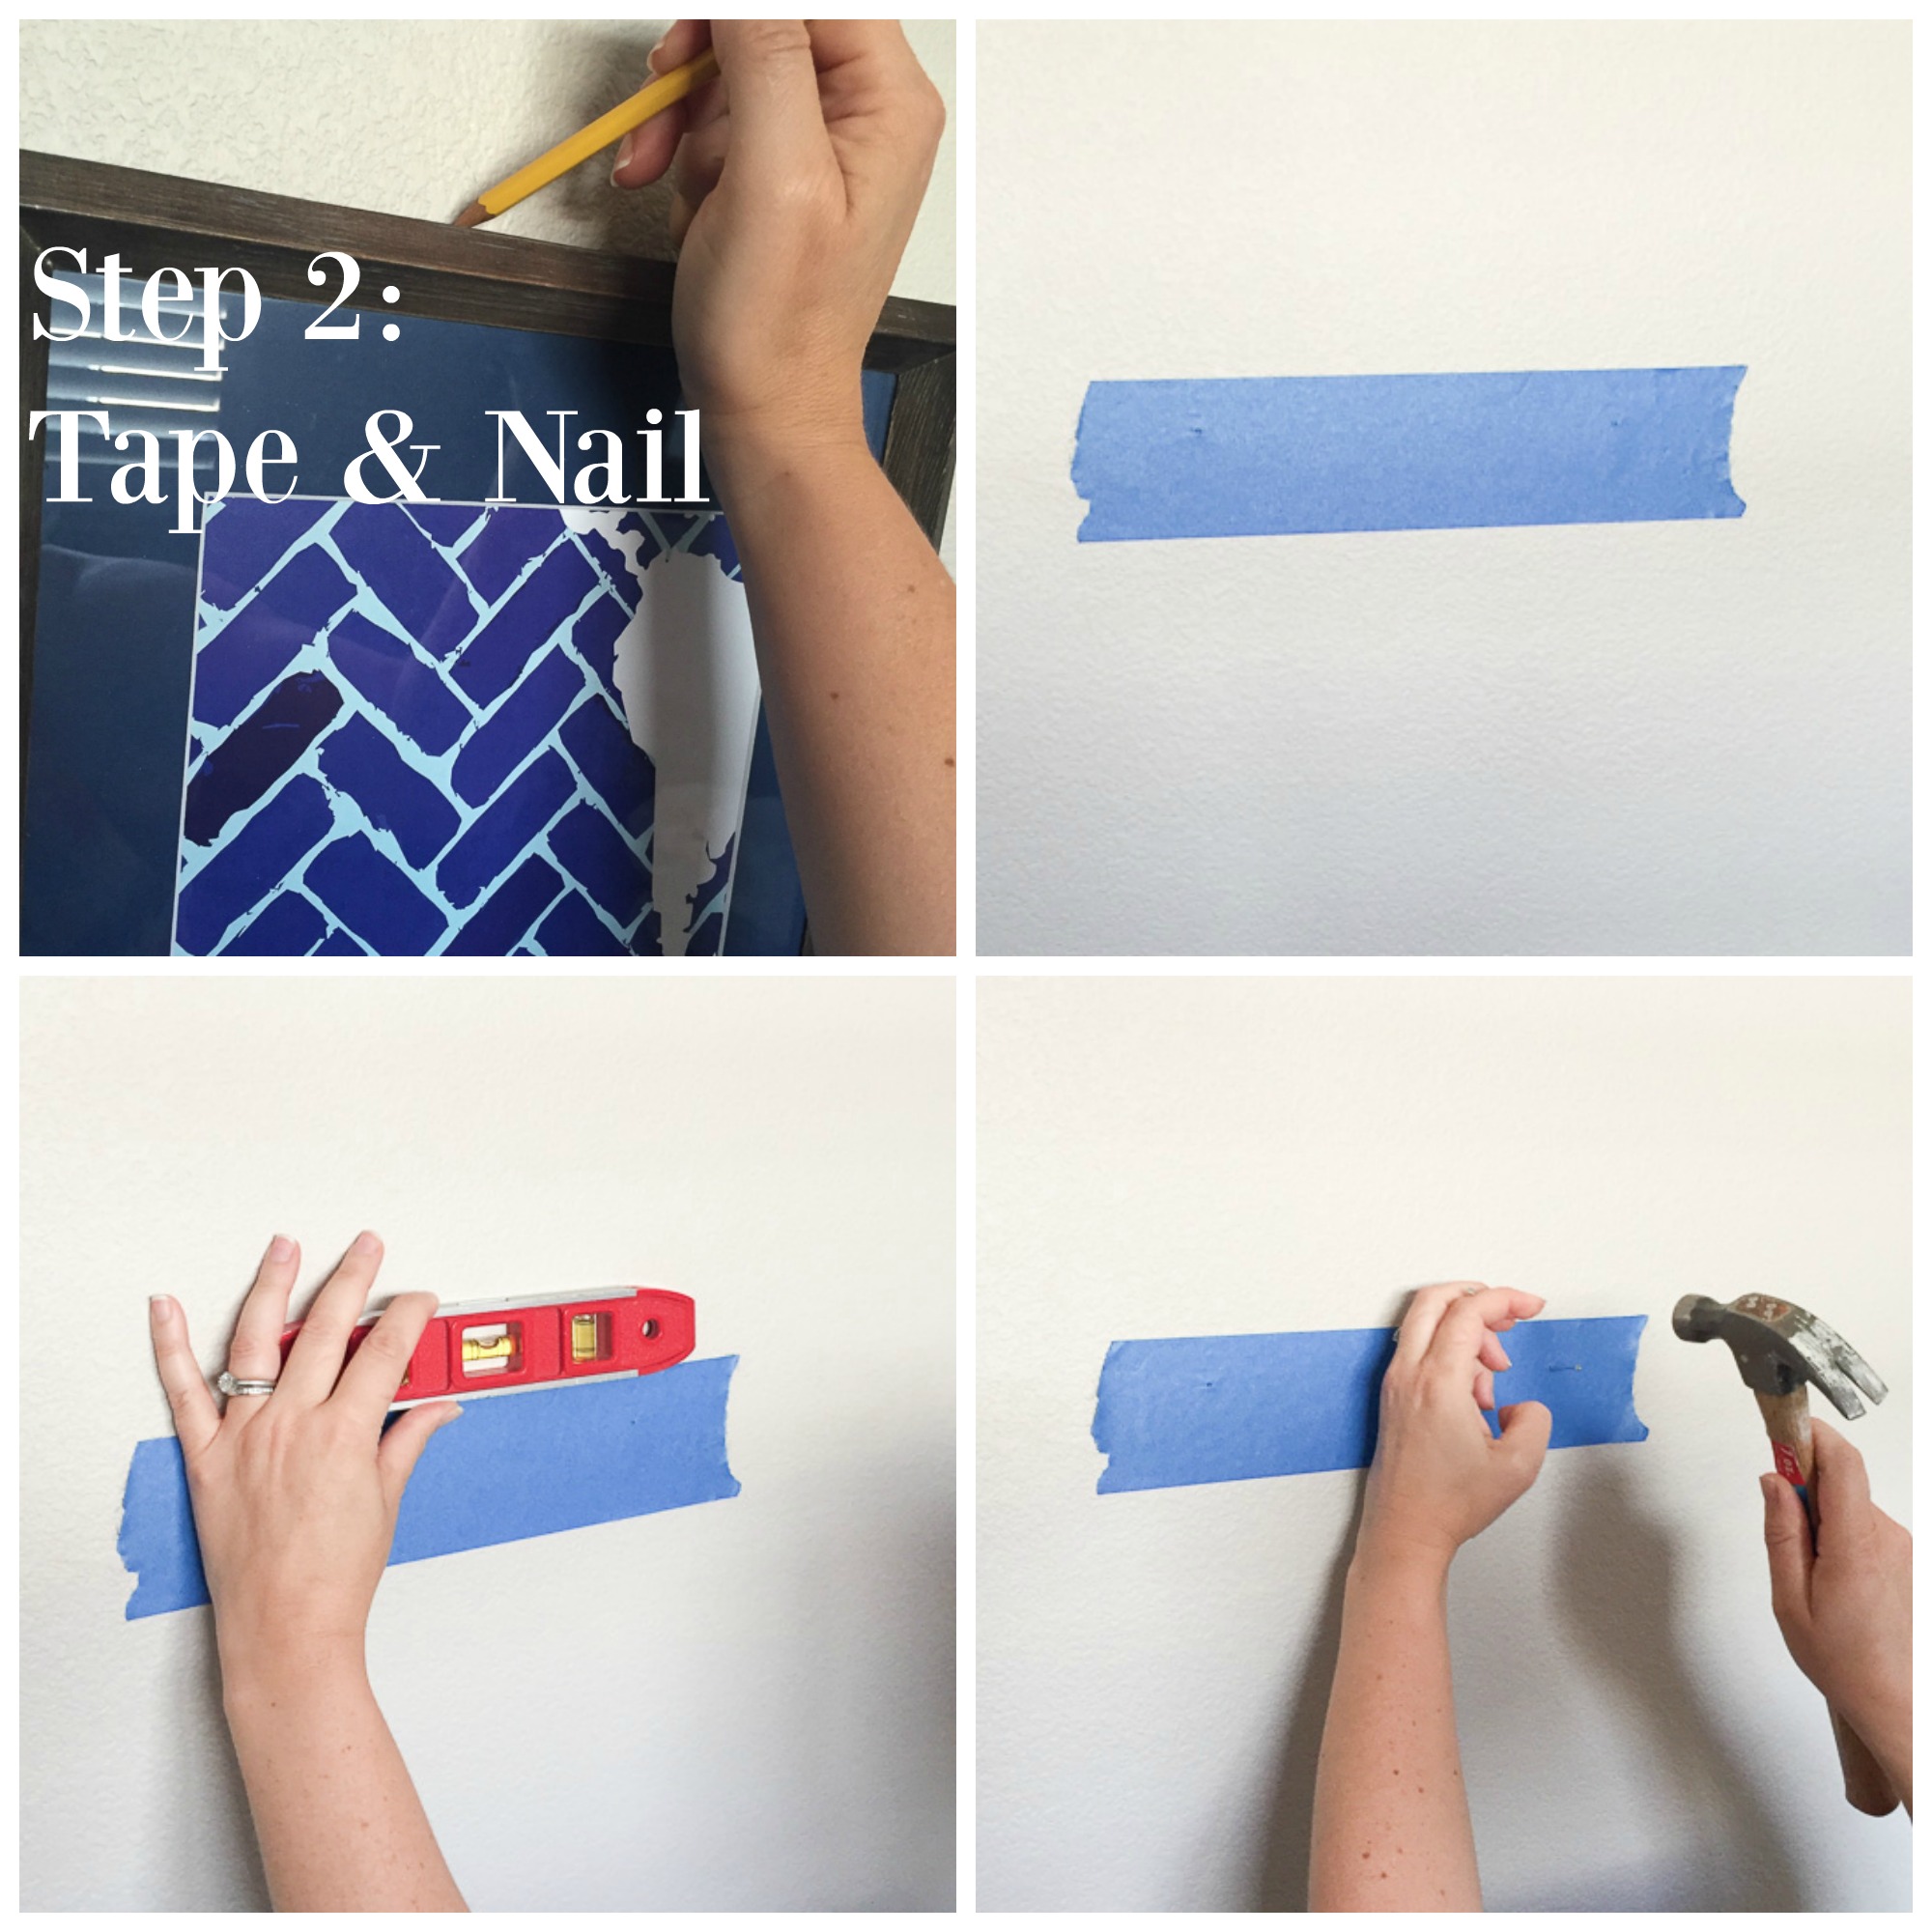
To prep, decide where you want the picture to go, using your tape measure for top-bottom or side-to-side placement. Then put a small pencil mark on the top as well as the top corners, if you want to be really exact.
I will often ‘spot hang’ and not measure out every detail, and sometimes I have to move nails around to get it right, but nail holes are *tiny* and covered by the picture so it doesn’t really matter. And they can be easily spackled and repainted, which usually won’t need to be done until you move. Unless you’re a serial redecorator, but then you’re probably a pro at spackling anyway. 😉 Trust me, it’s easy peasy so there is no need to be afraid of stray nail holes.
Once you’ve pencil-marked the walls, tape the back of the frame, making sure the hooks don’t move, and then poke the top of the hook with a pencil.
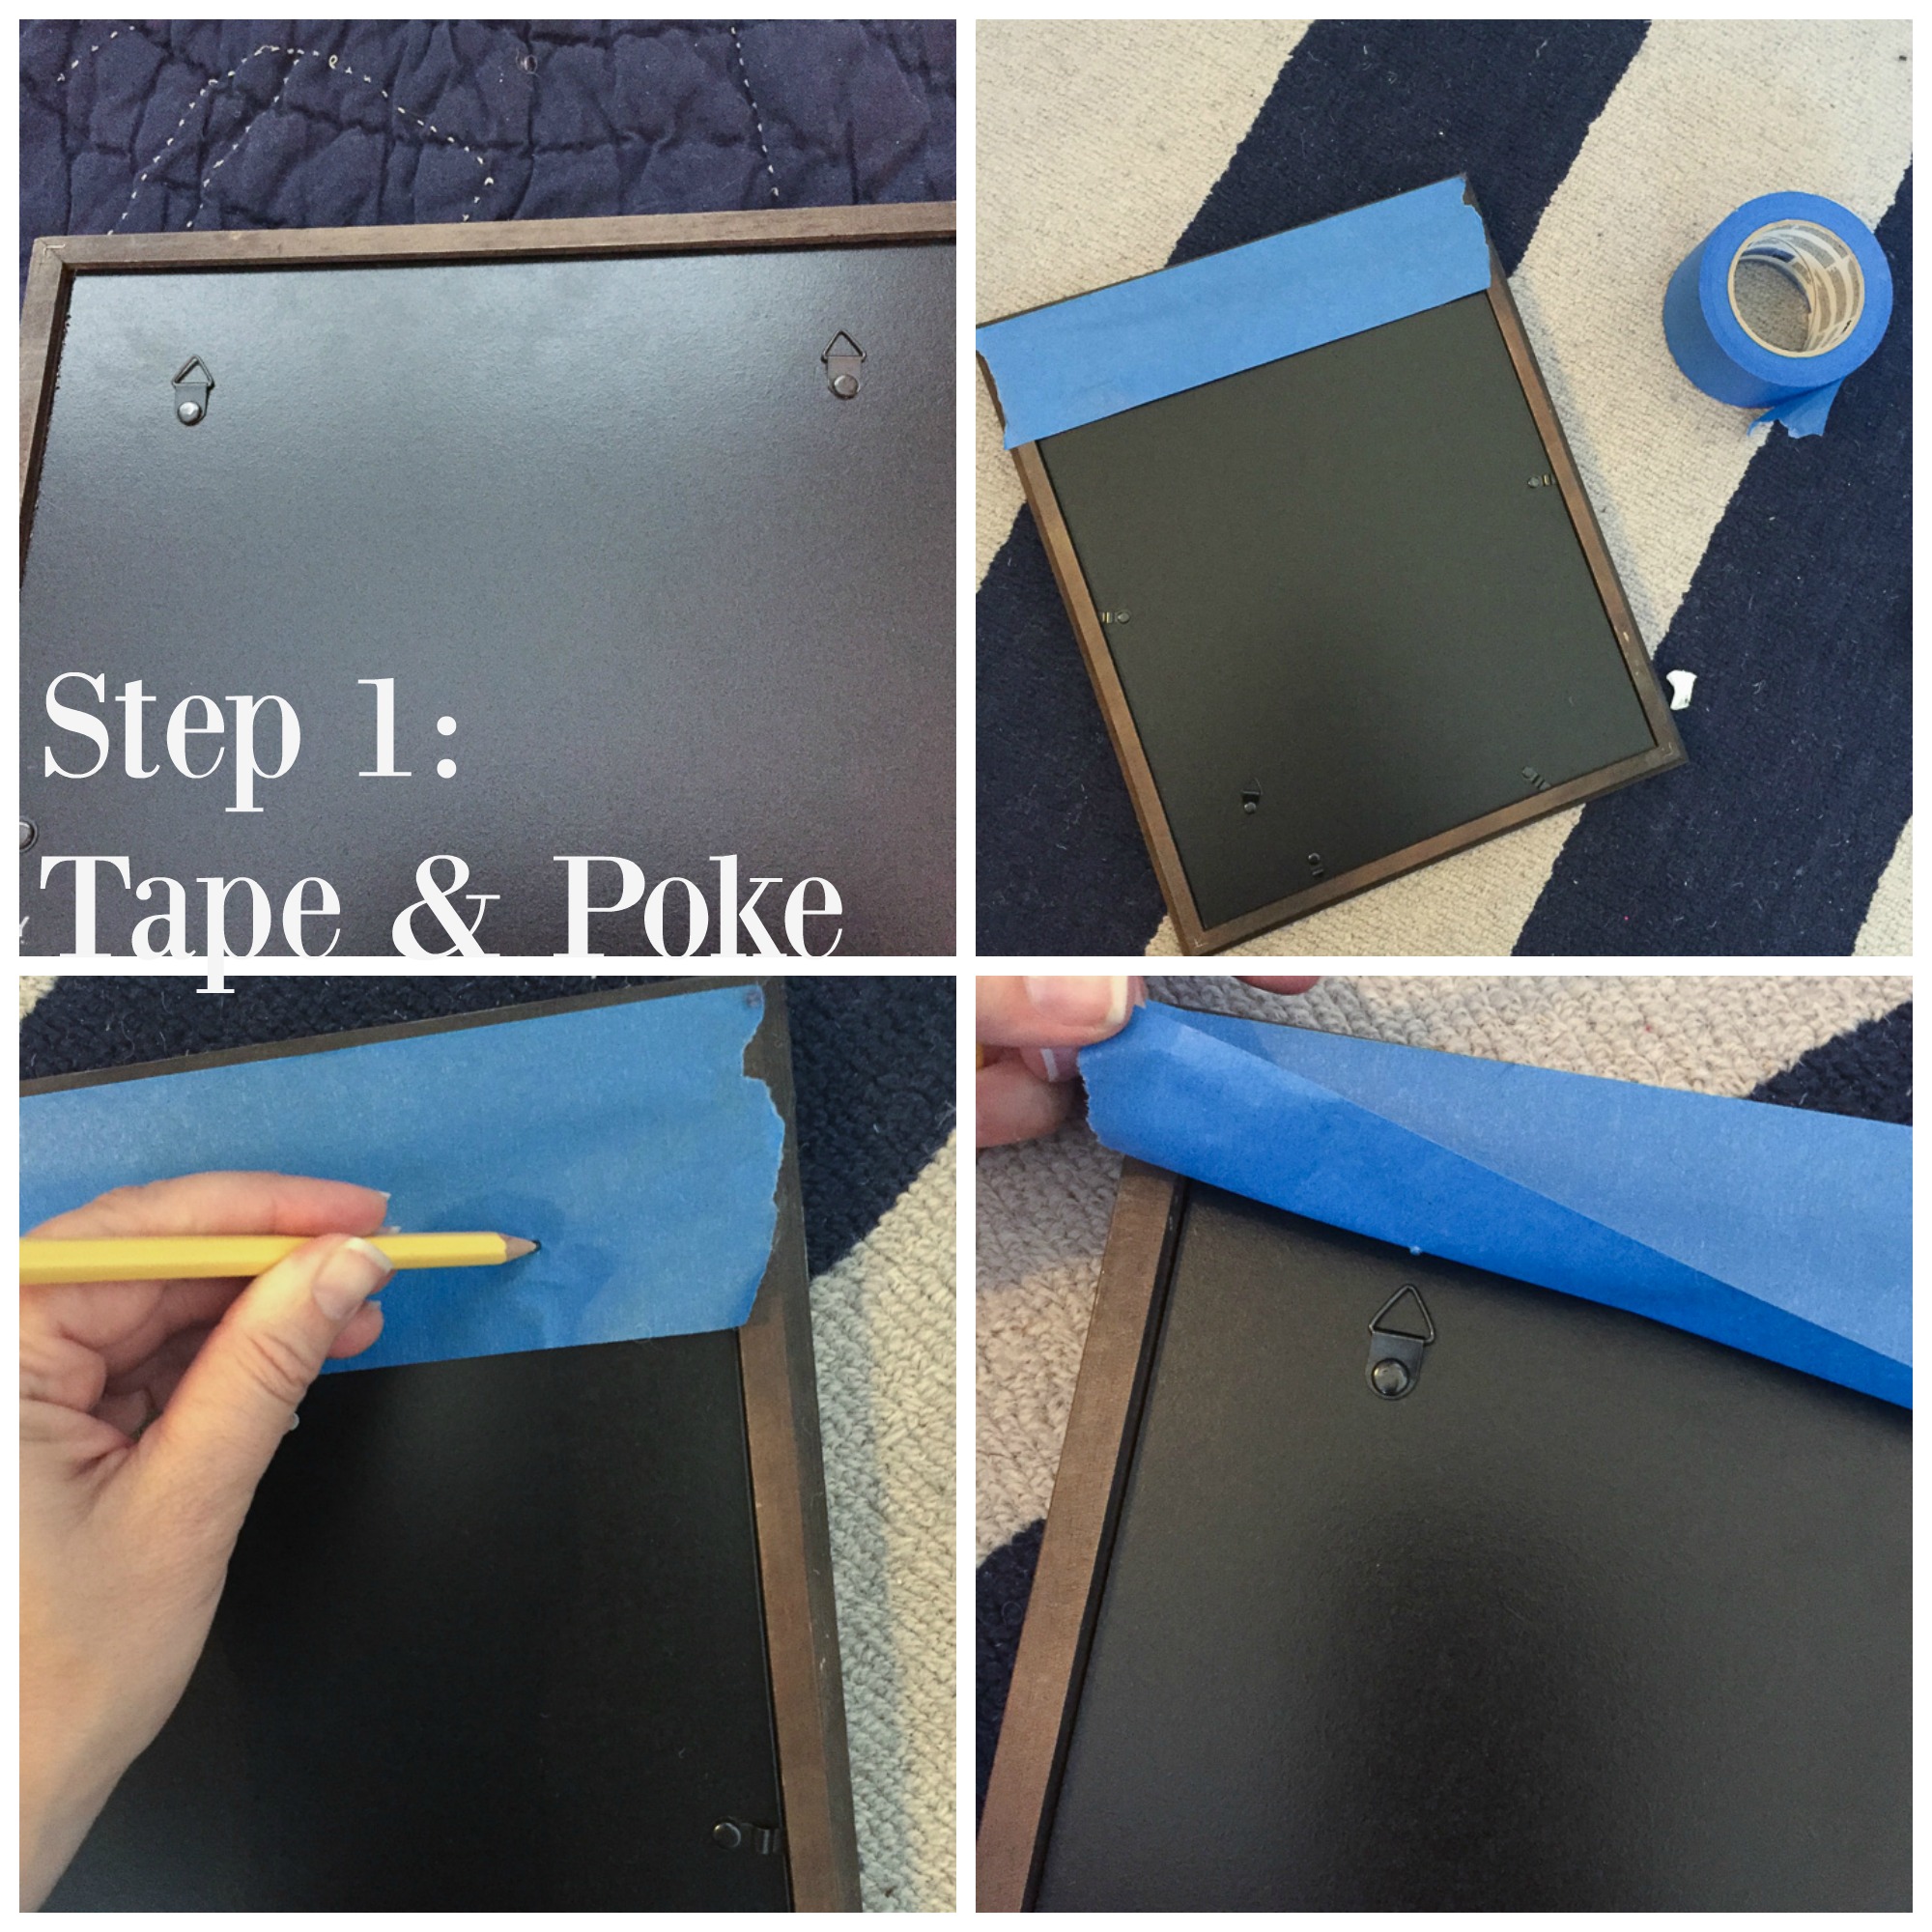
I used thick tape that would reach the top of the frame to make it easier. If your tape isn’t as high as the top of the frame, you just need to measure how many inches from the top. Or place your tape at the very top of the hook and there is not need to punch through it.
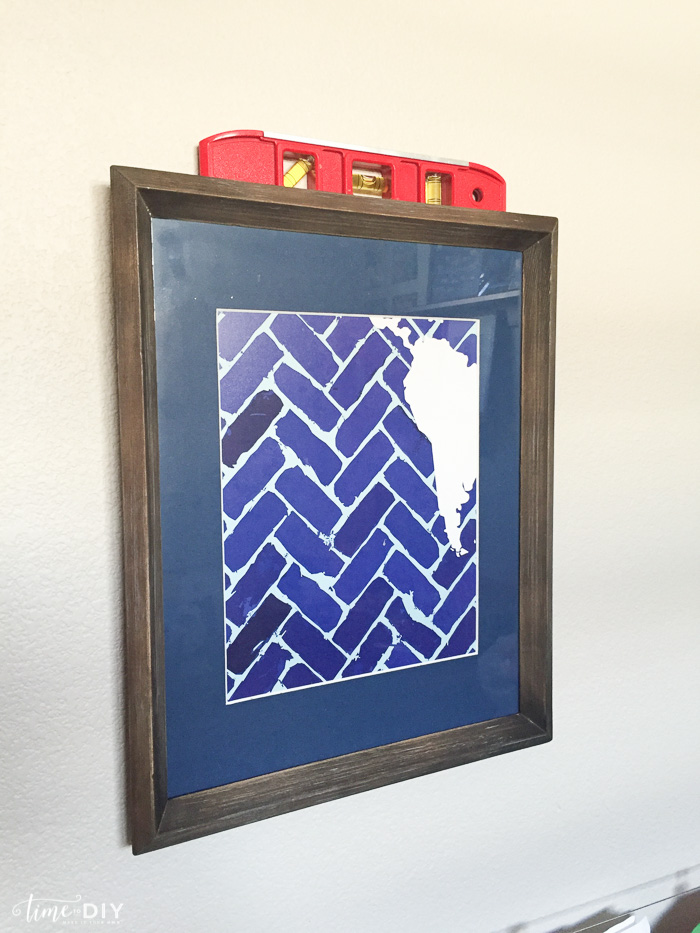
Then remove the tape and place it on the wall in line with where it should hang. Use a level to make sure it’s straight, and then hammer your nails inside the holes.
*I’m sure your hammering is much more graceful than my throwing-a-gang-sign style!
Then hang the frame and use your level again to make sure that it’s straight. And if it’s not, don’t worry! It’s easy to move your nails around to get it right, and remember, no one will know!
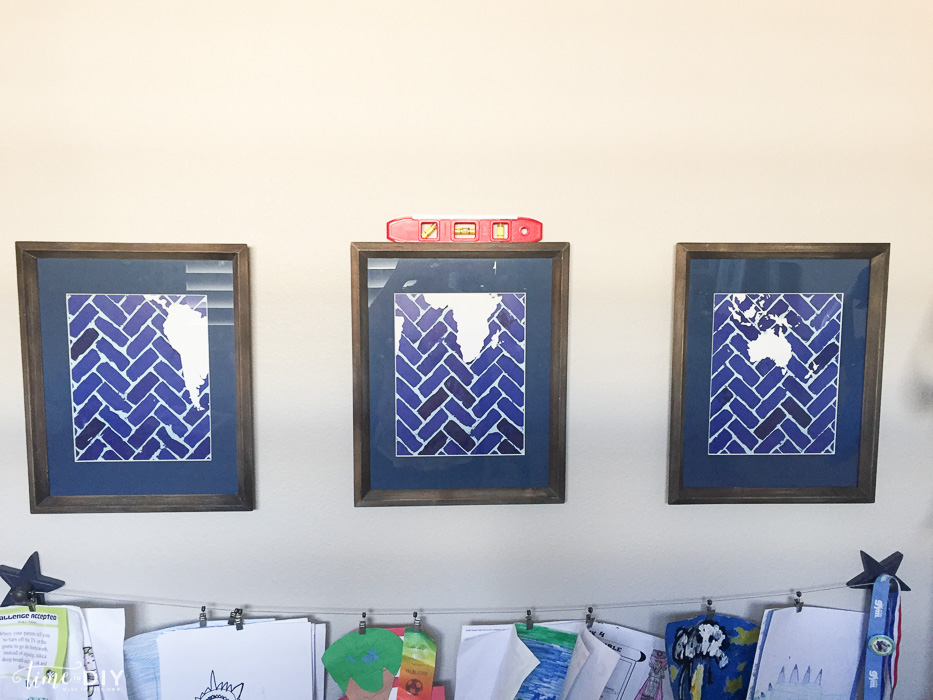
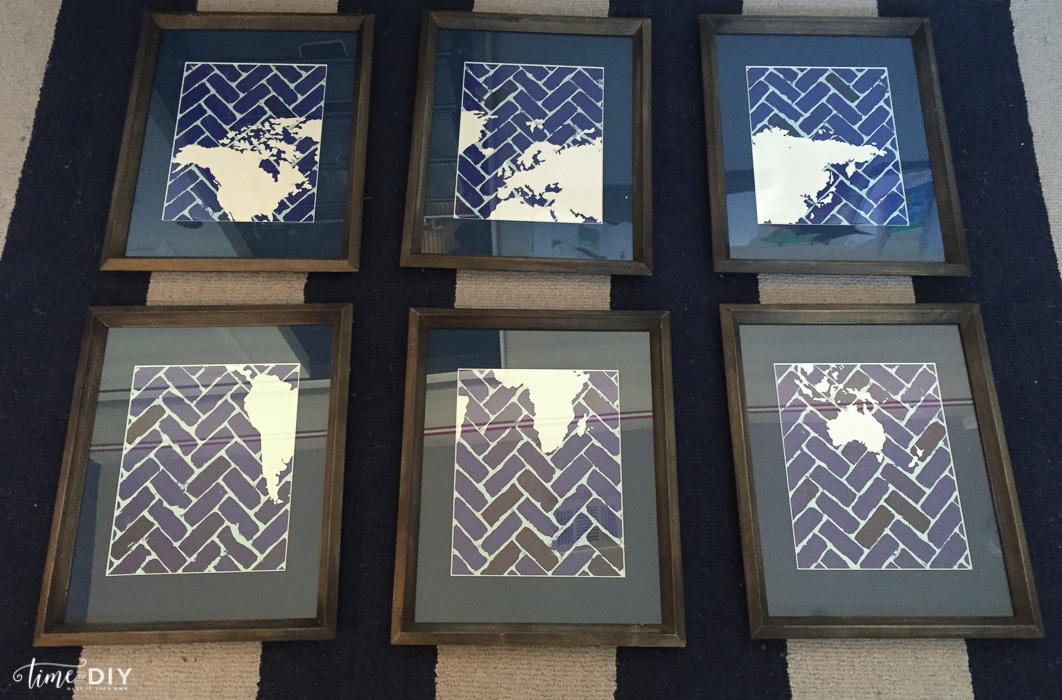
For this project in my son’s room, I needed to put up multiple frames so I started by measuring them on the ground first.
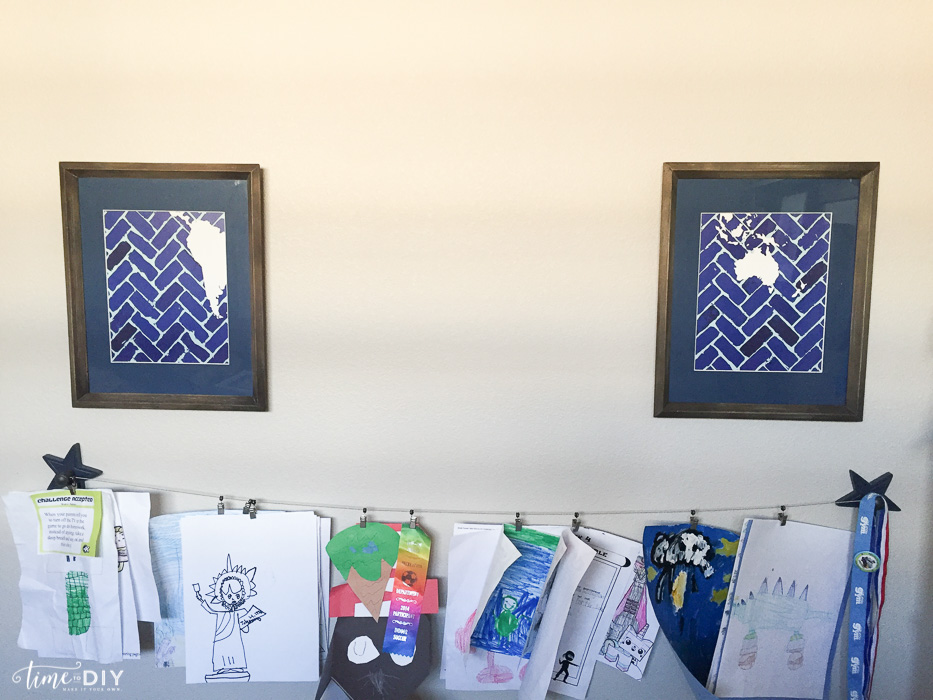
And put up the two sides first so I could more easily center the middle picture.
But for most every project, there is a hiccup – can you see mine?
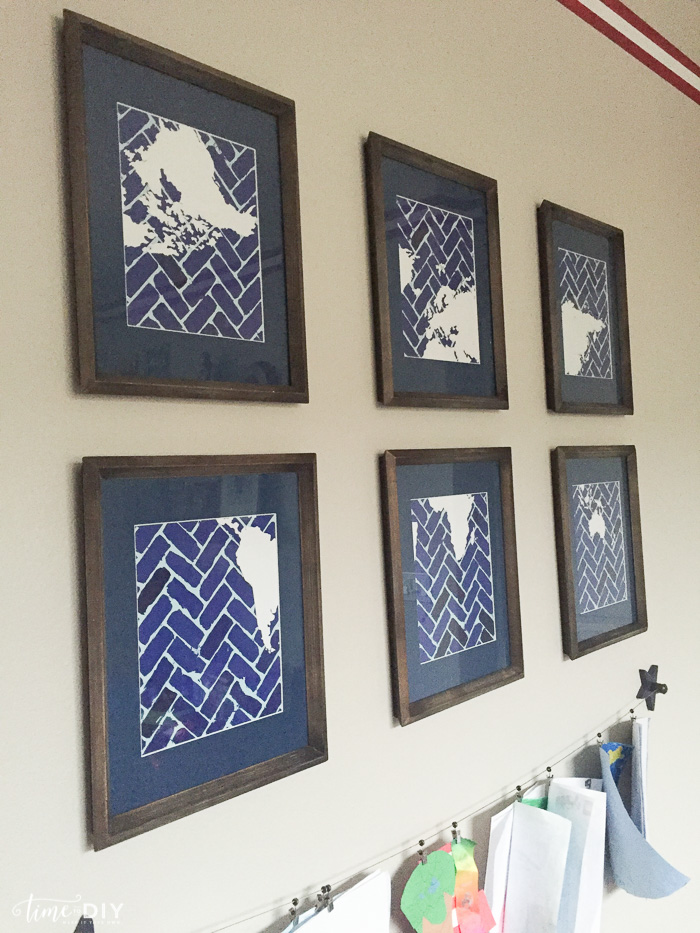
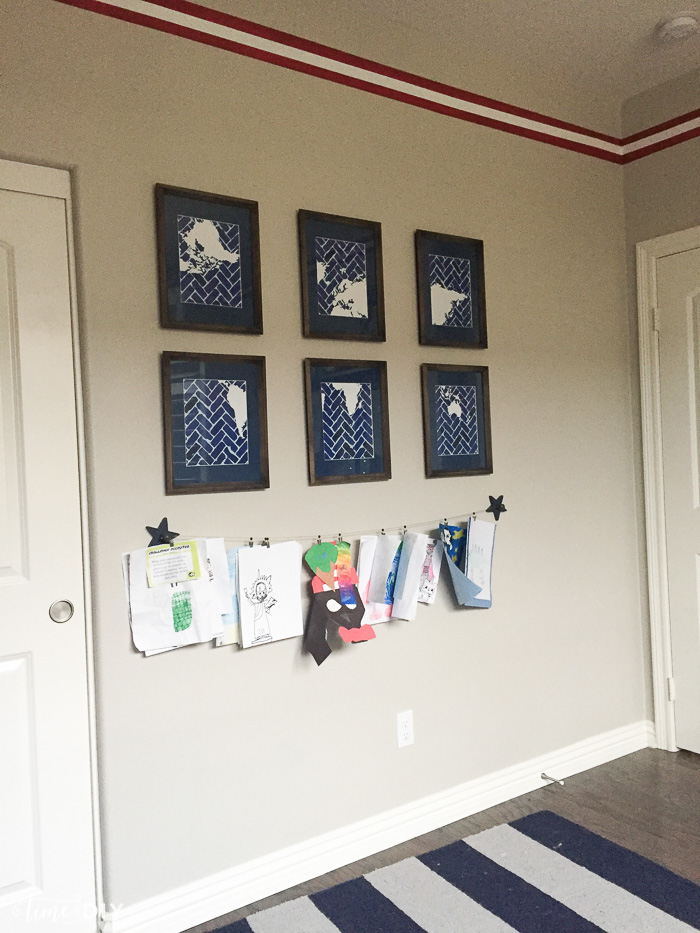
It was an easy fix – just need to flip that top left print.
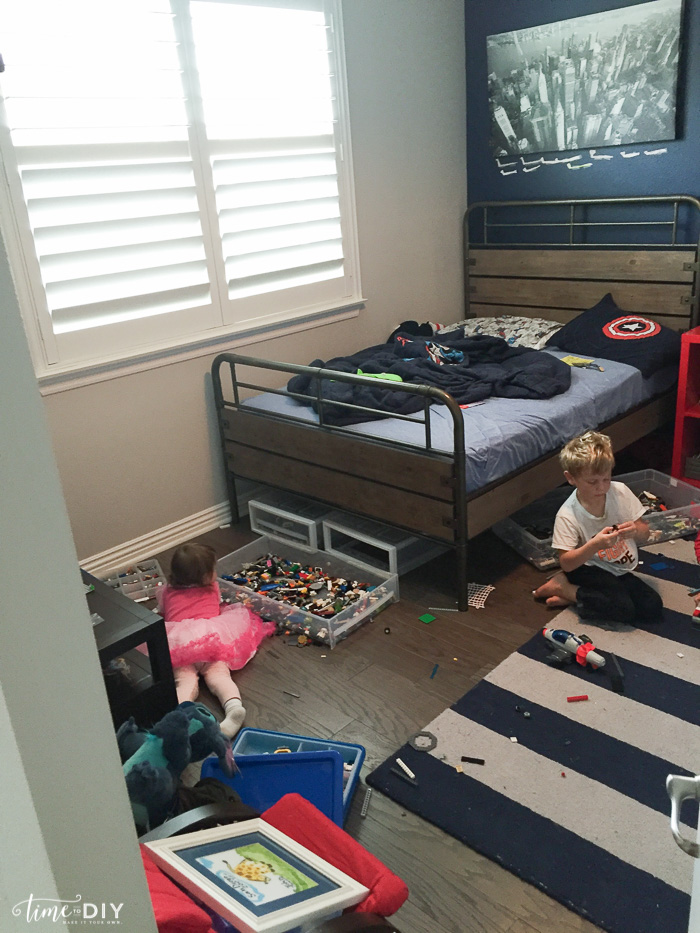
This room is still in progress, with one of the biggest hurdles being Legos storage. Here’s what we have going on currently (the littles playing while big brother is away, of course):
But other parts of the room are shaping up well!

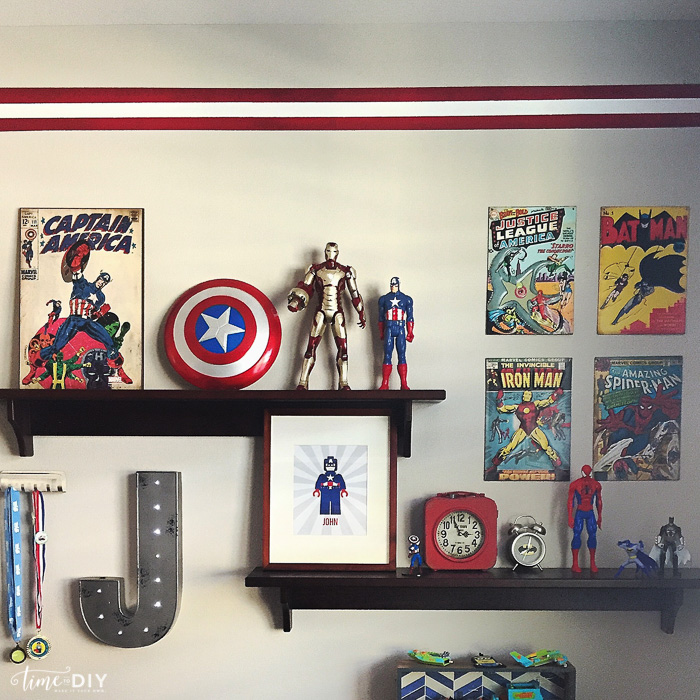
Will post more as I go along. Have fun getting those pictures up!
Follow along on Facebook | Instagram | Twitter for more DIY home decor ideas!


Thank you so much for this tutorial! What a smart idea. I typically use Command picture hanging strips, but after the (lightweight) mirror above our mantel crashed to the ground the other day, I should start using traditional hooks more often. Definitely pinning this for later!
I have had the same problems, Laura! I only use them for canvases or lightweight stuff now. Love your blog, by the way!
Going to use this trick today for the entry mirror that has been waiting patiently for it’s debut for about 6 weeks. #gasp
Yay! I can’t wait to see it, Rach!