A few days ago I was stressed. I hadn’t started my shopping or my Christmas card, and I felt behind in life. I actually had the “it’s so crazy during the holidays” thought, which is really unlike me because I love craziness in general so the holidays are right up my alley.
Then I went to storage area in our basement and saw this.
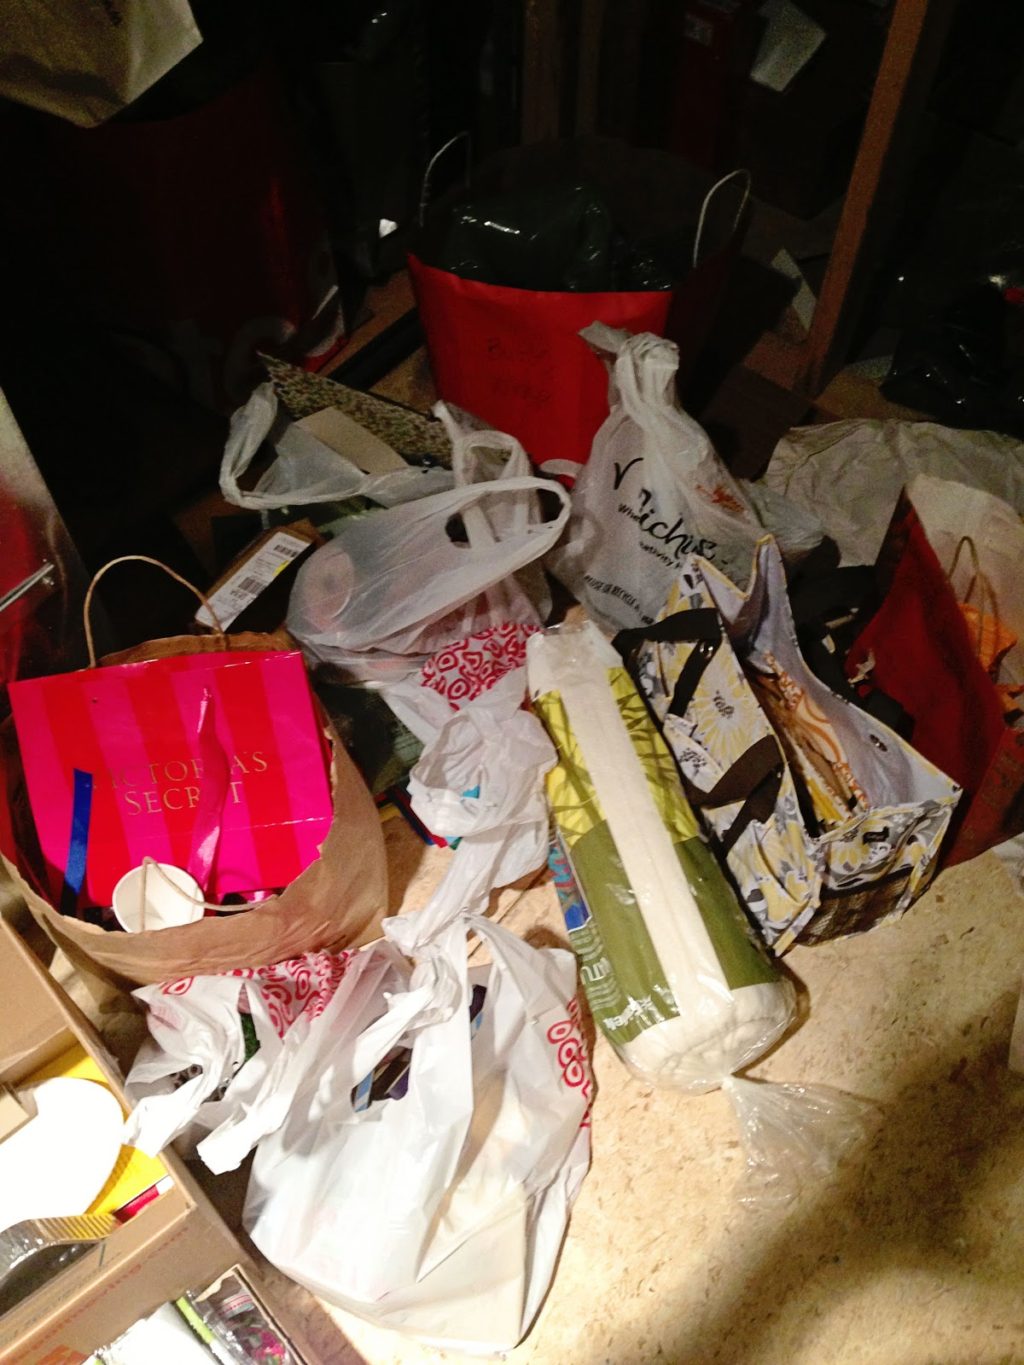
Yep, that’s piles and bags of stuff. And I think there may be a couple bags of trash there, too.
And then I looked around at the other “pile” areas. You know when you’re used to something around your house, but then you really see it? Yuck.
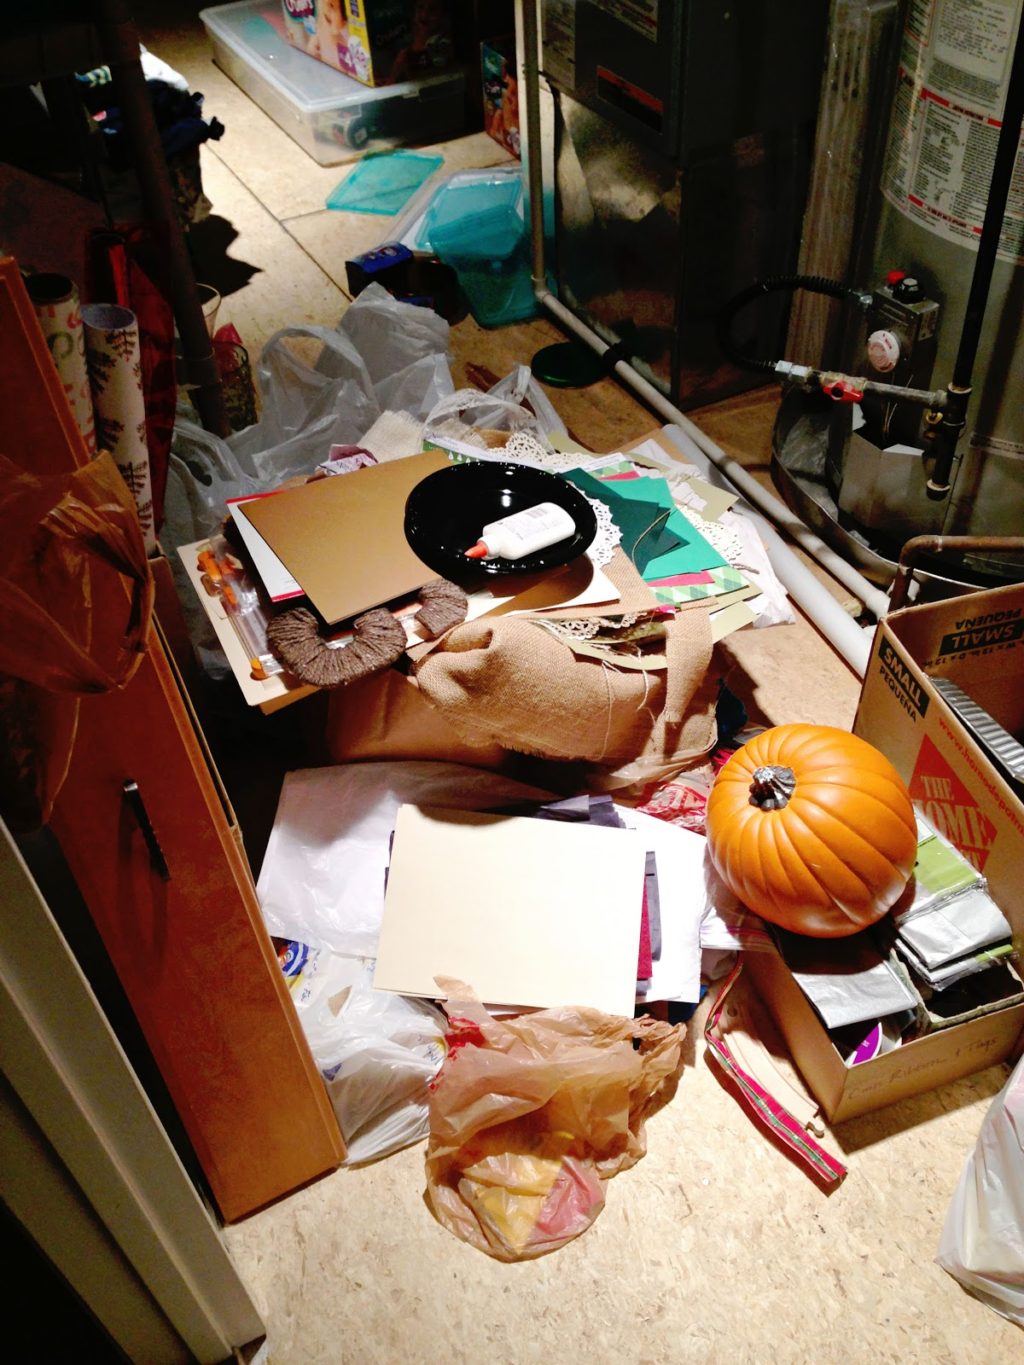
This was piles on top of piles even.
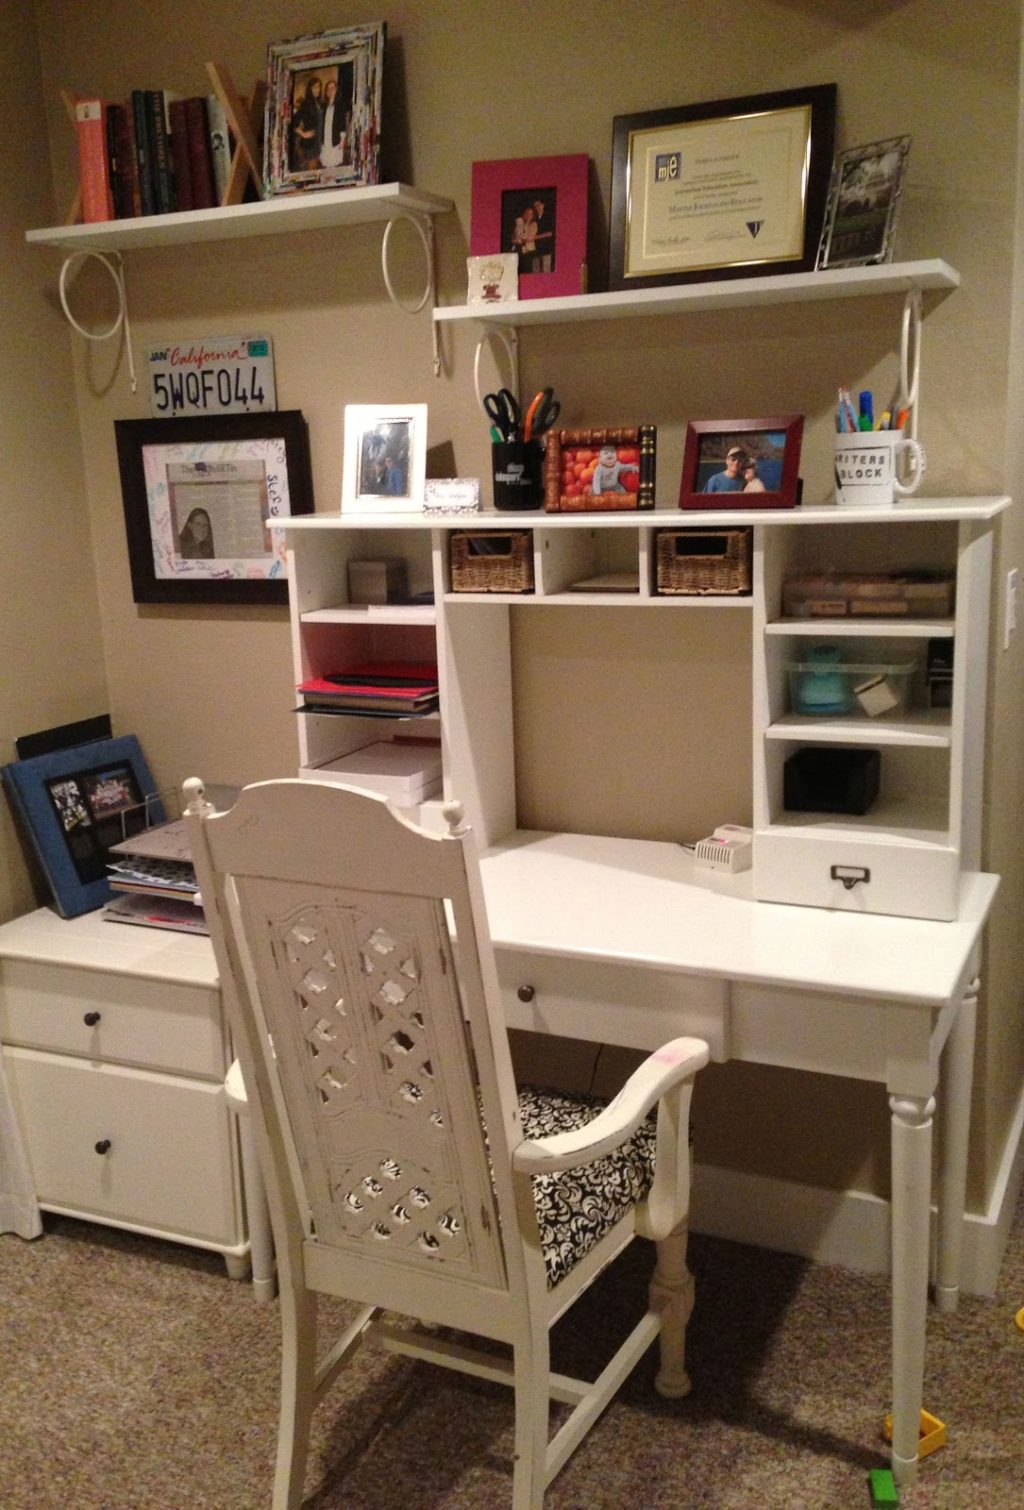
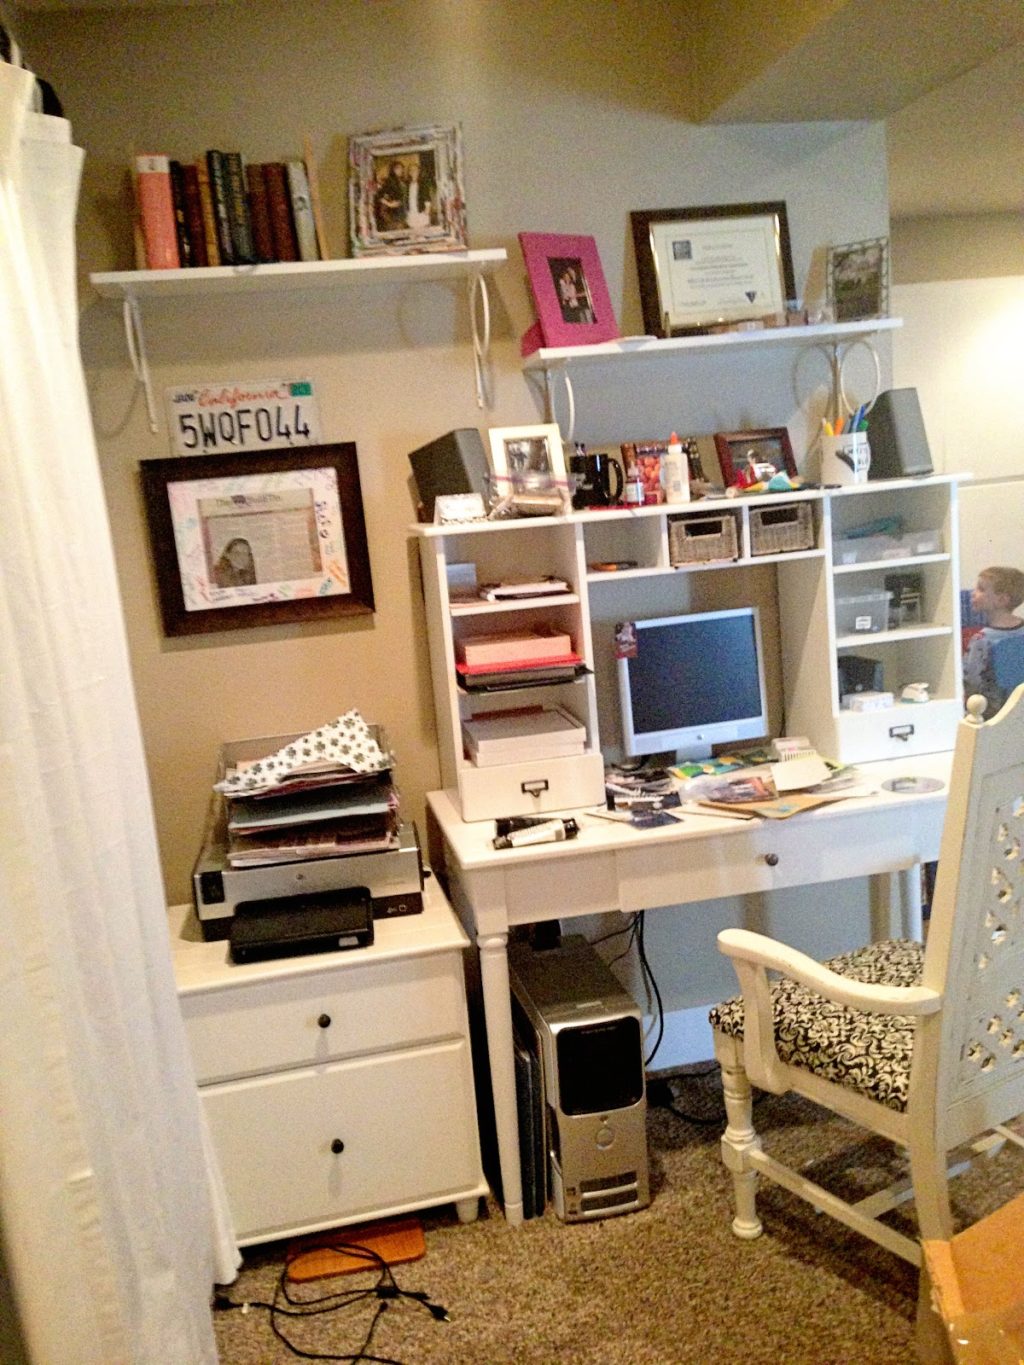
My desk area needed some work, too.
Even though I felt like I should have been working on other things, it was time to organize. It took a couple hours, but it was the best way to clear my head and get things in order before my version of Santa’s workshop.
Here are a couple things I did. It’s nothing fancy, but that’s why this blog is called Time to DIY.
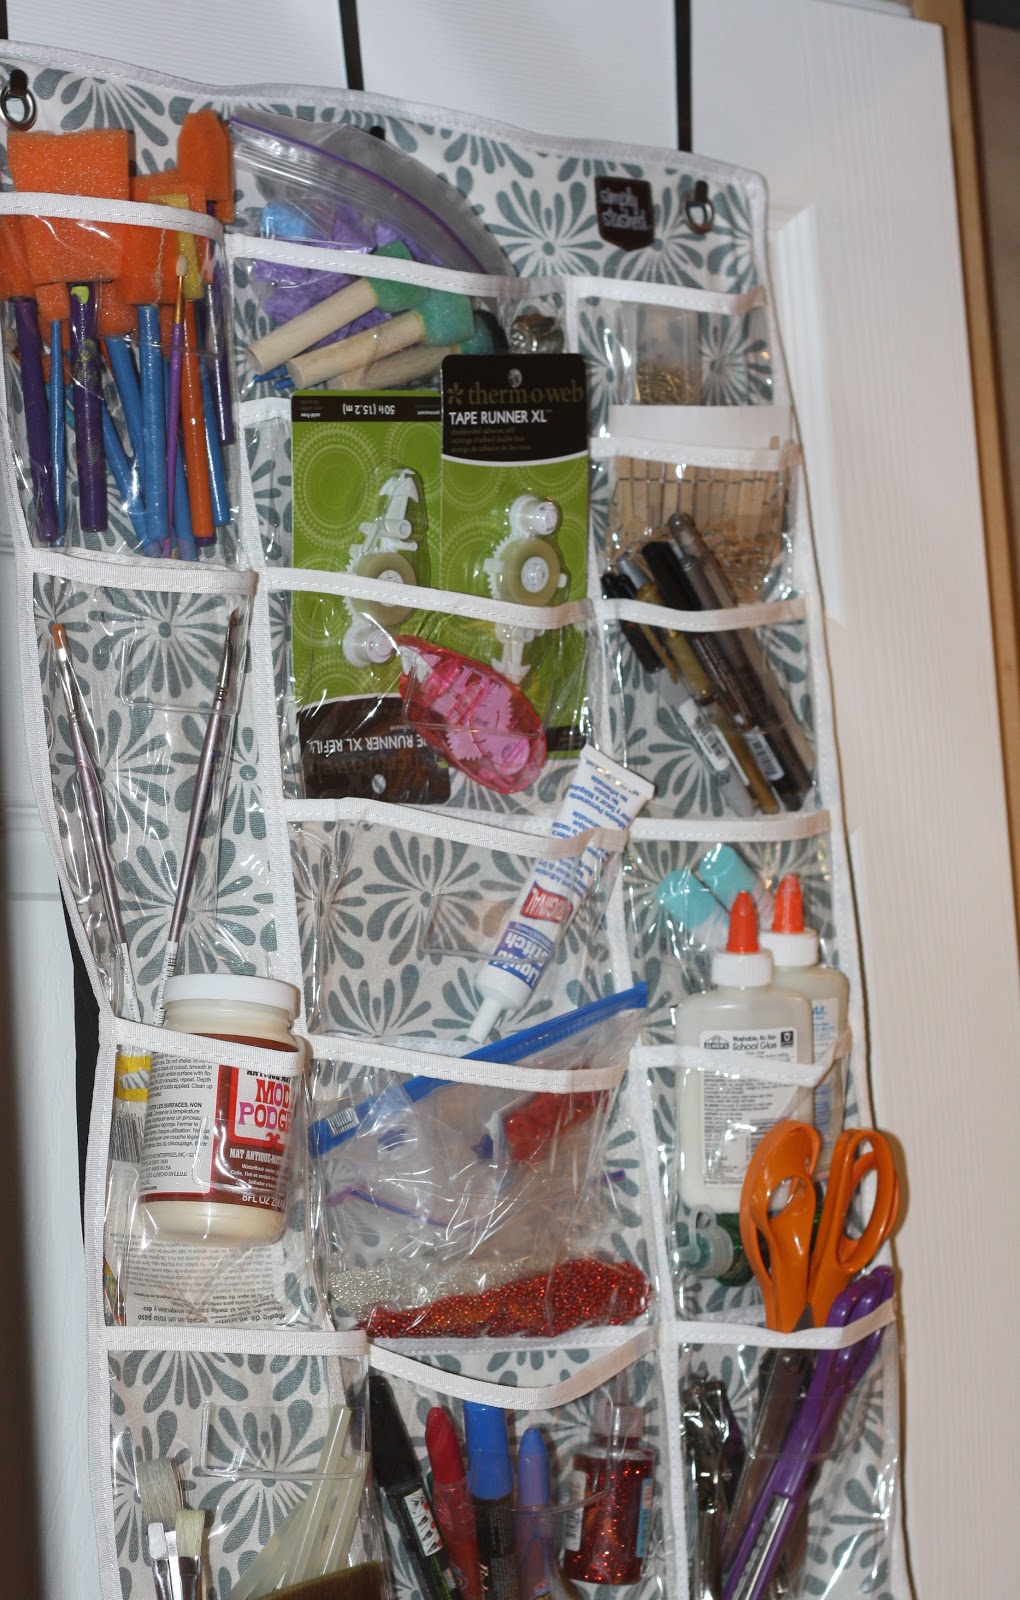
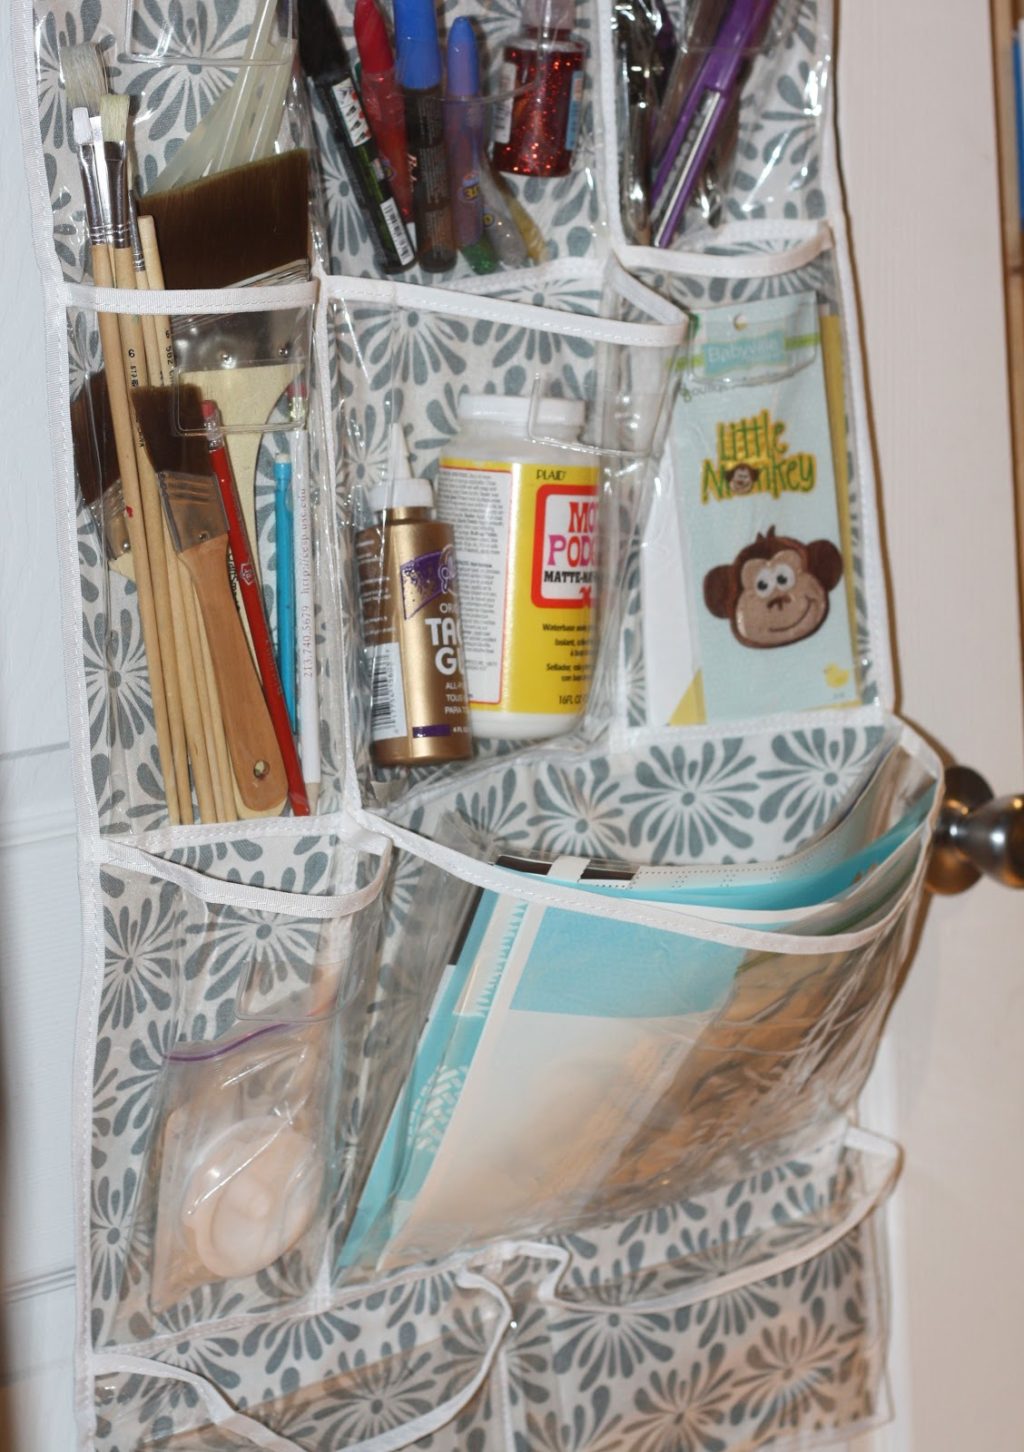
First I cleared out the bags and piles. Most of it was supplies I needed to put away, so I put them in this hanging bag I found on Zulily last year. It’s made specifically for crafting tools (well, in my world that is) and I love how I can see everything and it’s out of the way in my basement storage area. If I didn’t have a basement I would hang it in the guest room or master closet.
I’m lucky to have some cabinet space in the basement so I put my current project materials in one cabinet. The top shelf is for my upcoming projects, and the bottom is my “on deck staging area” for Christmas gifts projects.
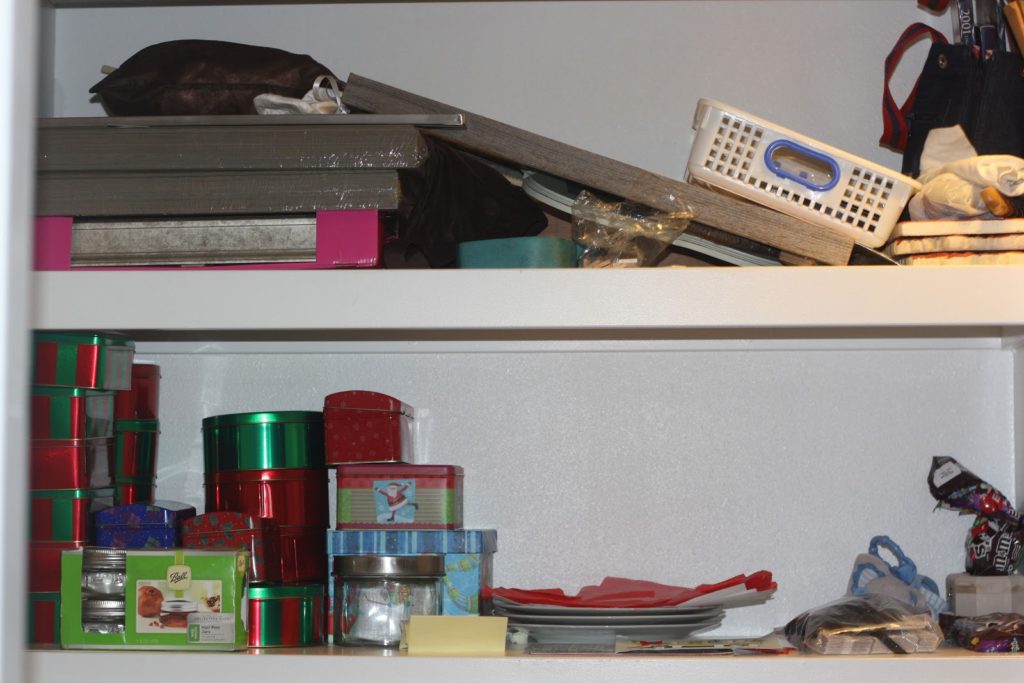
For this cabinet, top shelf is for stuff I am collecting for future projects – ideas that haven’t quite come to fruition yet, and then bottom shelf is for wrapping ribbon, bags and tissue paper. Someday I will get cute and wrap my diaper boxes with burlap, but right now I have more important projects. 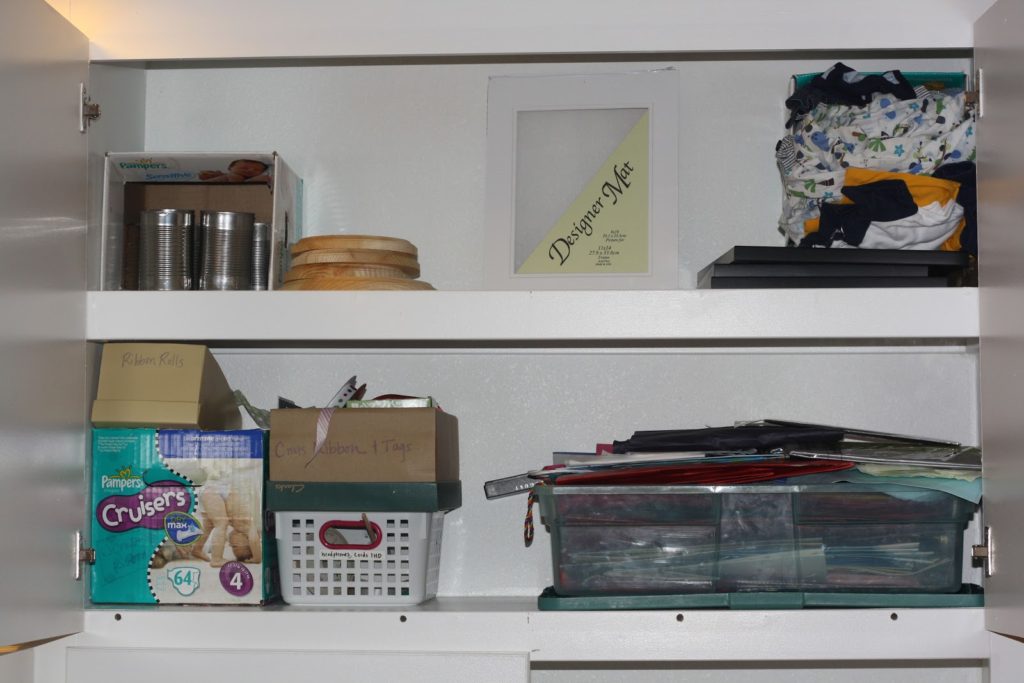
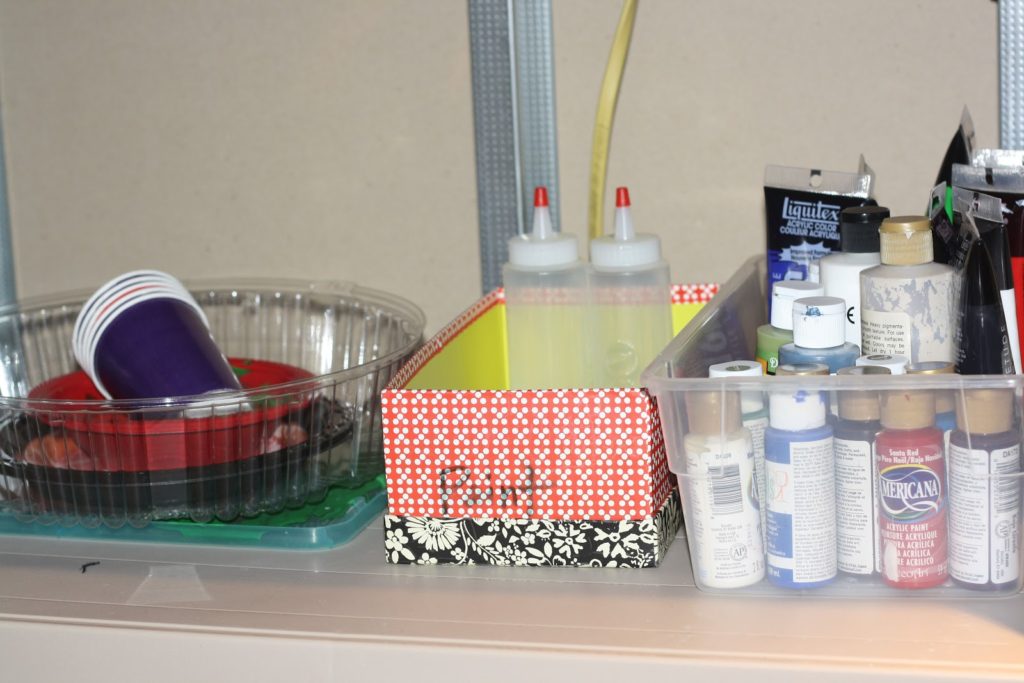
I got one of those fairly cheap hard plastic book shelves from Lowes and devoted this shelf to paint supplies. Up high in case the boys get to it, of course.
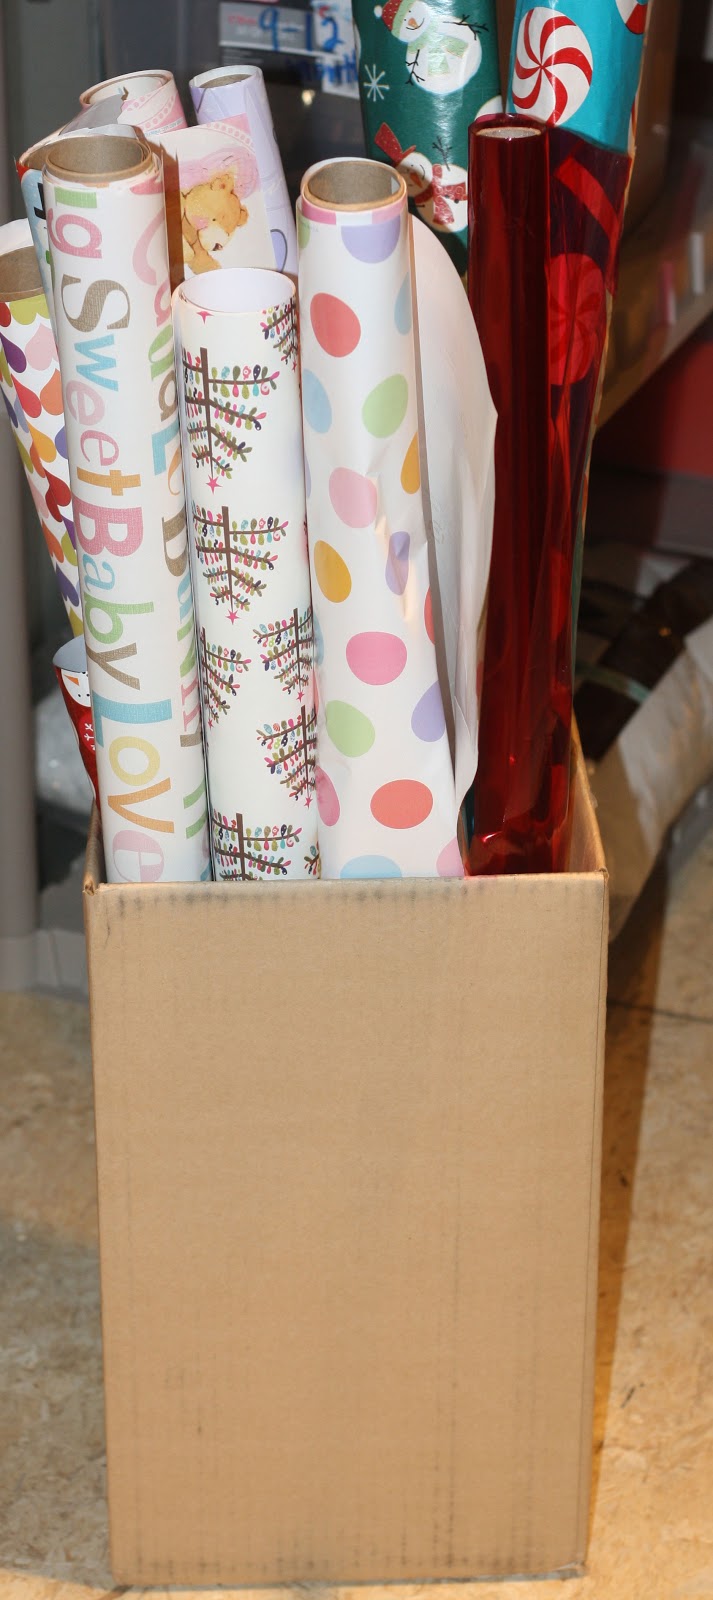
I found a tall box to store my wrapping paper. It’s not pretty, but it works.
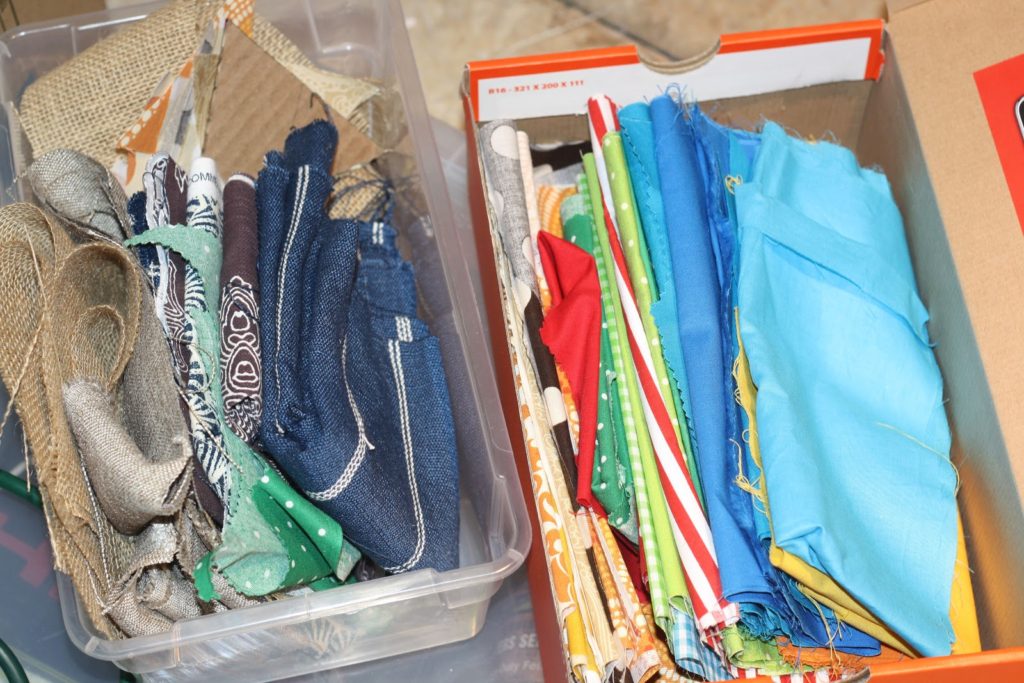
I’ve been looking around and pinning ideas to store fabric. I have an idea that involves my dad helping me build, so for now I used strips of cardboard and this plastic bin.

I needed to separate my scraps so I used the clear box for scraps and shoebox for upcoming-project fabric.
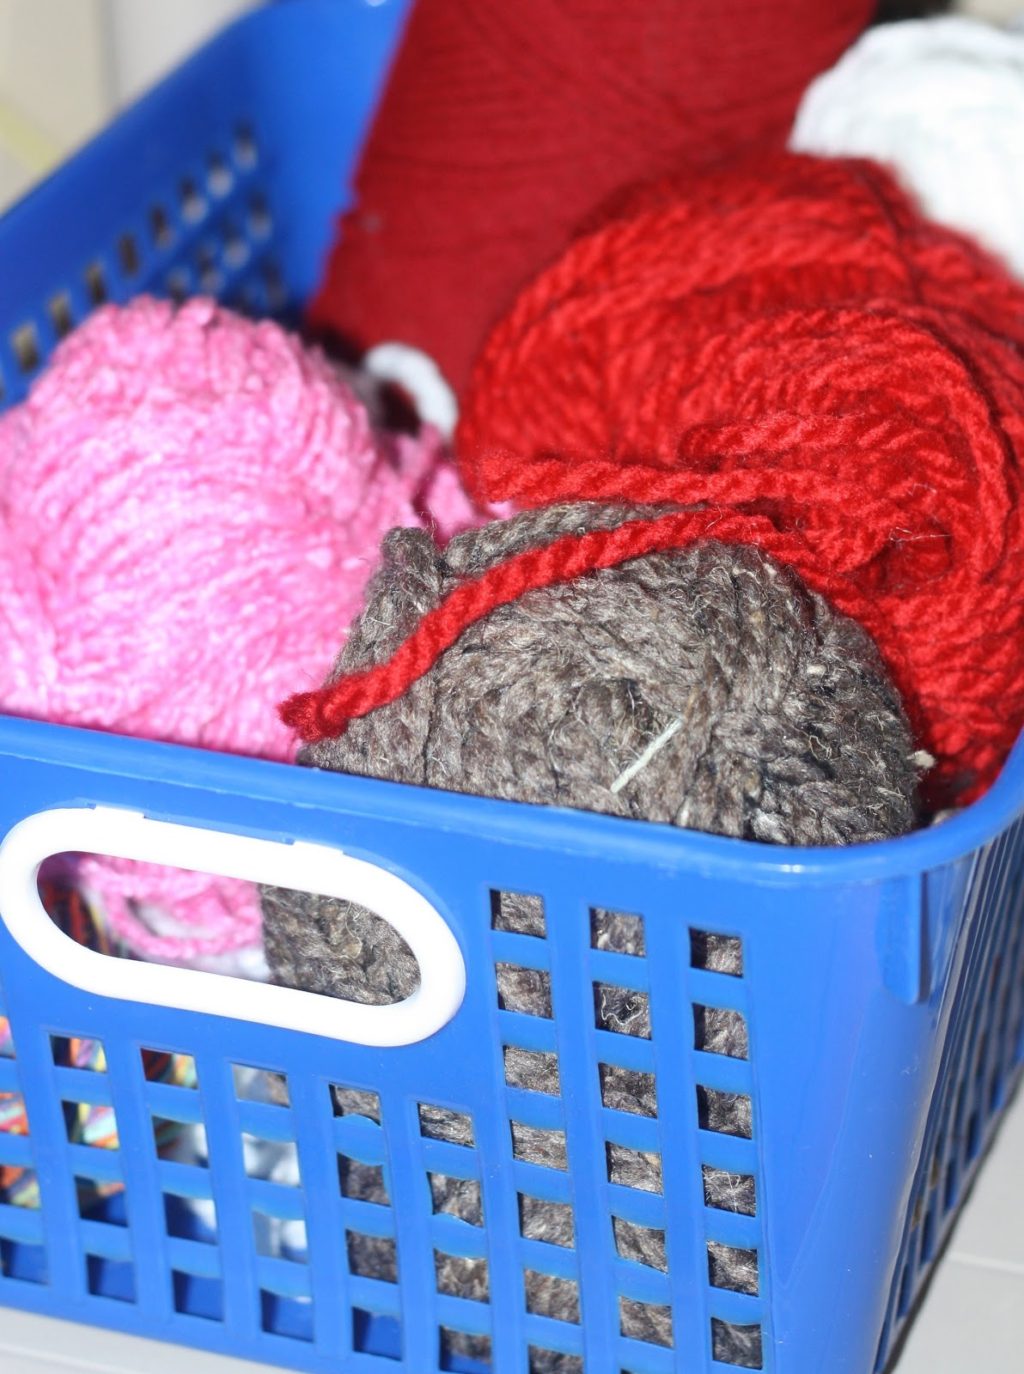
Yarn is in a basket on a shelf above the fabric.
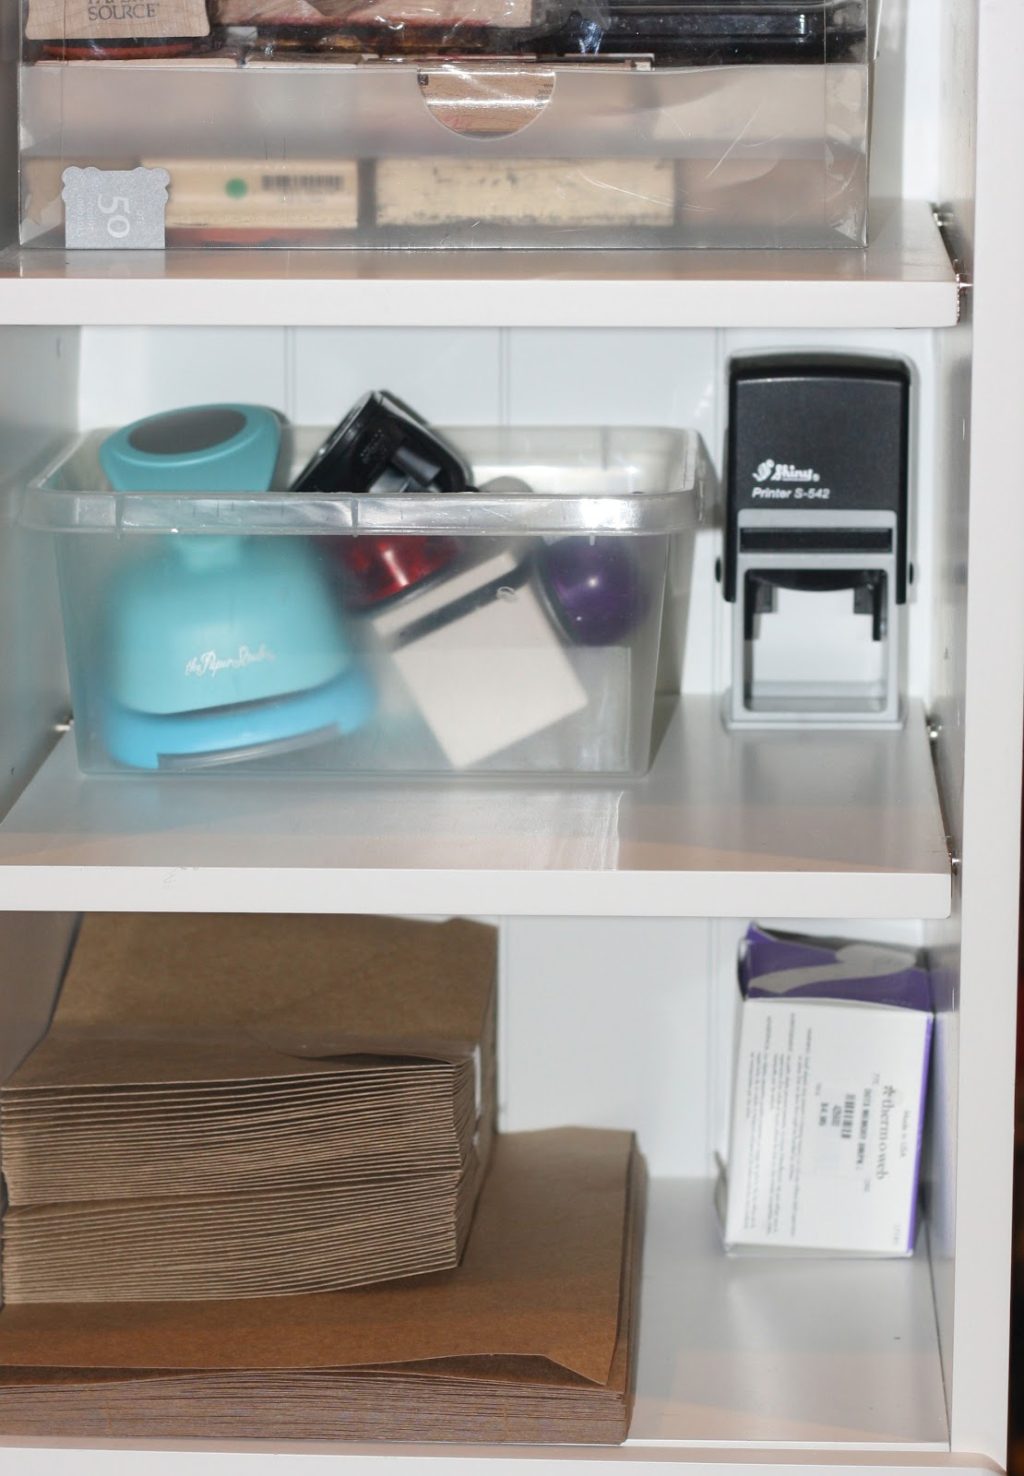
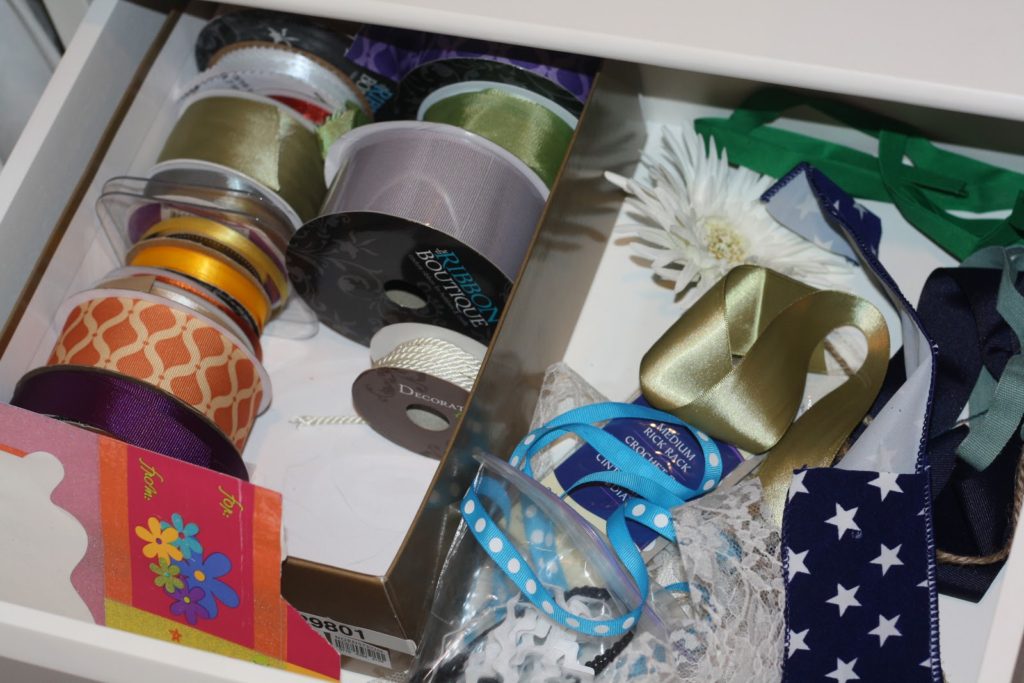
My desk area is now devoted to all things paper including cards, stickers, ribbon, stamps, embossing and the like. It’s my “wrapping & packaging” area.
This shelf houses my stamping gear, punch tools, some cards and glue dots.
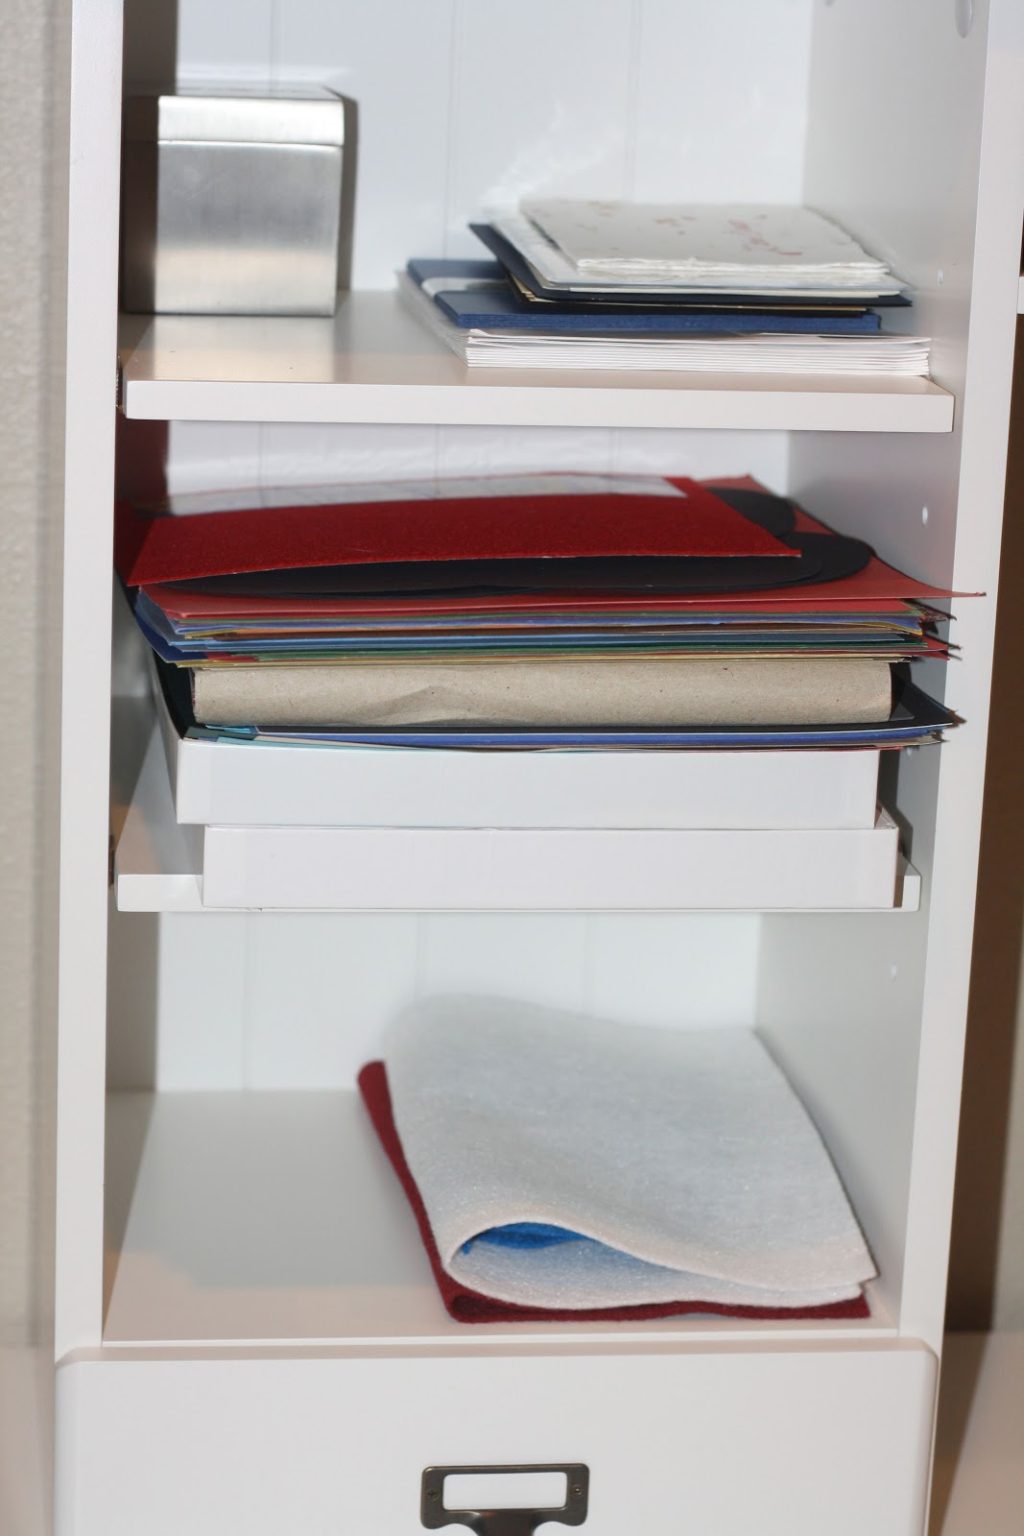
This shelf is for card stock, general paper and felt.
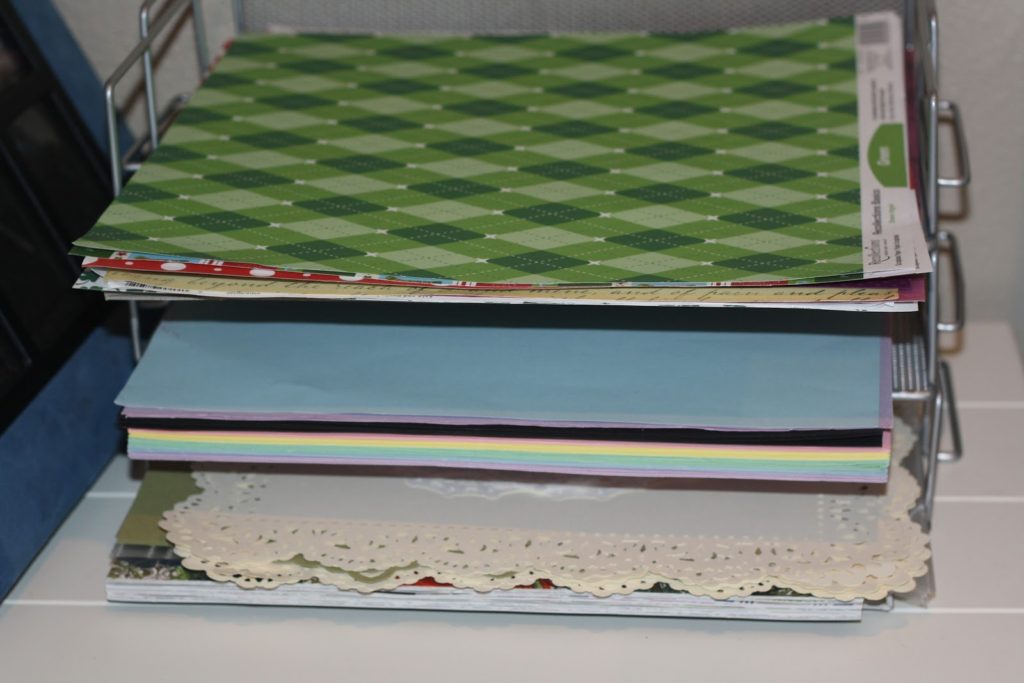
My scrapbook paper didn’t fit in the desk area so I used one of my storage racks from my teaching days.
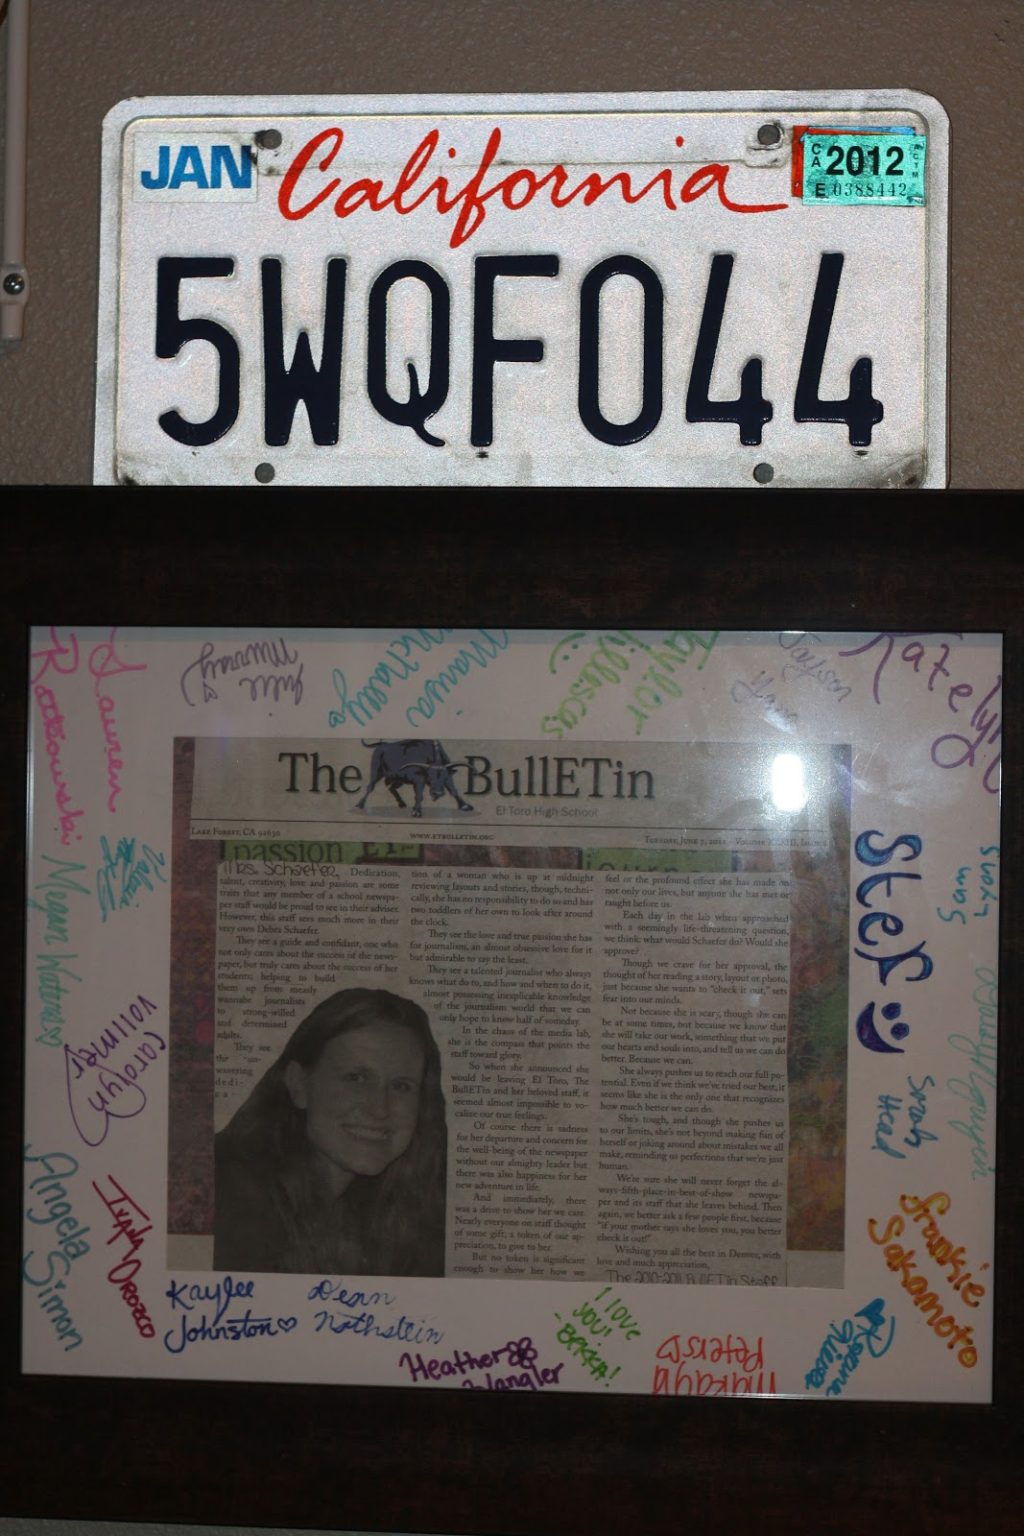
And speaking of teaching, I tried to include inspirational pieces on the wall above the desk area like pictures, books, and this very special gift my students gave me when I “retired”. The license plate is obviously from the good ol’ days in California.
This probably isn’t the best way to organize my ribbon, but it works for now. Spools in a shoebox on the left and scraps on the right. I saw a pin where they used tongue depressors to wrap ribbon scraps. I will probably do that eventually.
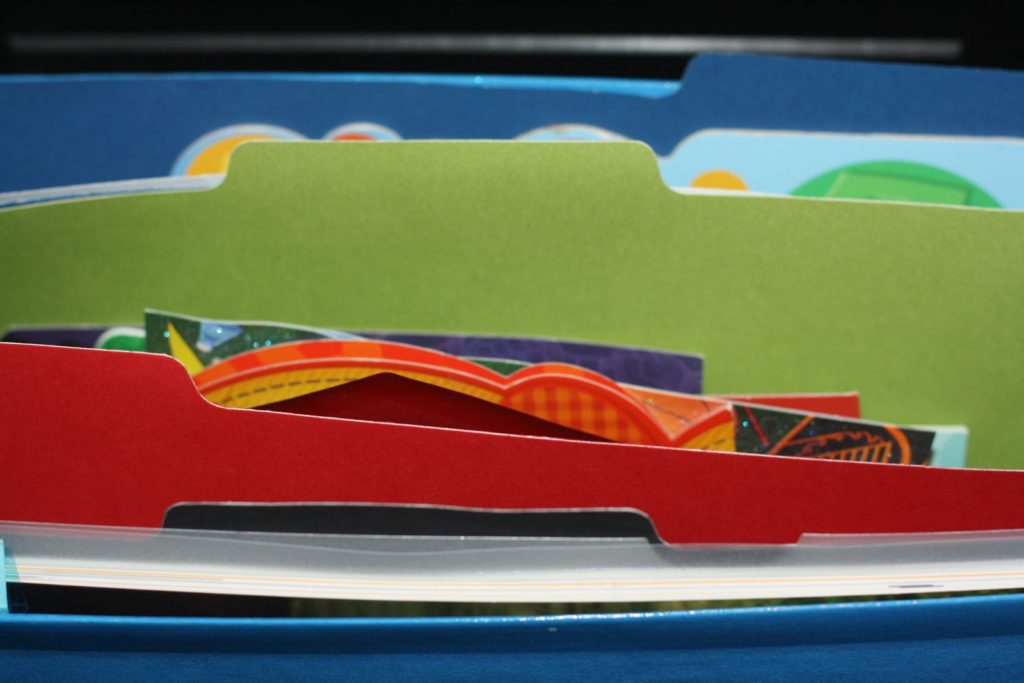
I had a lot of card stock scraps that I didn’t want to get rid of, but didn’t know how to store them. I used colored file folders to separate them by color.
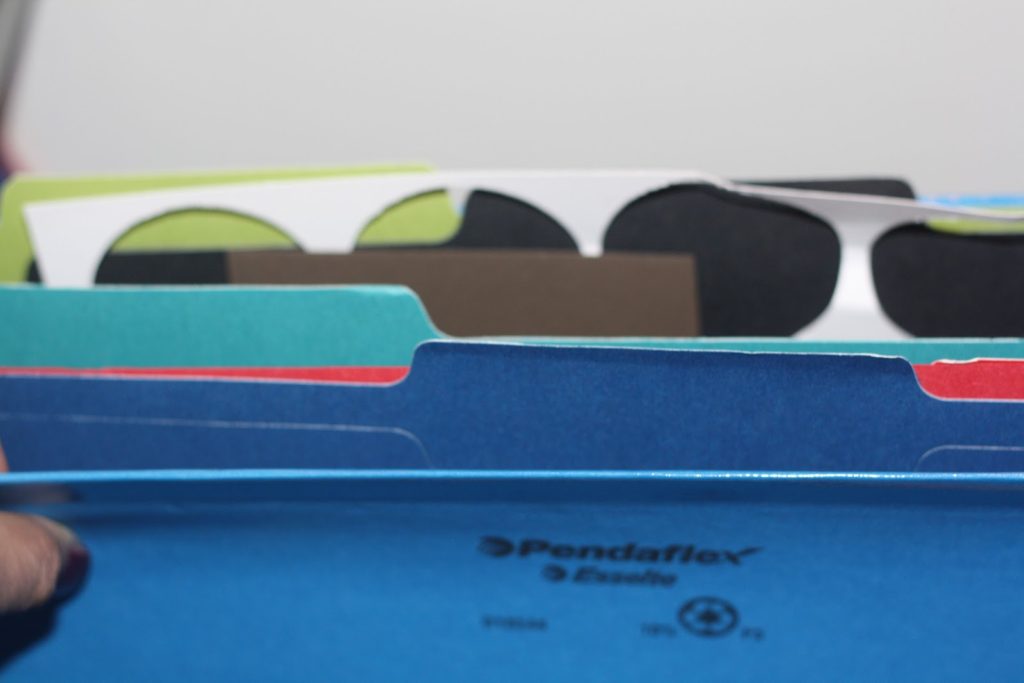
I decided to do the same with the boys’ memorabilia items like photos, cards, etc. Their folders are their favorite colors. At some point I will add these items to their baby books or scrapbooks, but this is a good fix for now.
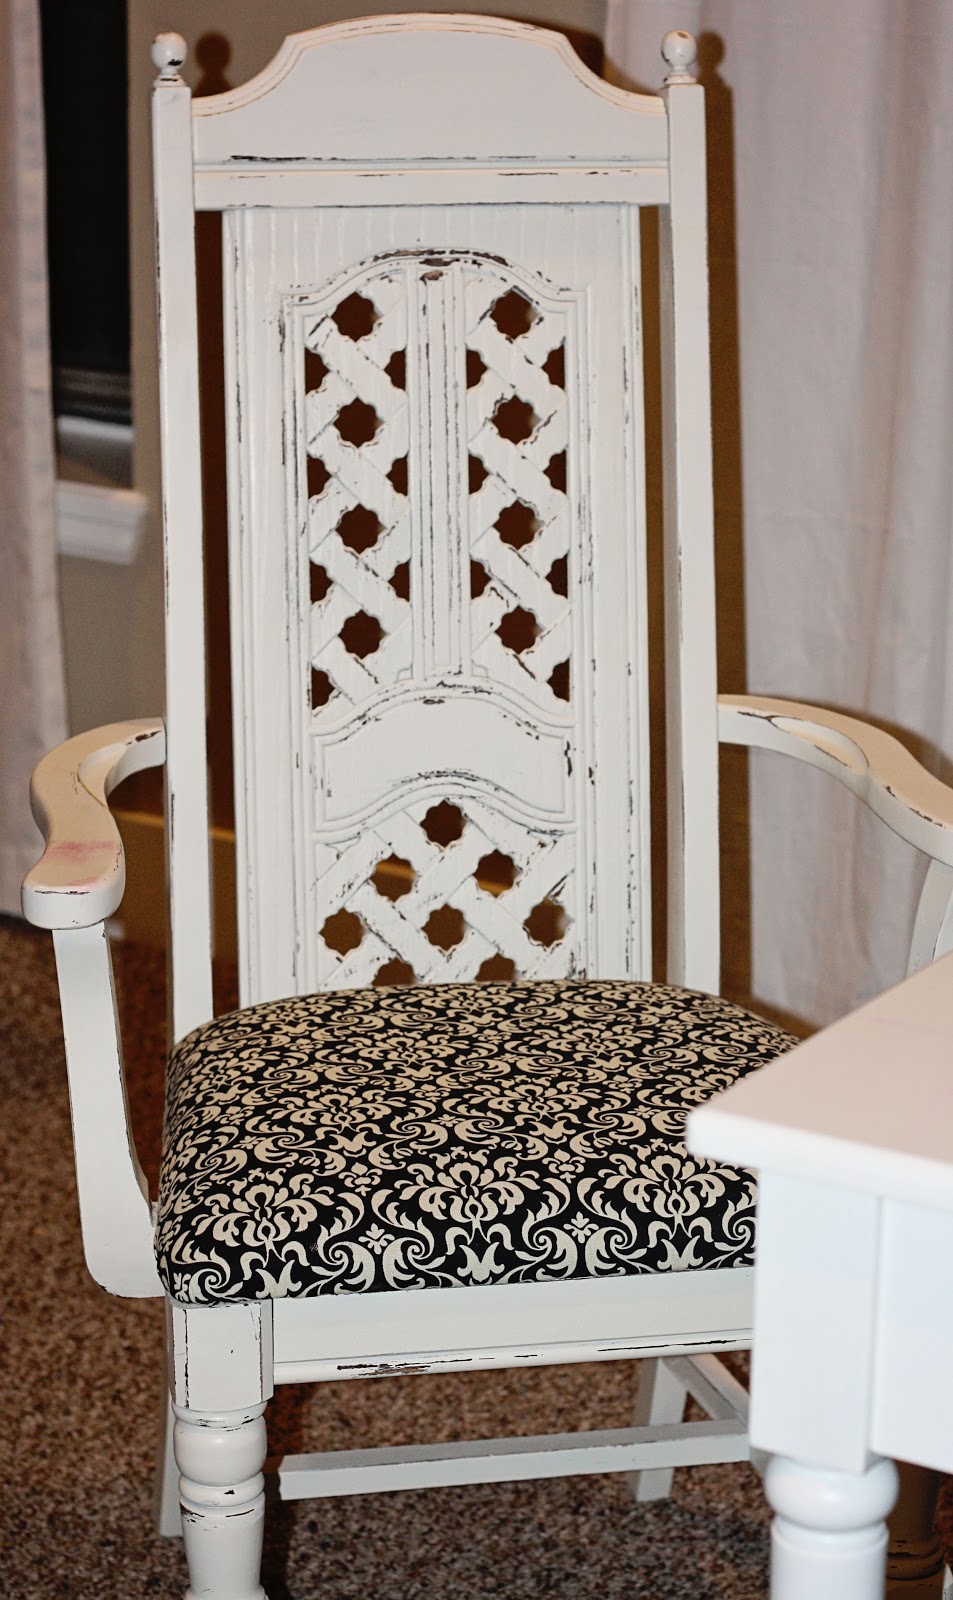
Check out this awesome chair. I got it at the local antique/crafter’s shops for $60.
This is a new Thirty-One bag I was very excited to “win” at a silent auction. I’m going to use it to store/transport my current projects and it will also double as a camera bag because it has the outside pockets for lenses and camera gear.

All of my piles are now gone and it’s definitely cleared my head. I even found some things I forgot I had! It was two hours well spent.
Thanks for stopping by Time to DIY! You can also “like” my page on Facebook or follow me on Twitter.


I'm totally impressed that that only took you 2 hours! I think my basement would take a week to organize…lol.
Well, it was about a year of thought beforehand. It just hadn't actually done it yet. Haha.