
When it comes to wedding anniversary gifts, we follow the Hallmark anniversary gift guide, but it’s not always perfect. This year’s (9th) was pottery, so we both shopped at Pottery Barn for that obligatory gift, but I wanted something a little more meaningful, like a DIY with anniversary photos, but I didn’t have any specific ideas.
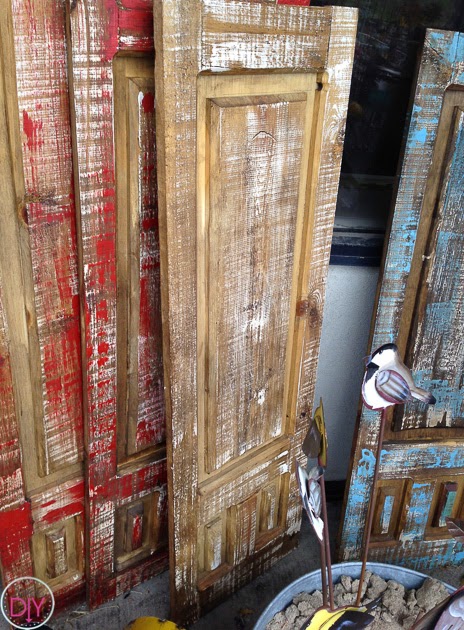
Then I saw this beauty at Parker Shoppes. I knew it was “the one,” but I wasn’t totally sure what to do with it. I thought about mod podging some photos, etc., and then I ran the idea by one of my DIYer friends who does a lot of wood projects and she sent me some photos which sparked an idea.
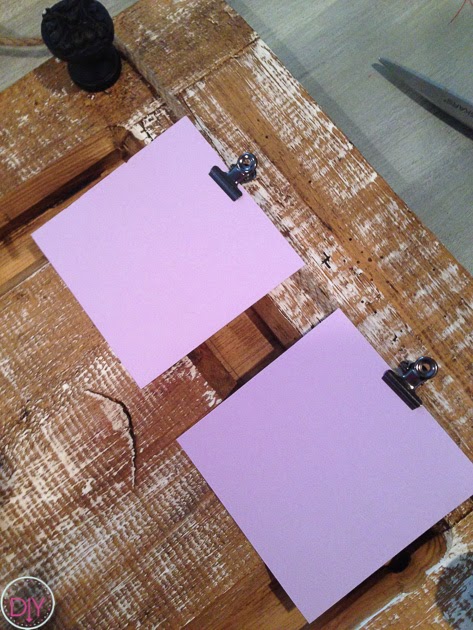
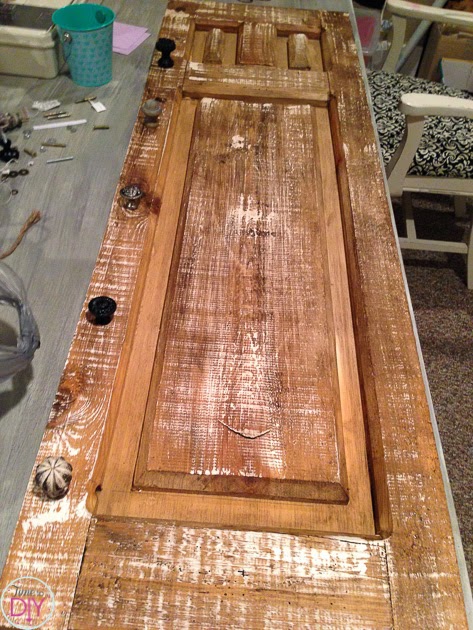
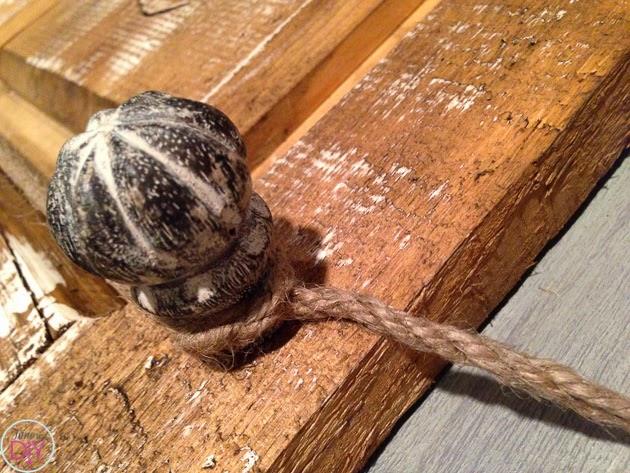
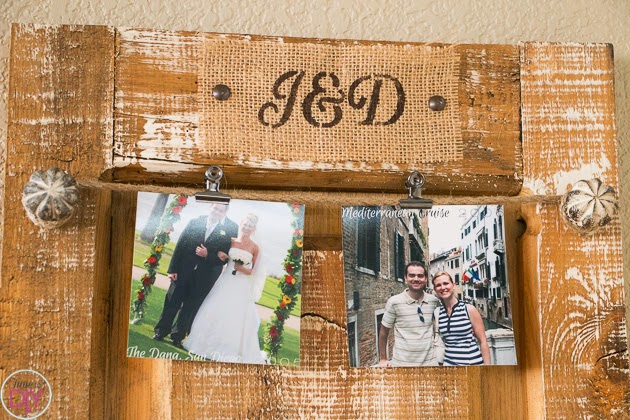
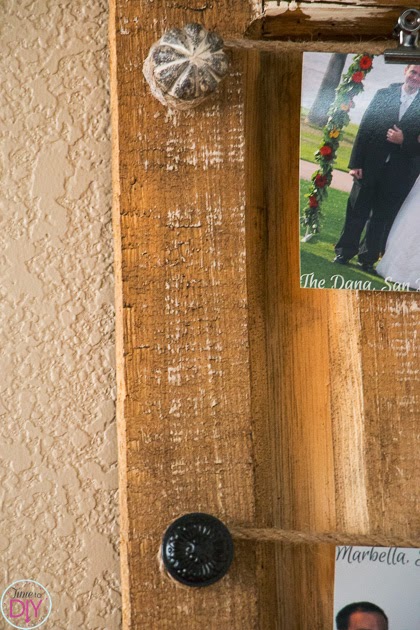
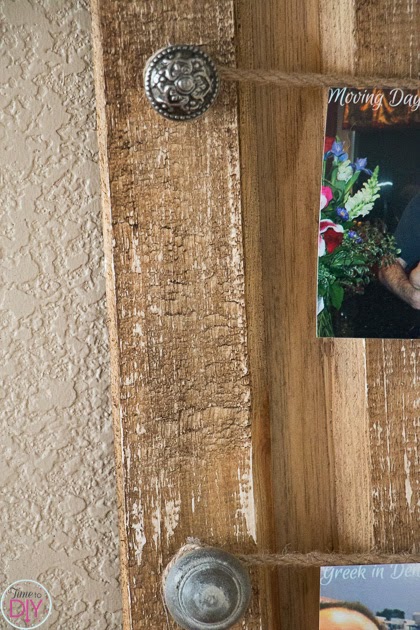
I had bought a couple knobs to put on the door for decoration, and then I realized I could use more knobs to hang some jute and then clip the photos. Off to Hobby Lobby I went for more knobs, and I lucked out: they were 50 percent off as well.
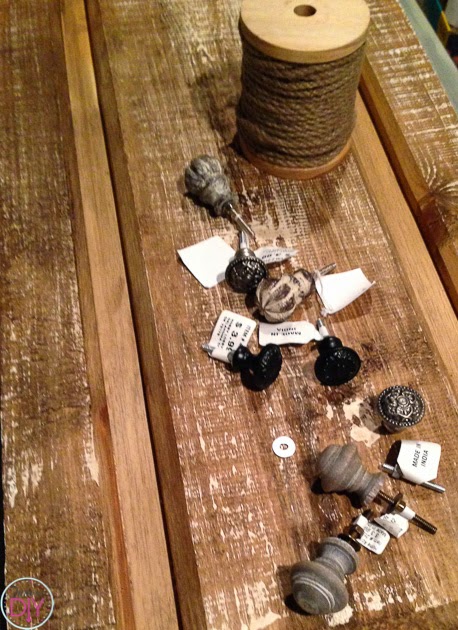
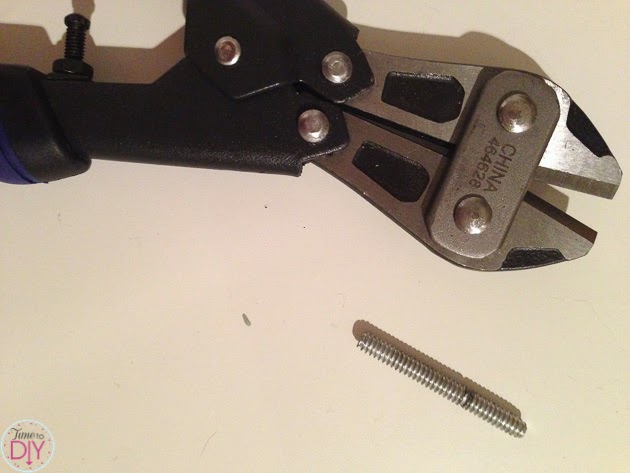
Only one problem: the screws were too long.

This one was really annoying, barely too long.
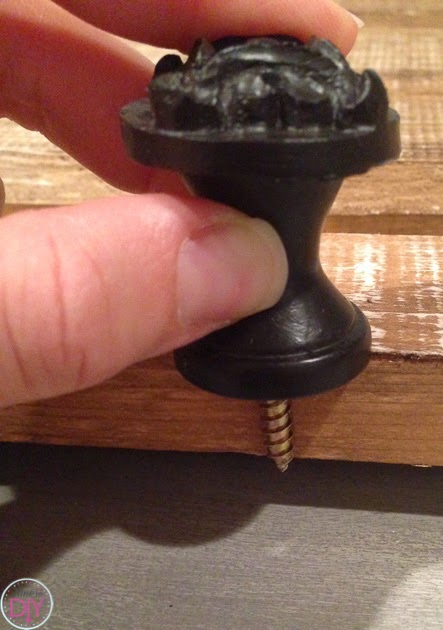
So off to Lowes I went for some bolt cutters. The guy told me that these would be fine, but either I’m really weak or he’s crazy (maybe a little of both), and I should have bought bigger bolt cutters because it was brutal getting them cut.
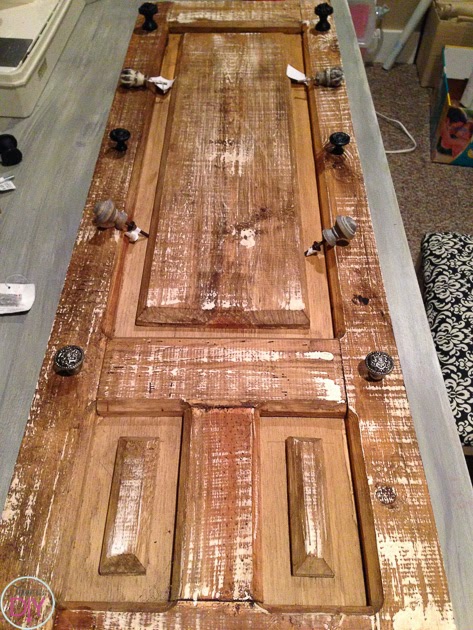
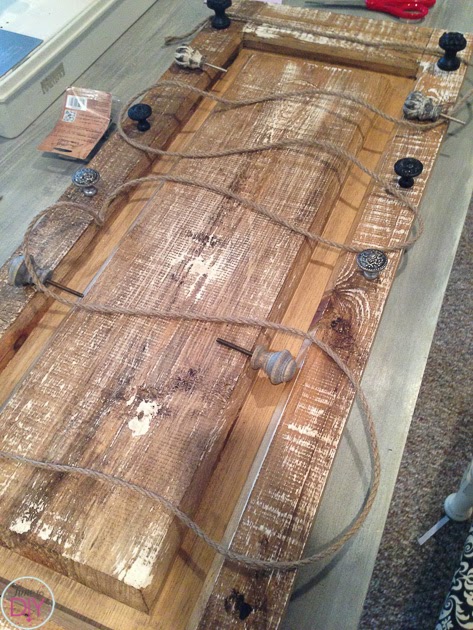
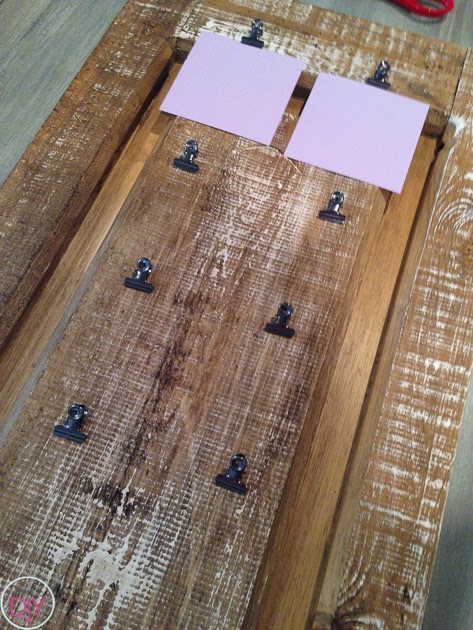
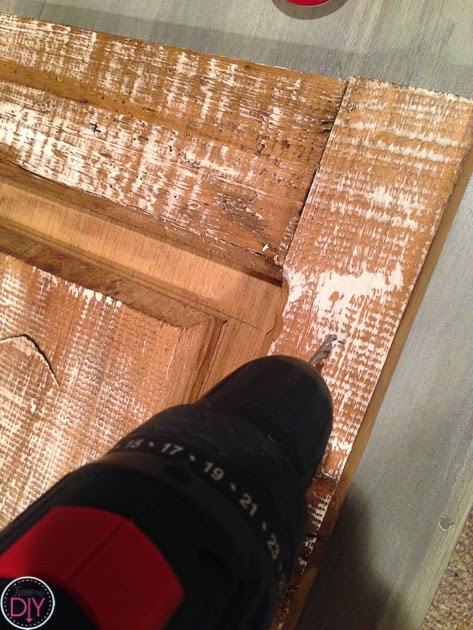
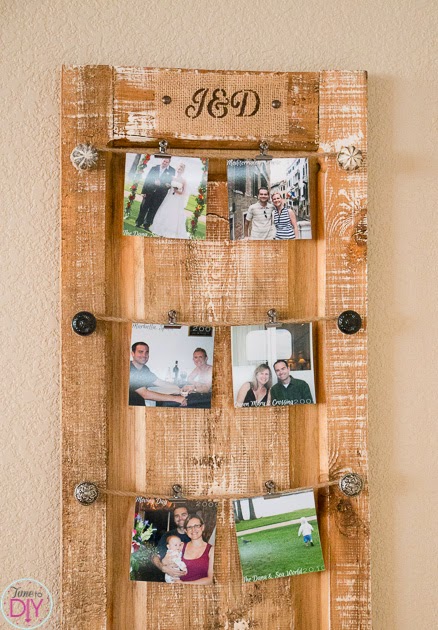
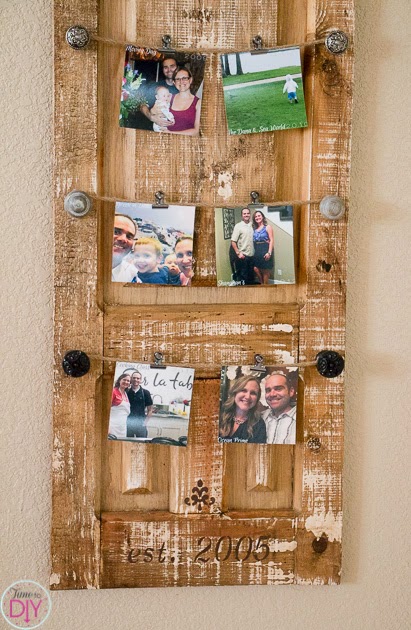
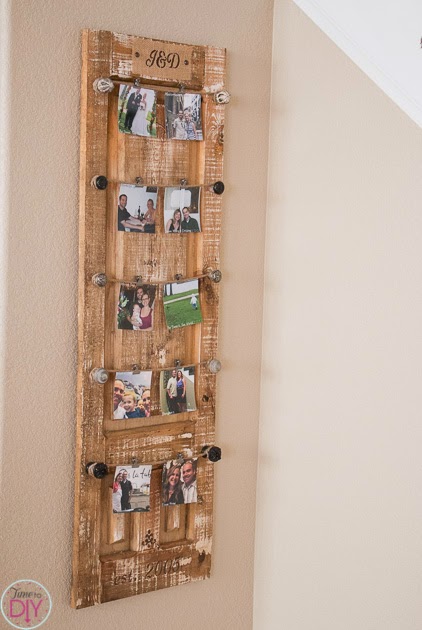
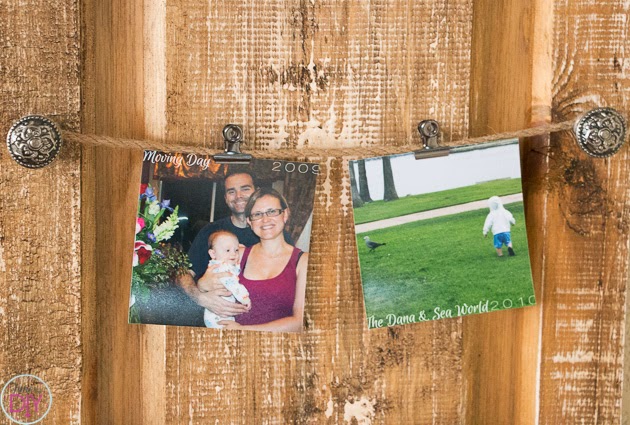
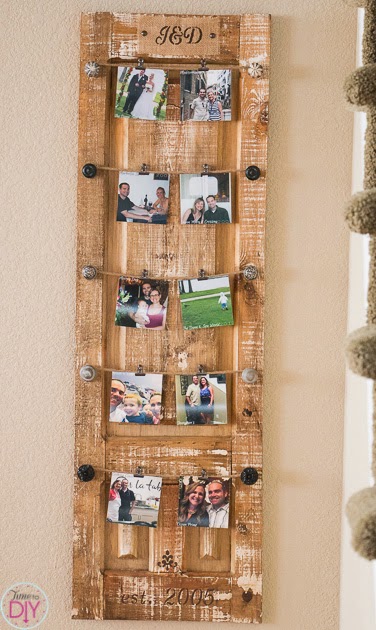
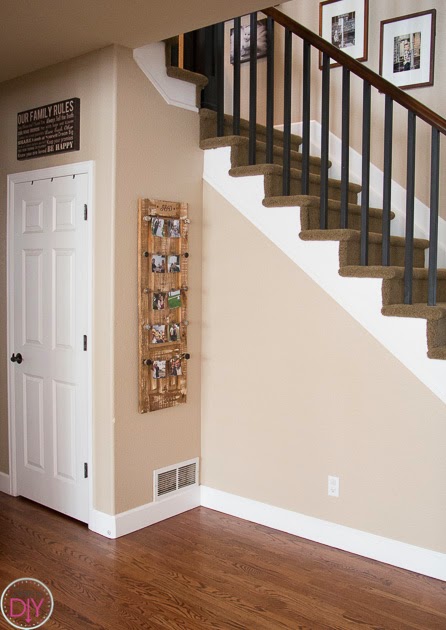
I did a lot of staging and measuring before I started drilling. I thought a lot about how many photos to hang because up to 14 would have fit and then I could have added anniversary photos subsequent years, but then it hit me: I need nine photos because it’s our 9th anniversary. Simple concept, right? So I did five rows, one wedding photo and nine anniversary pictures.
I used pencil to mark it before drilling. And, yes, I used a seamstress tape measure – it worked well. I checked and rechecked that all was even.

I finally felt ready for the drill!

Then I tied the jute and hot glued just to be sure.
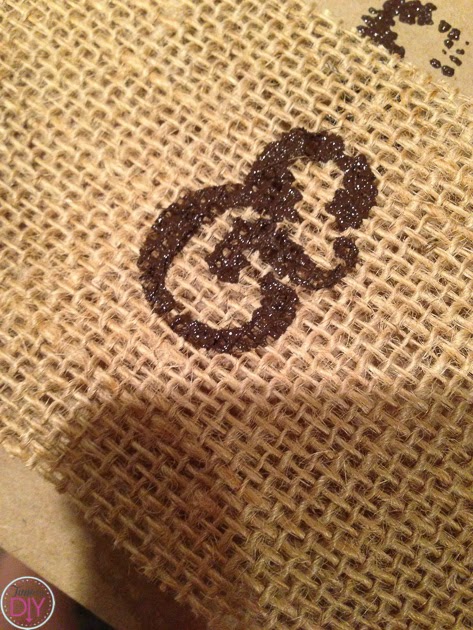
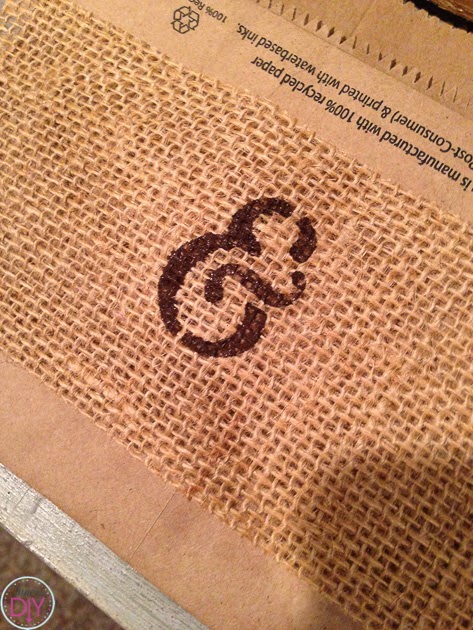
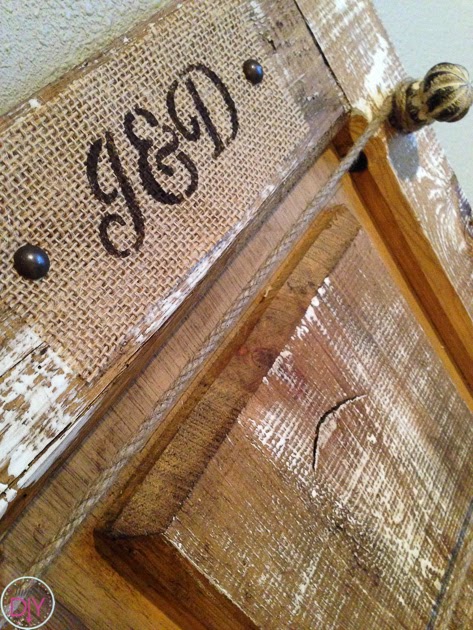
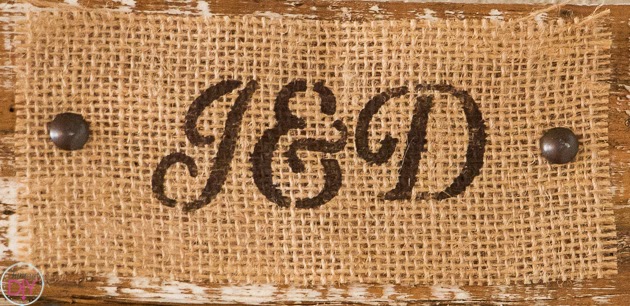
I stenciled the “J&D” on burlap.
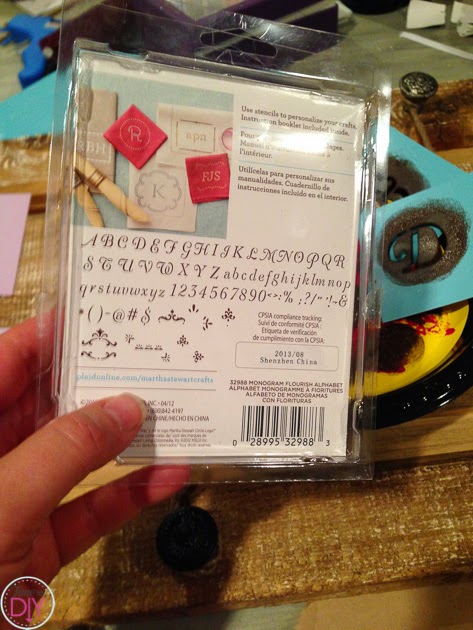
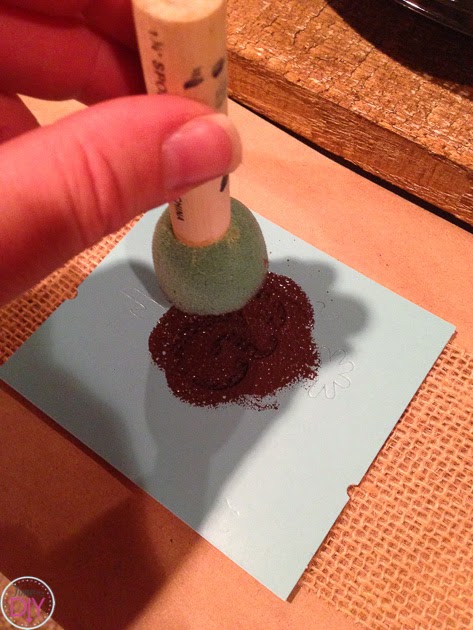
This is what happens when you don’t blot your paint enough before stenciling.
That’s better!
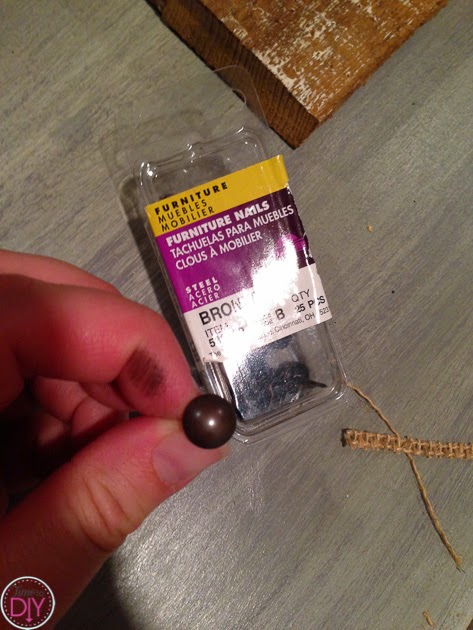
And I used these guys to secure it, and they added a little flair, too.
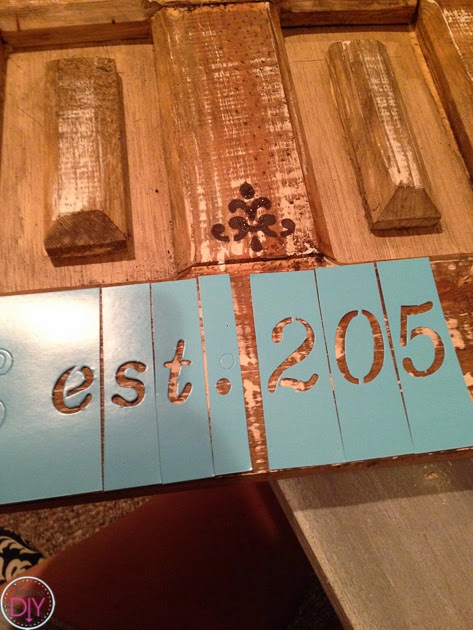
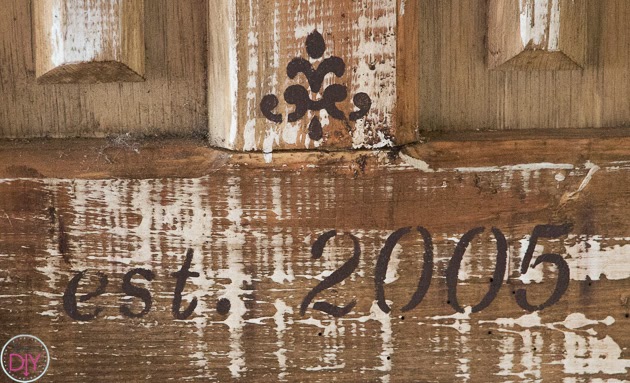
I decided to go with stenciling directly on the wood for the design and “est. 2005.”
There was a hole already in the back of the door for an anchor, but because the door was so heavy I also secured it with several Command strips.
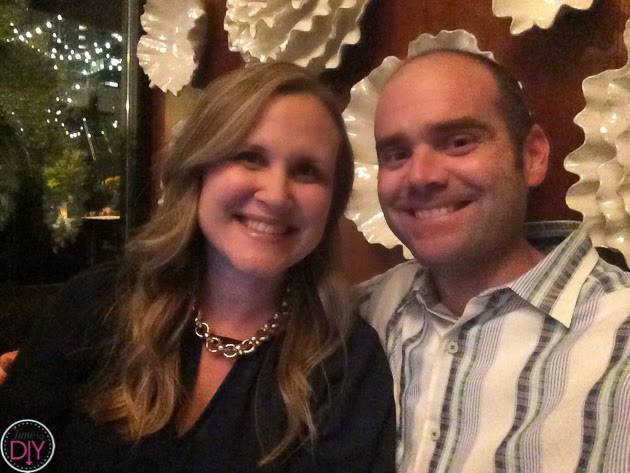
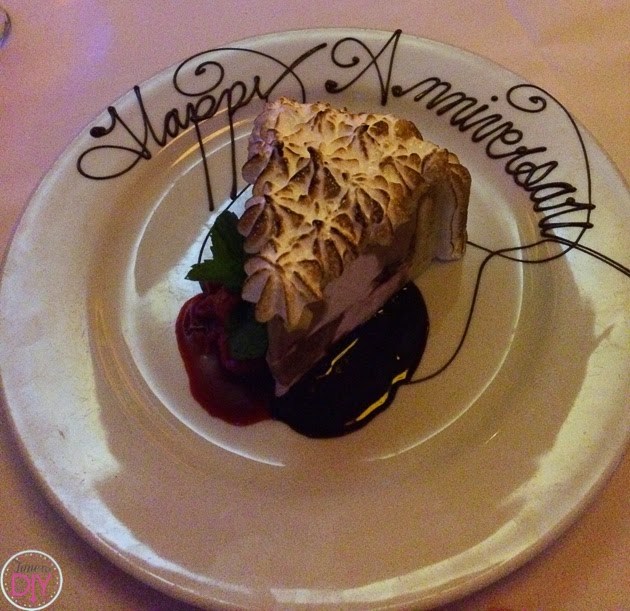
Finishing a DIY project and then a date night. It doesn’t get any better than that.


That is so sweet.
Thank you, Christy! xoxo