I love wall decals! Such an easy way to add some interest and color to a focal wall. But like gallery walls, they can be a little tricky, especially if you’ve got those textured walls, so I’ve put together a few tips for laying out and applying them.

Step 1: Pick out decals
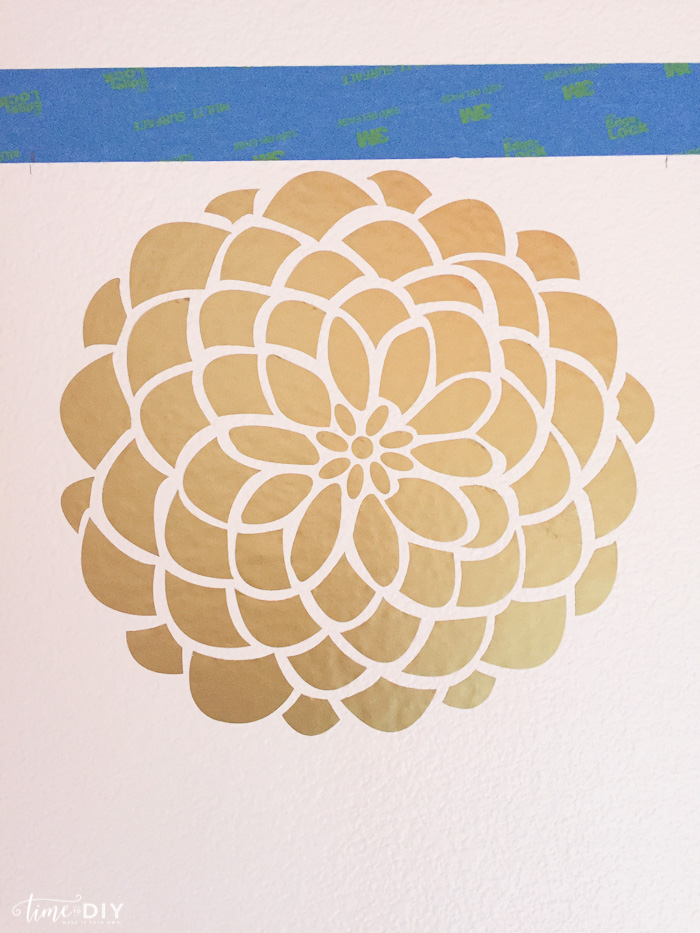
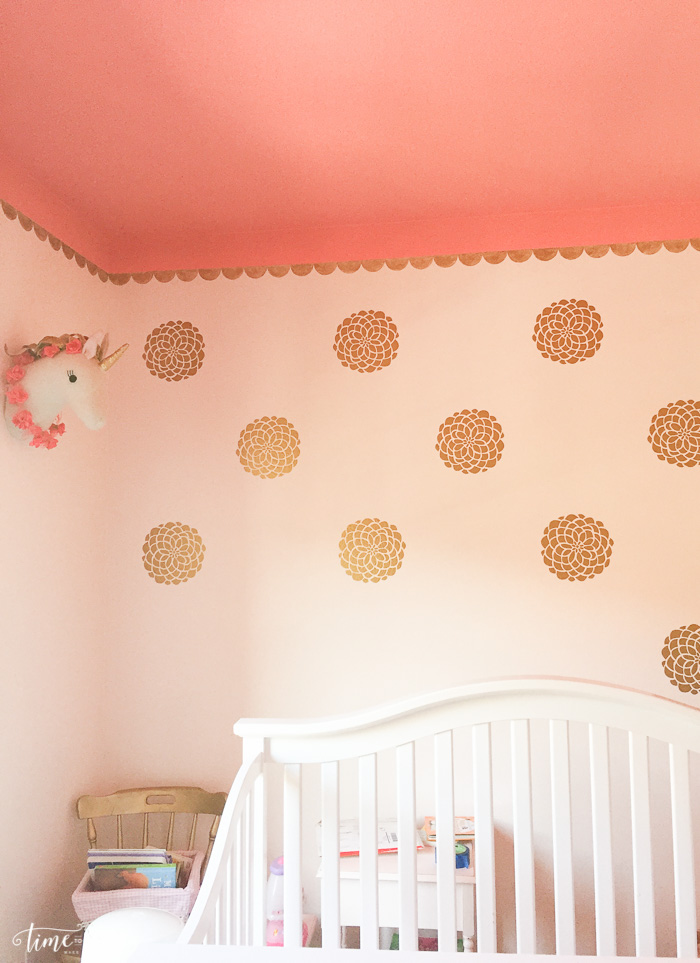
My go-to searches are Amazon, Target or Etsy (Classy Clutter has some cute ones!). These gold flower decals in my daughter’s room are from Byrdie Graphics.
Just make sure they work for your wall texture and finish. Some Etsy vendors will send samples so you can make sure. I’ve applied decals to very textured, glossy and wallpapered walls, and will explain some tips below.
You can also cut decals yourself! I use a Silhouette Cameo for all my cutting, and my go-to girl for all things Cameo is Melissa from Silhouette School, and she has a great tutorial on cutting vinyl wall decals.
Step 2: Measure and mock-up decals
This step is key because ain’t nobody got time for applying decals multiple times! Especially when some can’t be reapplied.
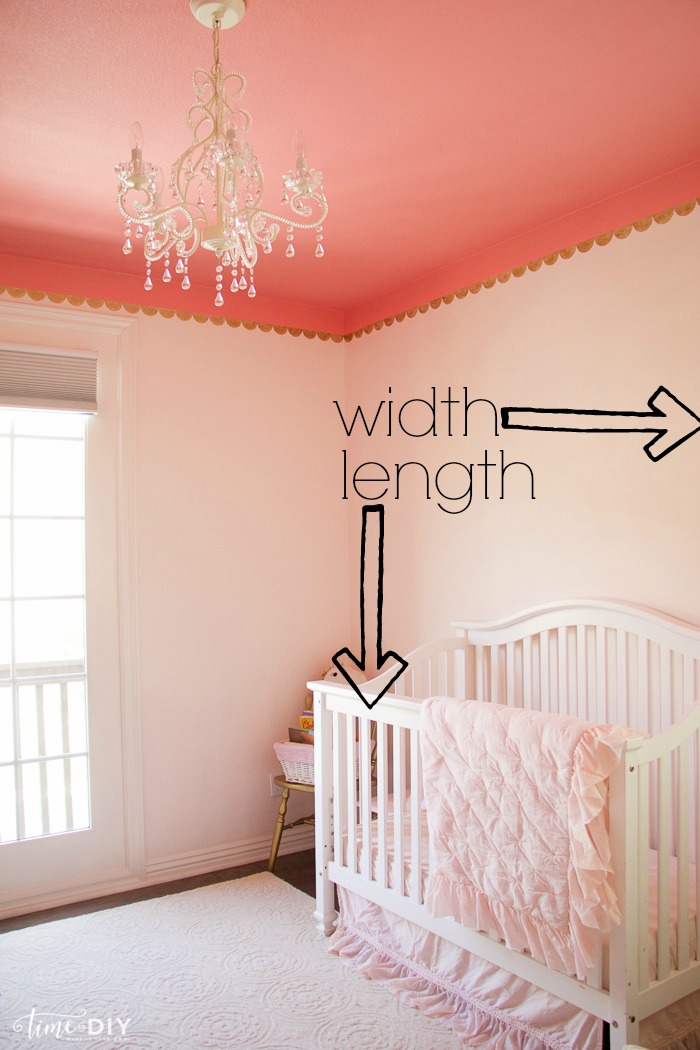
First measure the length and width of the wall, and then the size of your decals so you know how many and how far apart you want them (Some may argue you should do this before you purchase, but I’m a wing-it gal so I just ordered 20 and went from there).
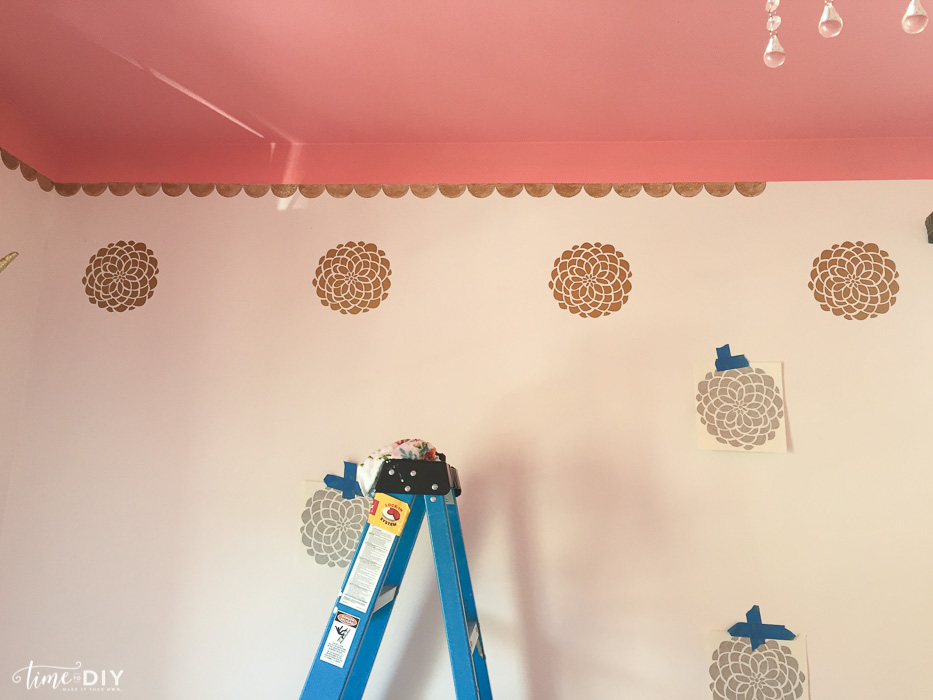
I used painter’s tape to do a mock-up because I have to visualize.

When you’re filling a whole wall with fairly large decals, it can start to look busy so less is more. I went with five rows, with four and three in each row.
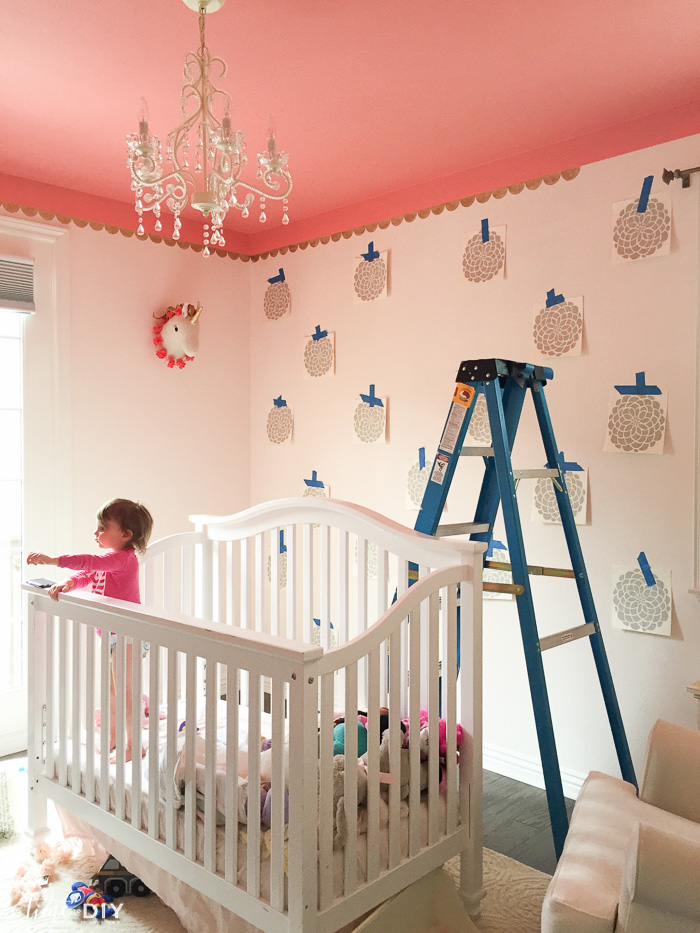
Notice that I didn’t go all the way down because I knew the crib would be there and you wouldn’t be able to see them.
By the way, my daughter requested to hang out in the crib – I wasn’t trapping her in there, haha.
Step 3: More measuring
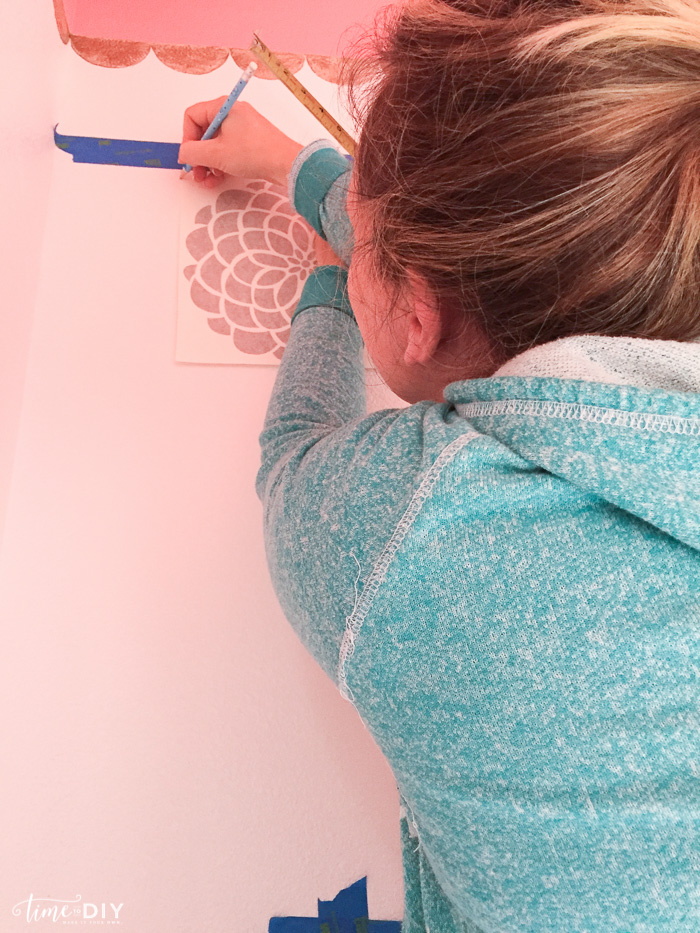
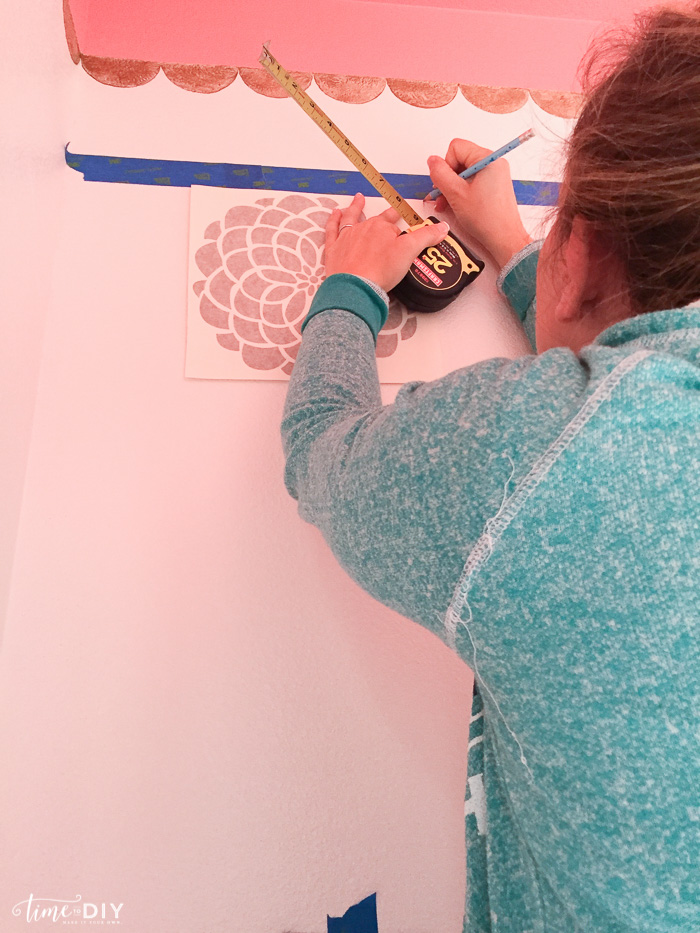
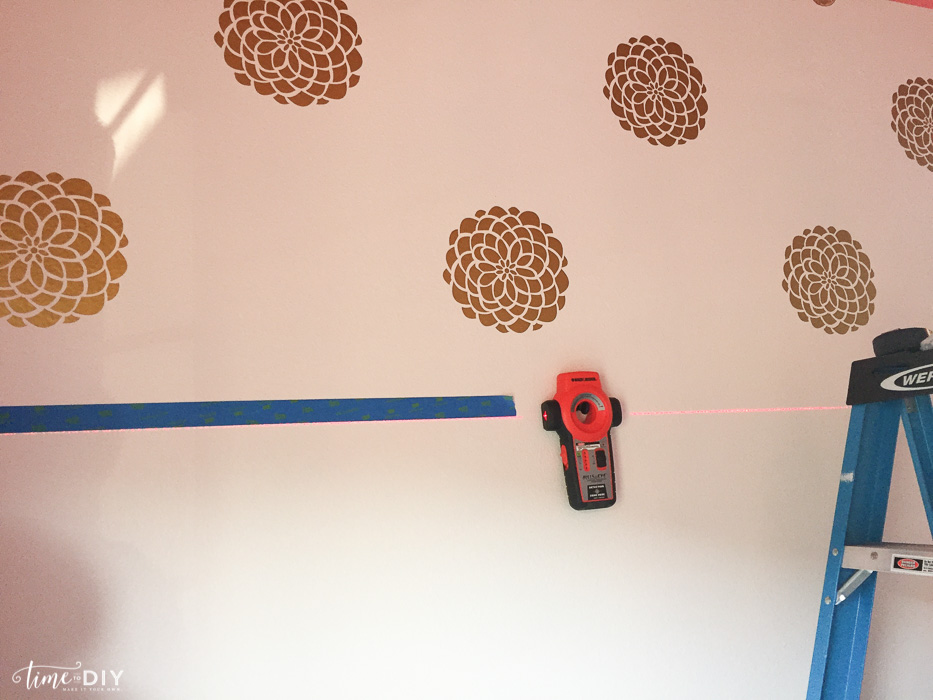
First tape off the height of the top row. I used a laser light and then taped it off with painter’s tape (ignore the taped decals, those are from the mock-up).
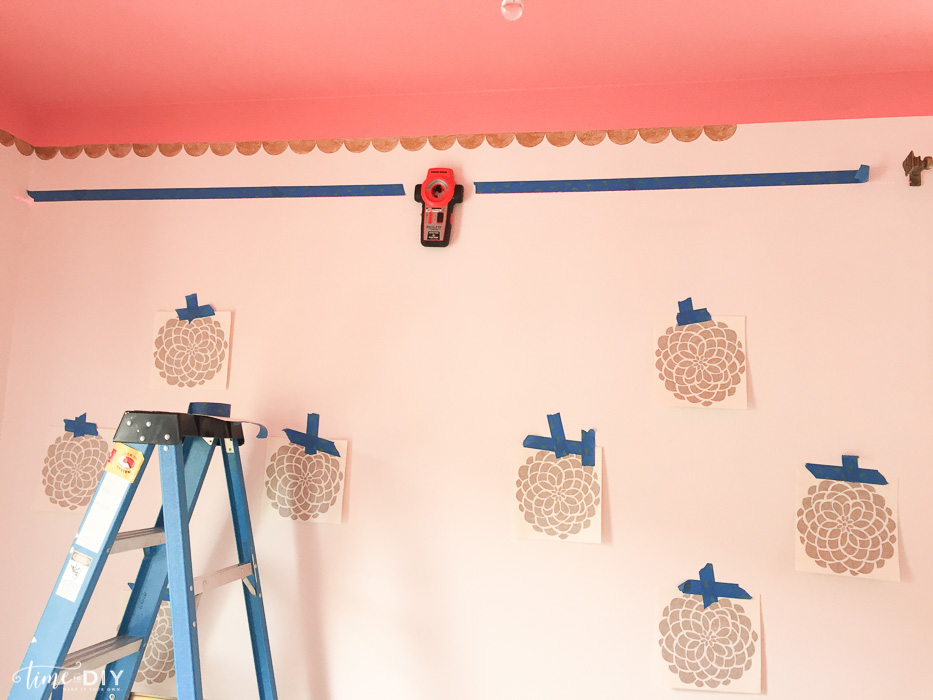
I started 5 inches in, and then did 12 inches between decal so I could end up with 5 inches on the other side.
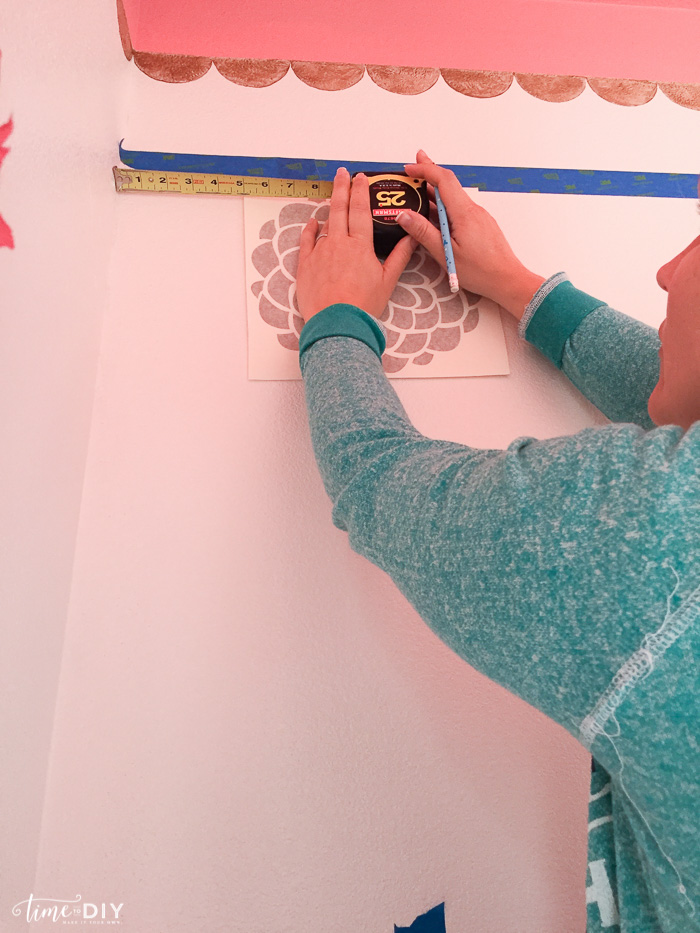
Then I put a pencil mark on each side so I could easily line it up.
Step 4: Apply the wall decals
Usually there are instructions for application, but this is what worked for my very textured walls.
I first wet the decal with a damp cloth on top and then used a credit card to press it down (every petal) to help it stick. This step takes a little elbow grease…
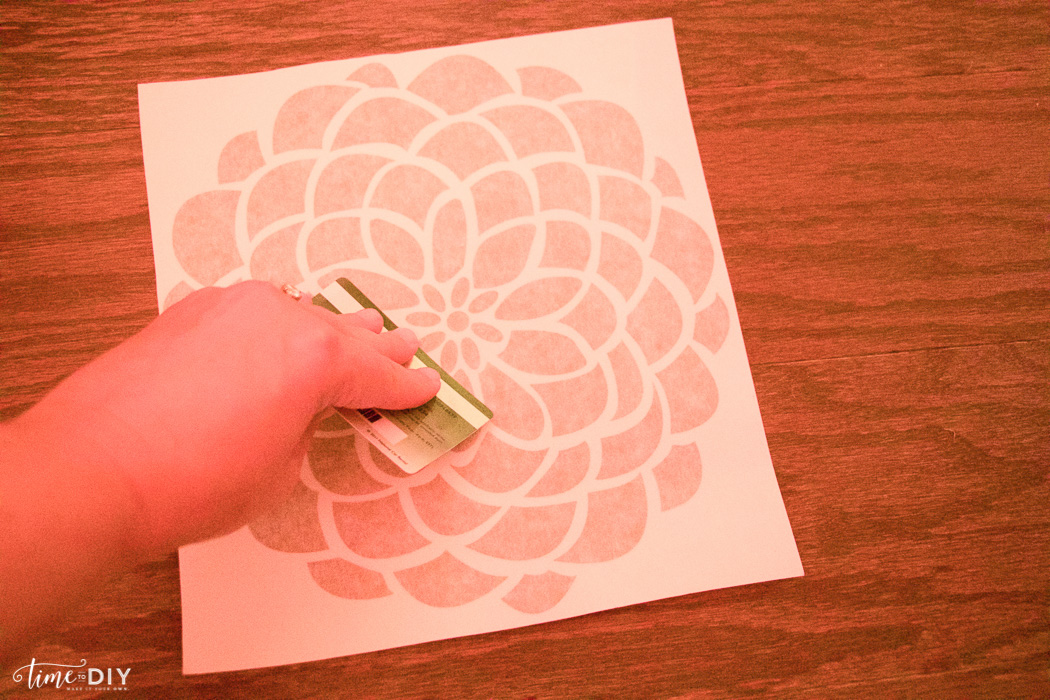
Then pull the bottom layer off and it’s ready to go on the wall.
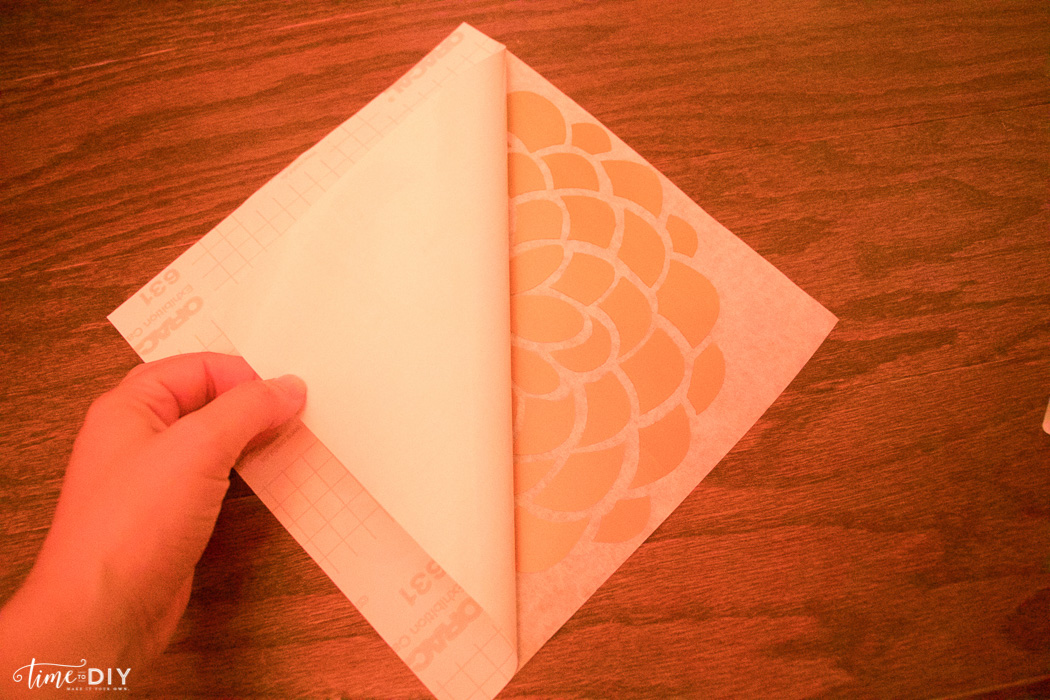
I then lined up the decal with the tape and my pencil lines on the walls, and did the same process with wetting it with a damp cloth and using the credit card to help it stick to the wall. It worked best when I waited 5 minutes after rubbing the damp cloth so the glue activates a bit.
I didn’t take a photo of pulling it off from the wall, but it looks the same as this step, just on the wall.
These process can be very tedious, especially with this type of decal (lots of petals) and textured walls, so patience is key! I did it over a couple days. If it doesn’t stick, just keep pressing it with the credit card and it will eventually take. Oftentimes I had to work it petal by petal.
After I finished the top row, I measured again and worked my way down the wall. I did 5 inches in between each row.
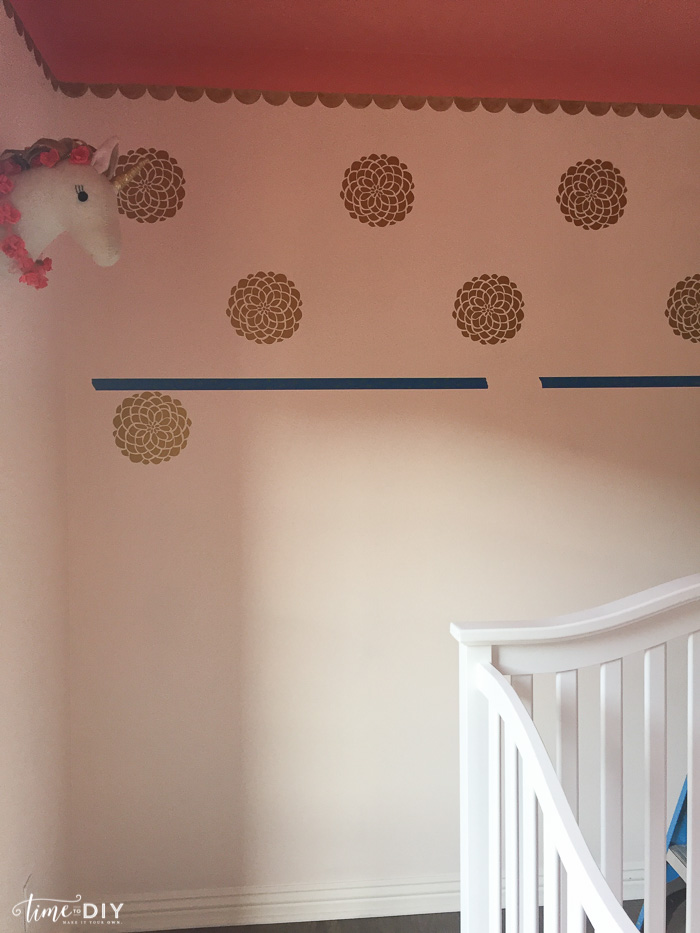
And that’s it!


The full room reveal is here if you want to check it out.

I love using wall decals in kids rooms since it’s so easy to change it up when they decide to change their theme.
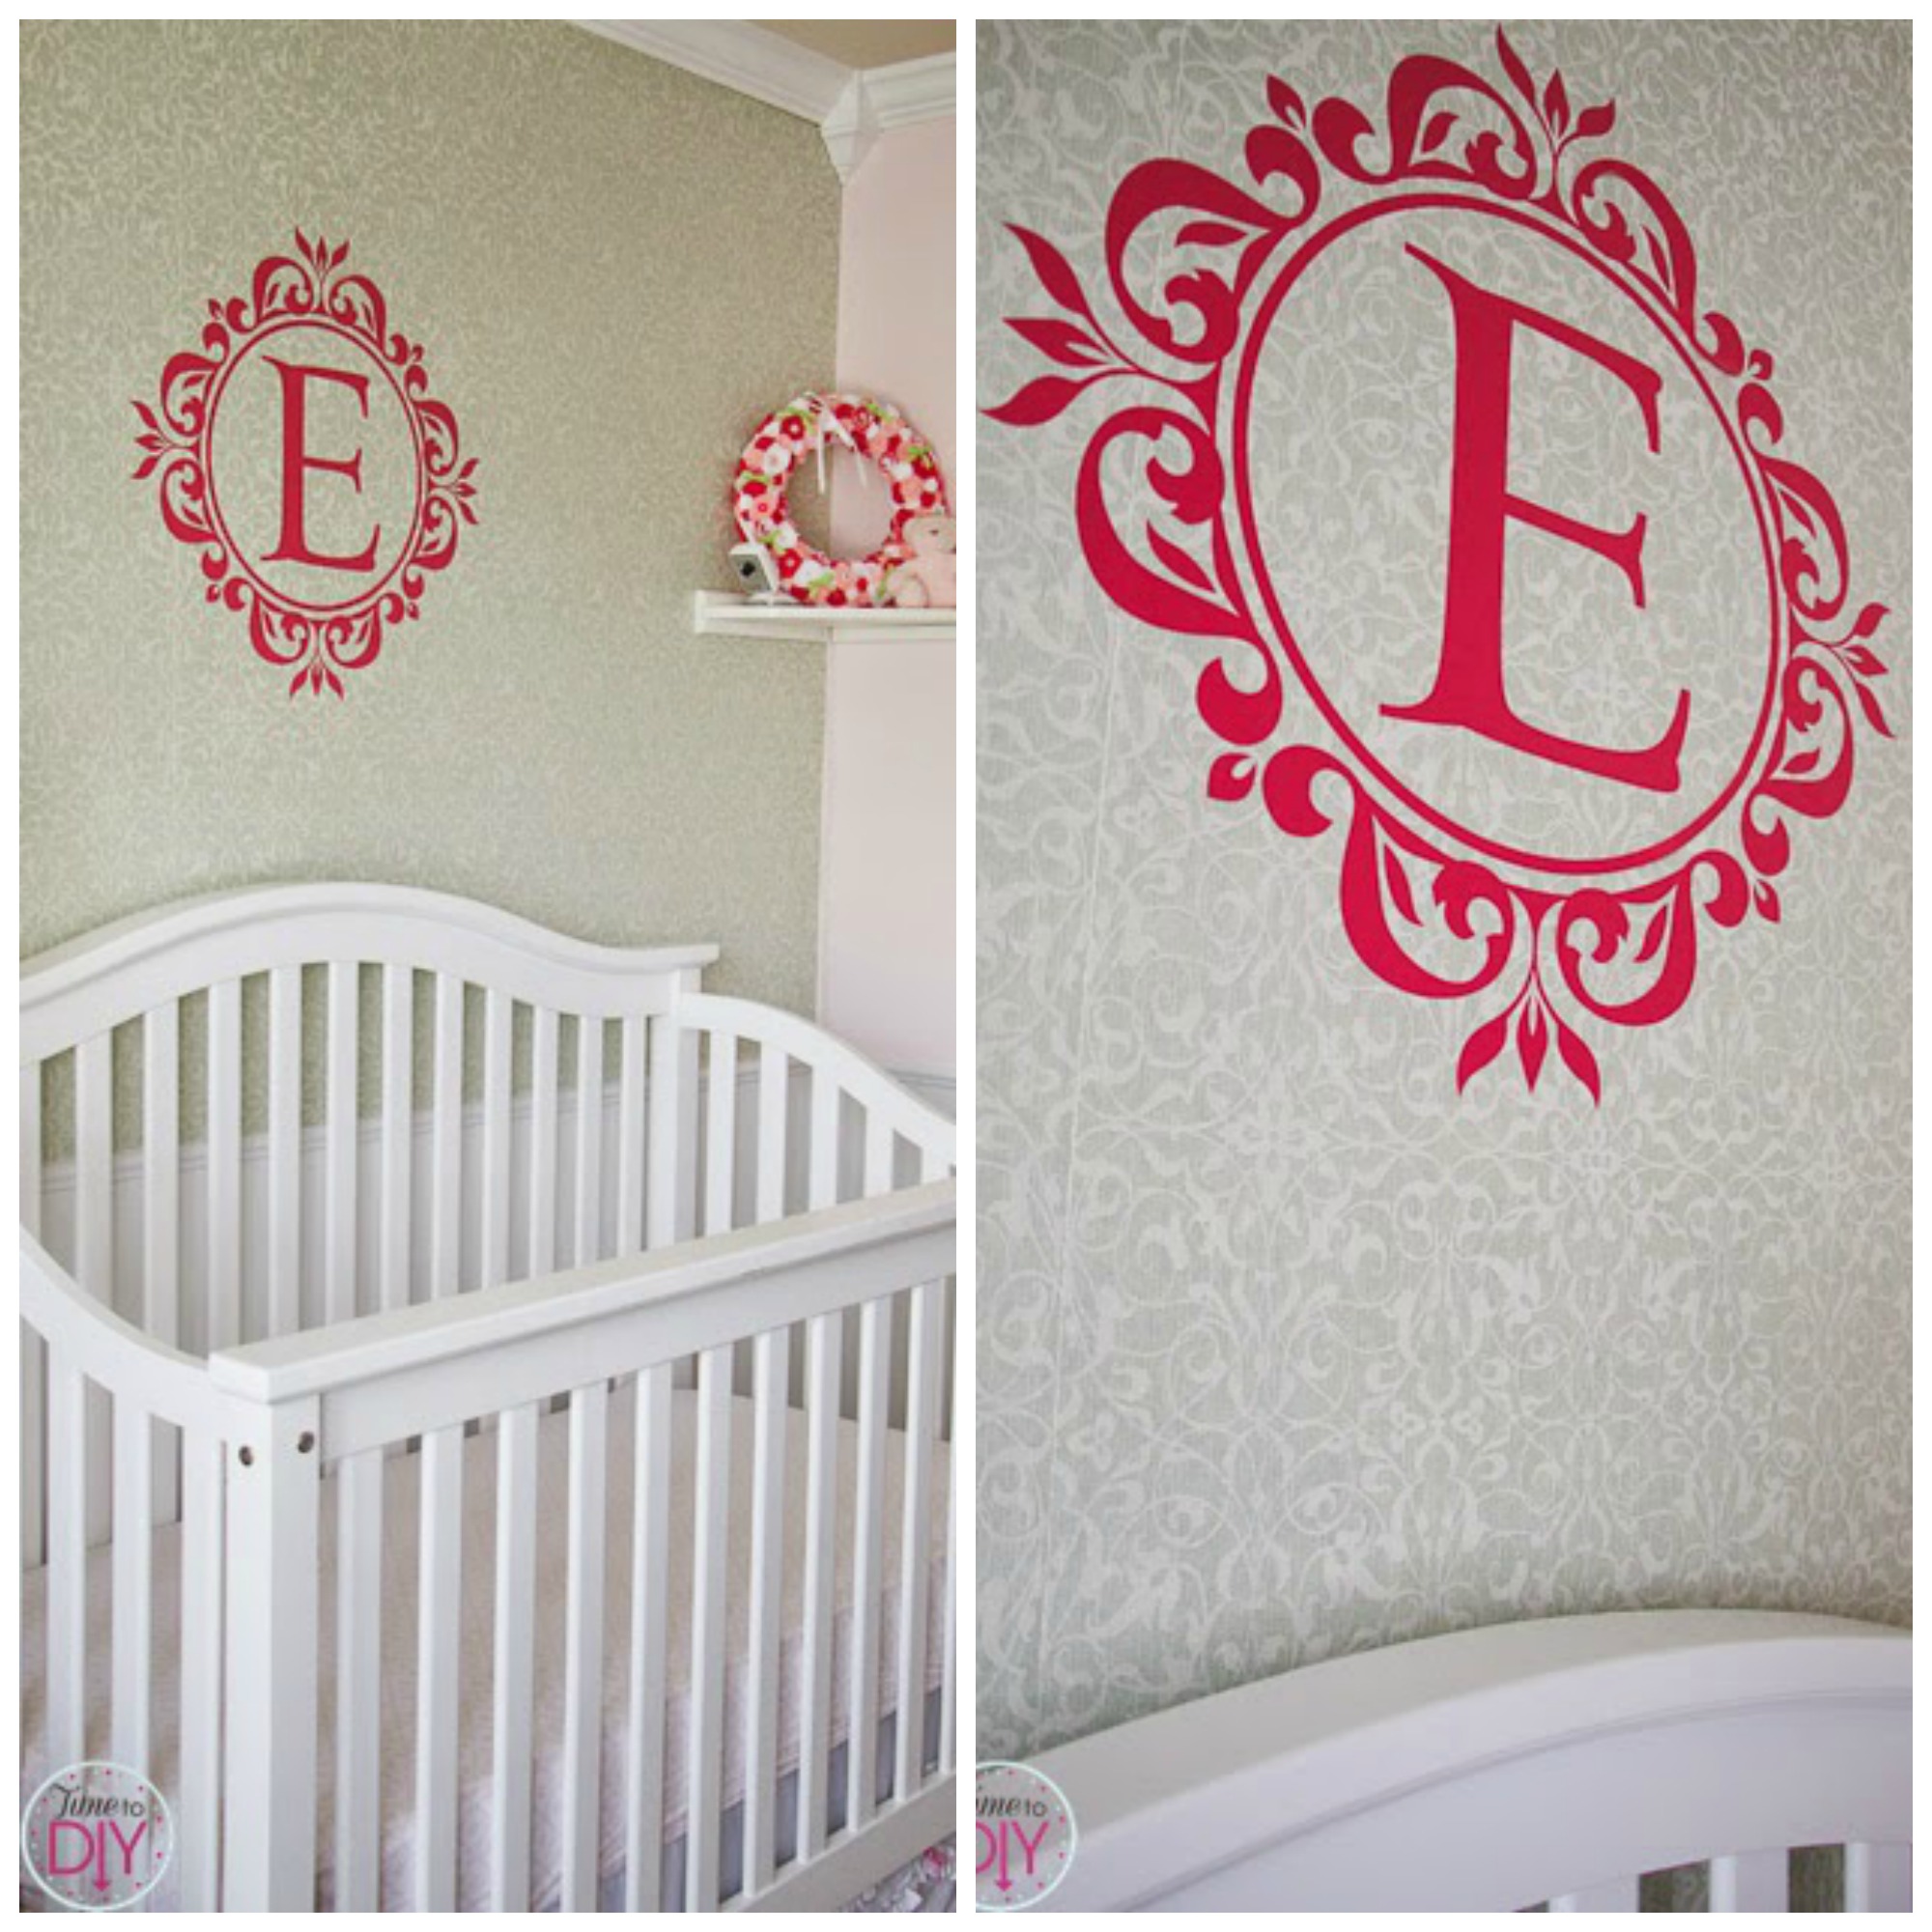
I did an ornate “E” in my daughter’s nursery, which was tricky because of the glittered wallpaper (you can see exactly how textured it was in this post). Half of it wouldn’t stick initially, but trusty mod podge did the trick! I was worried it wouldn’t come off later, but I was able to remove the decal without ruining the wallpaper when we sold the house!
 I also used decals in my sons’ cars and trains room.
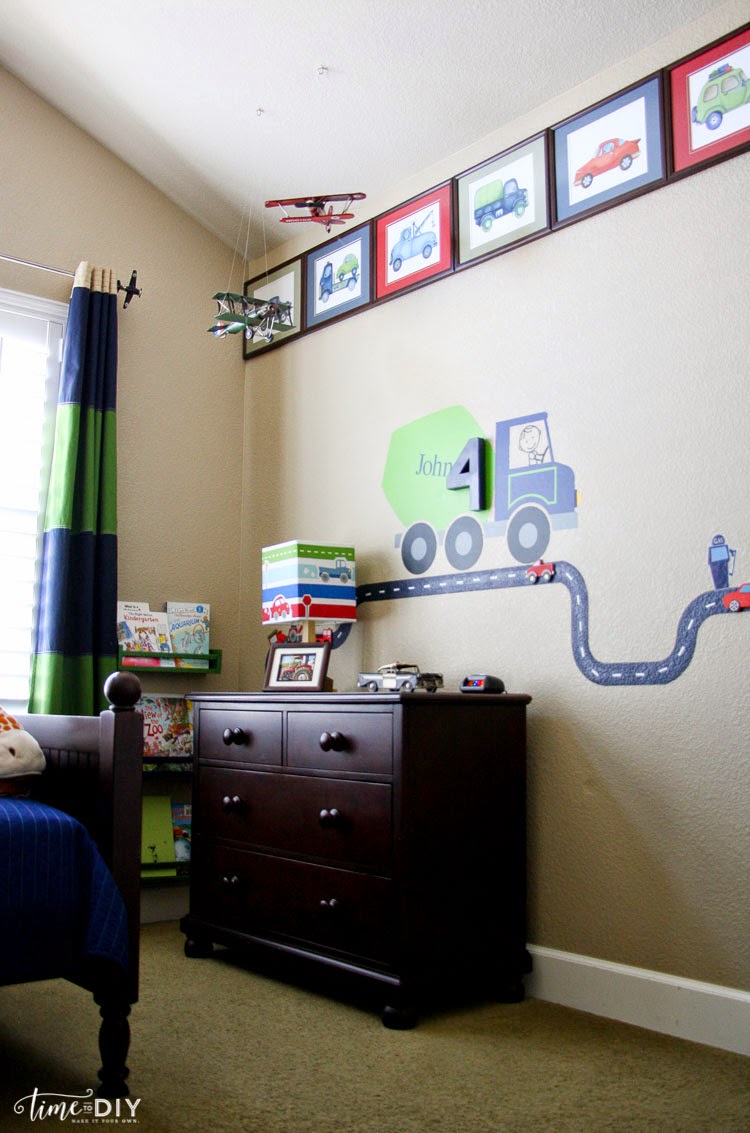
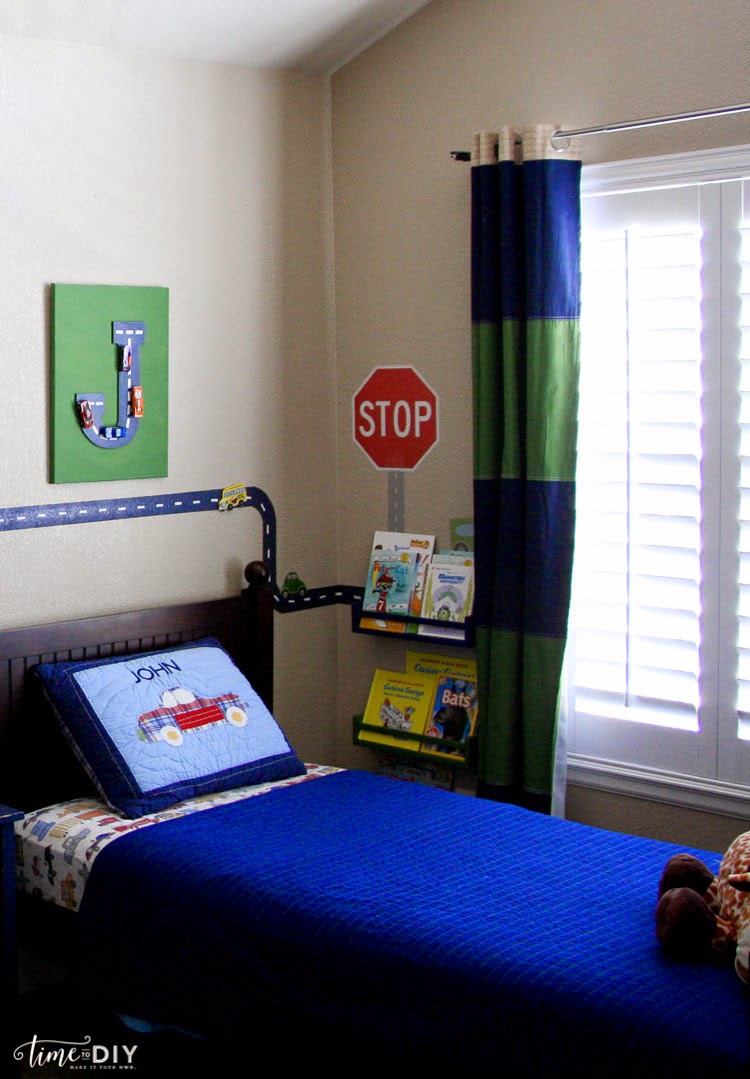
I don’t remember which Etsy shop the truck came from, but the stop sign is from Wall Monkeys.
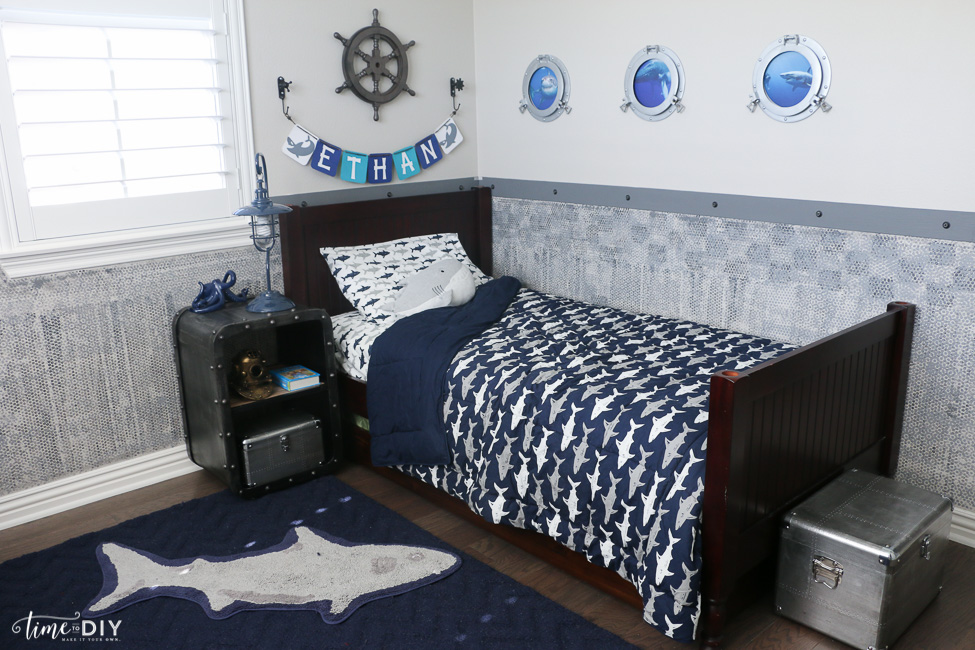
My son’s current sea creatures room has shark and whale porthole decals as well. The decal includes the porthole, but I put them inside real portholes for extra effect.
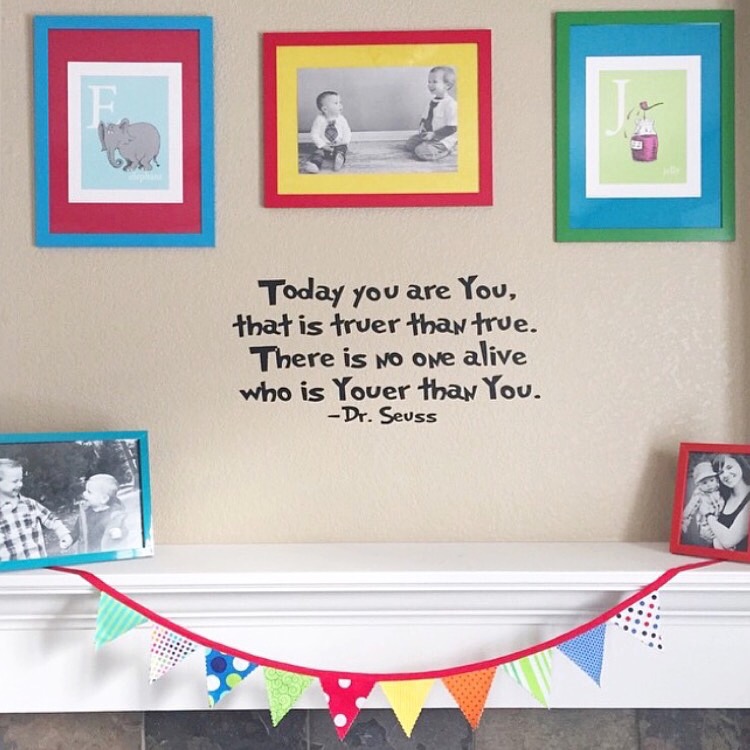
And this is one of my favorites: a Dr. Seuss quote in their playroom.
Hope these tips are helpful! Here is a pin to save for later or share with your friends. 🙂
Have a great week! For more DIY decor and ideas, follow me on Facebook | Instagram | Twitter. Hope you have a wonderful day!
*Some affiliate links used, but all opinions are my own.


Leave a Reply