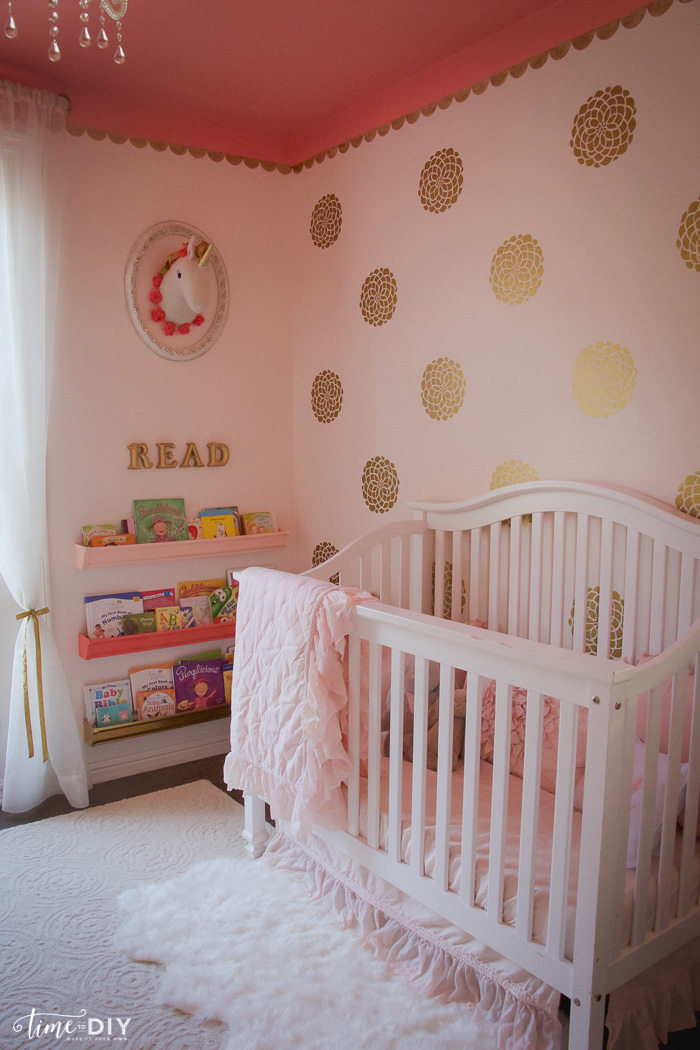
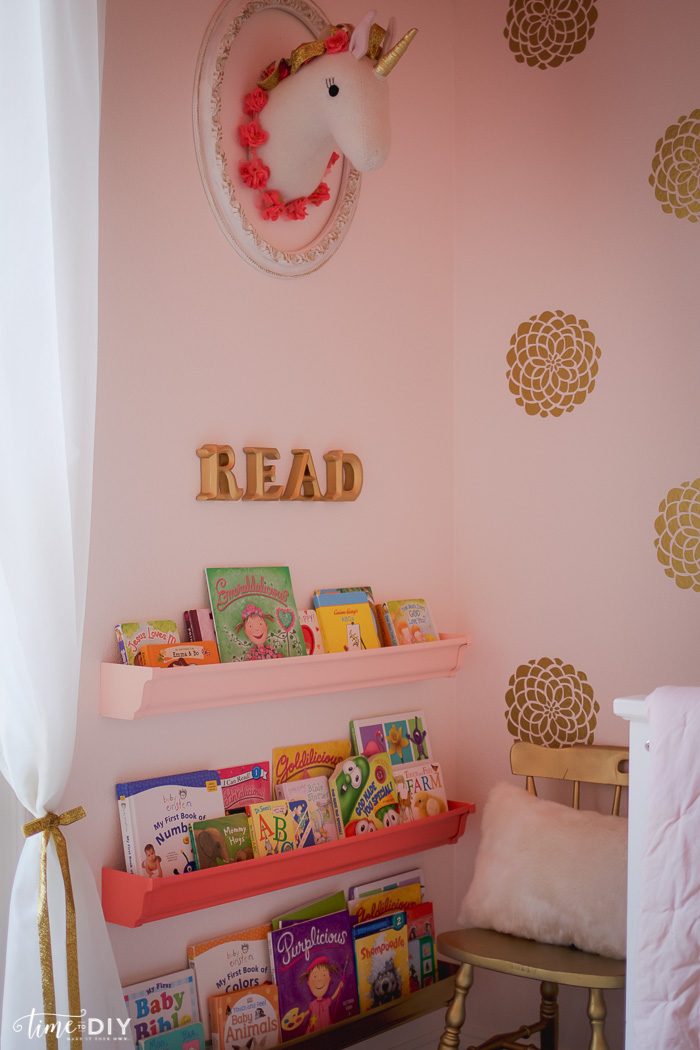
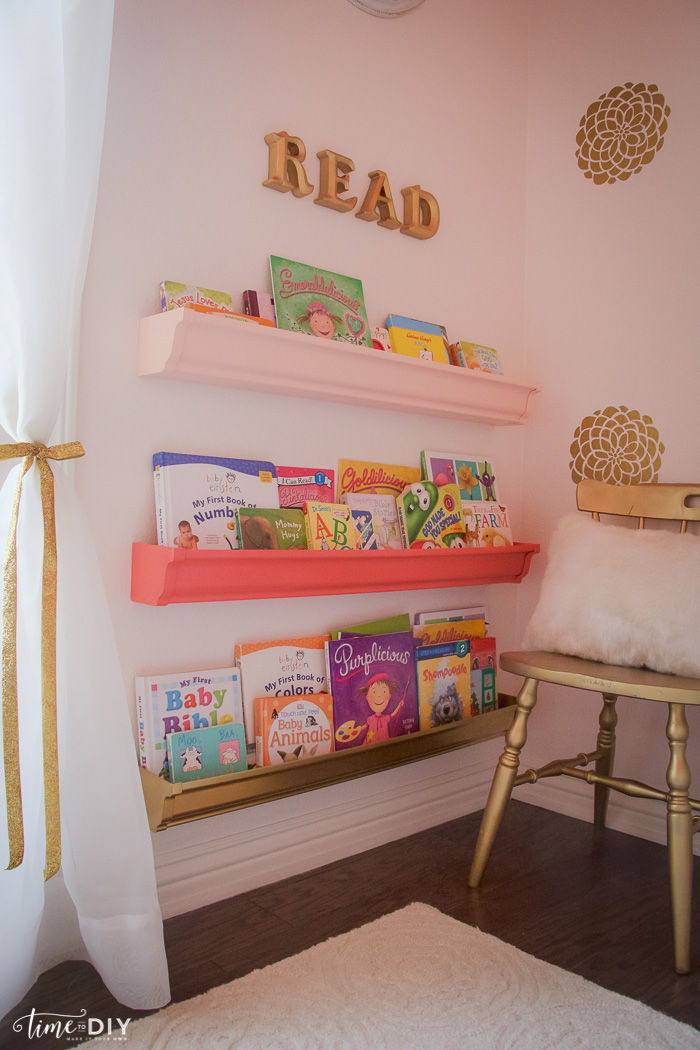
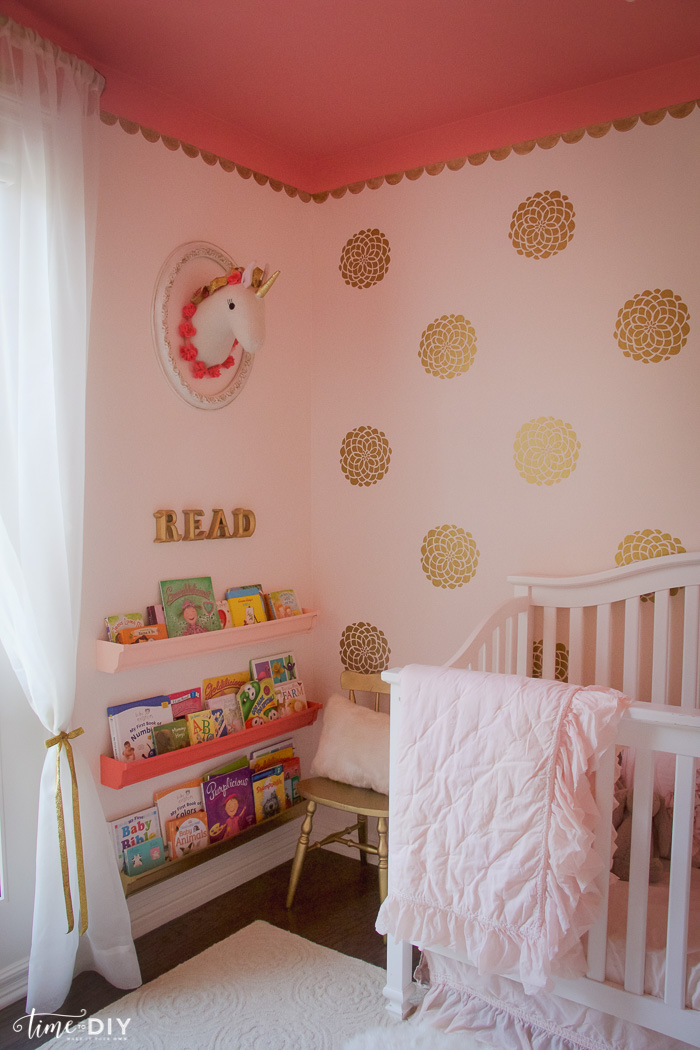
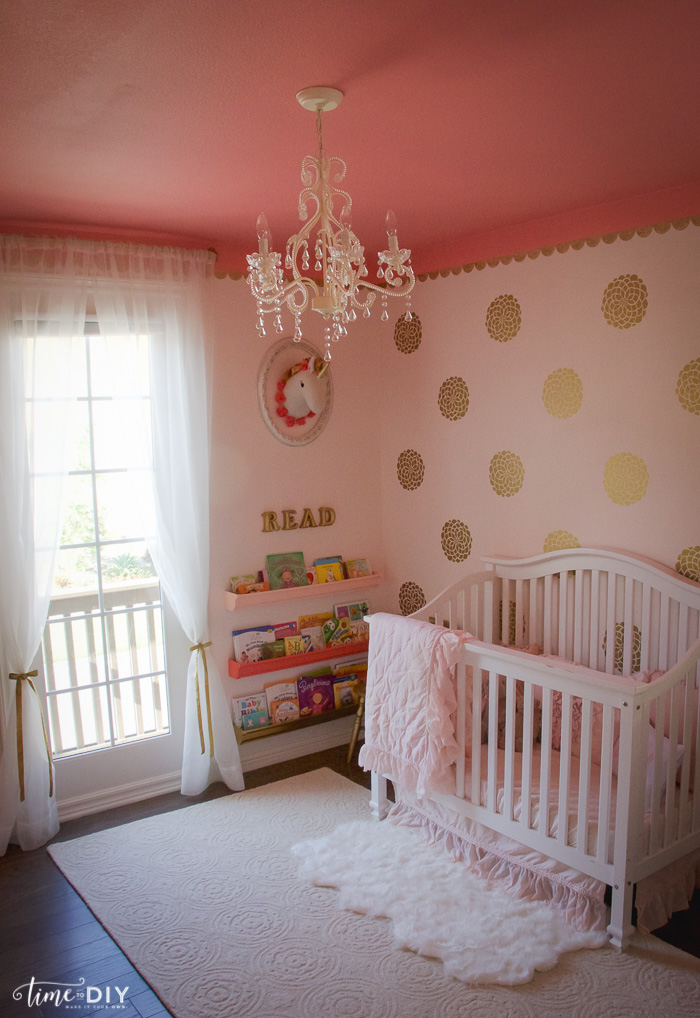
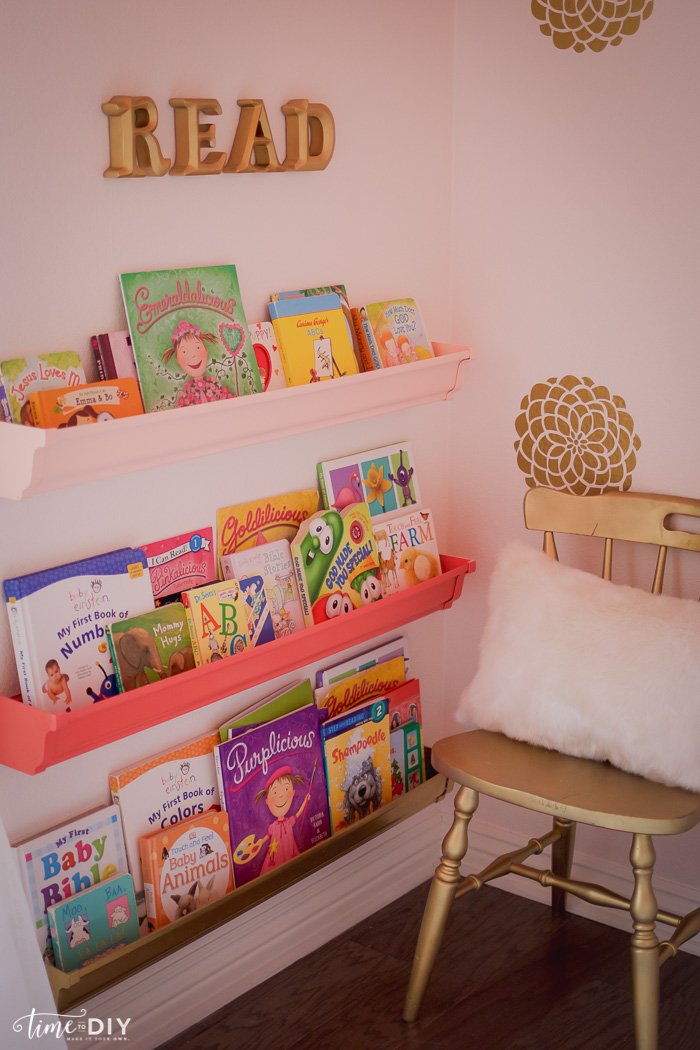
My daughter is loving her reading nook in her new room. I’m all about easy book grabbling, and books are great decor, too. Using rain gutters is such an easy and inexpensive way to organize books in an accessible way for kiddos. I also wanted to give it a reading theme so I added one of her favorite characters, “Goldilicious” from the “Pinkalicious” series. All the how-to deets are below!
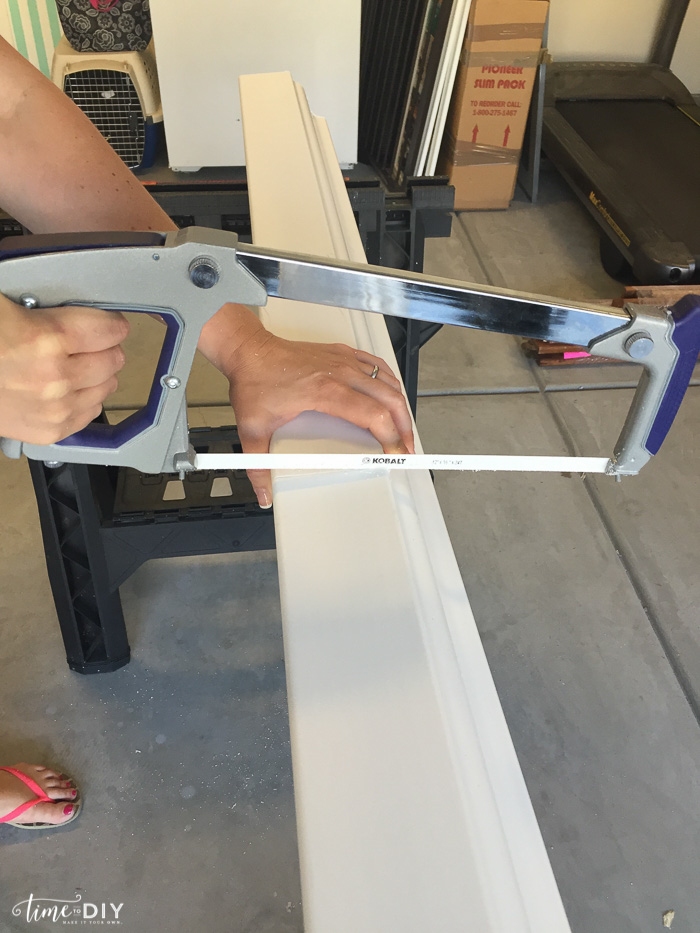
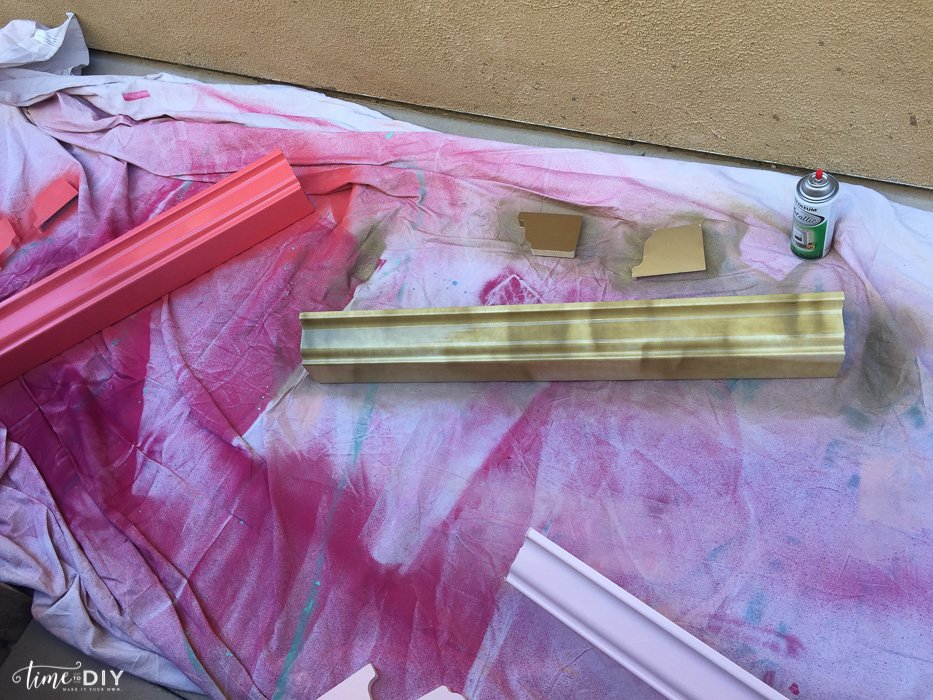
I have typically used IKEA spice racks for book storage, but it would have taken three racks to make just one row, and I wanted something a little more curvy so I went with the rain gutters. I liked the severe weather style from Lowes – they look a little like molding, which is great. I got one (120 inches) strip and end caps, one right and one left. Total cost: $11 and some change.
It barely fit in my car, but I made it work.

I also got Gorilla Glue Construction Adhesive to secure the end caps, although they did snap in pretty well without it. If you have a child who likes to take things apart and run away with it, I would recommend some type of glue.
I cut them in three 3-feet pieces with a hack saw. Although the photo looks like it was done with ease, it was a team effort with my hubby.
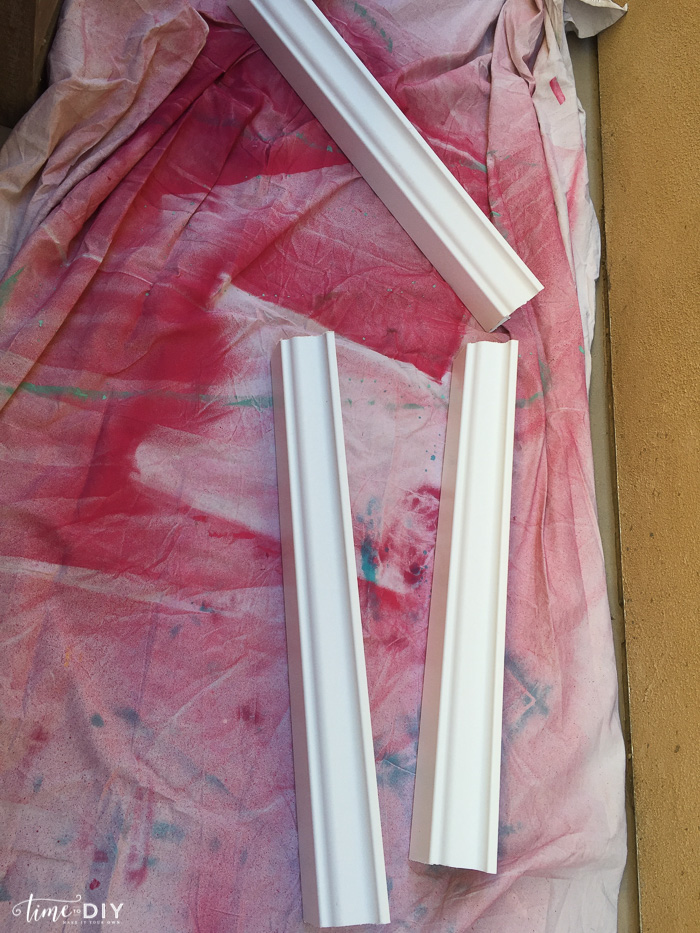
Then it was time to spray paint! Because there aren’t a lot of coral and blush spray paint varieties, I couldn’t get the same finish: “Peachy Coral” in flat finish and “Coral” in gloss, and I told my OCD to let it go.
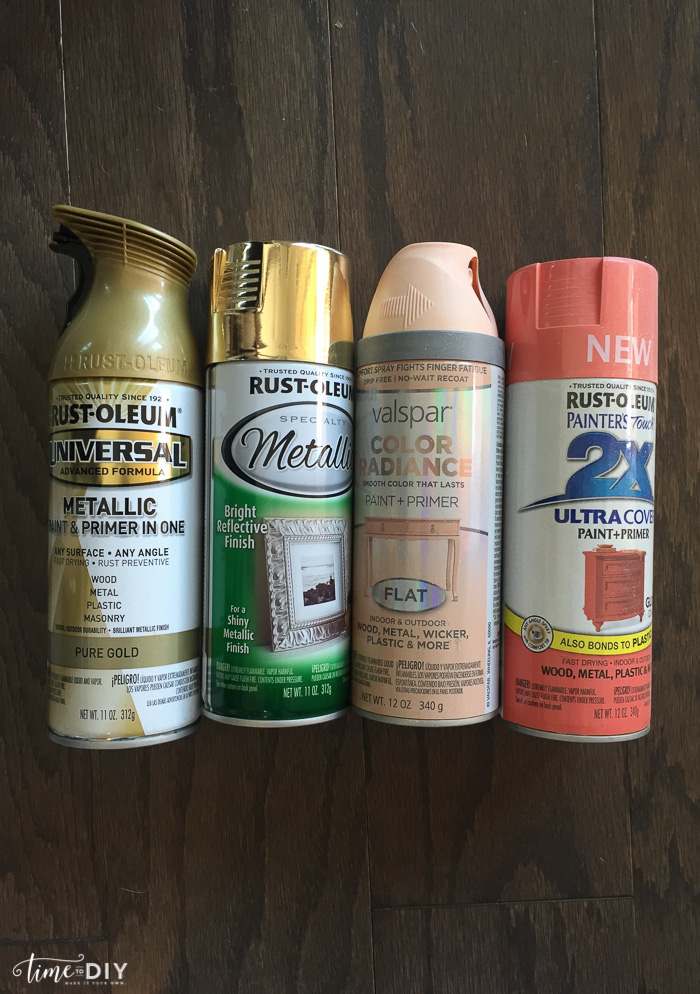
For the gold, I did the first coat in “Pure Gold” to cover it and then the final coat with the metallic.
For the installation, my hubby drilled three holes, one on each side and in the middle, on the back side that meets the wall, and then used anchors and screws to mount. Sorry there aren’t any pics – we were in the middle of One Room Challenge deadline craziness.
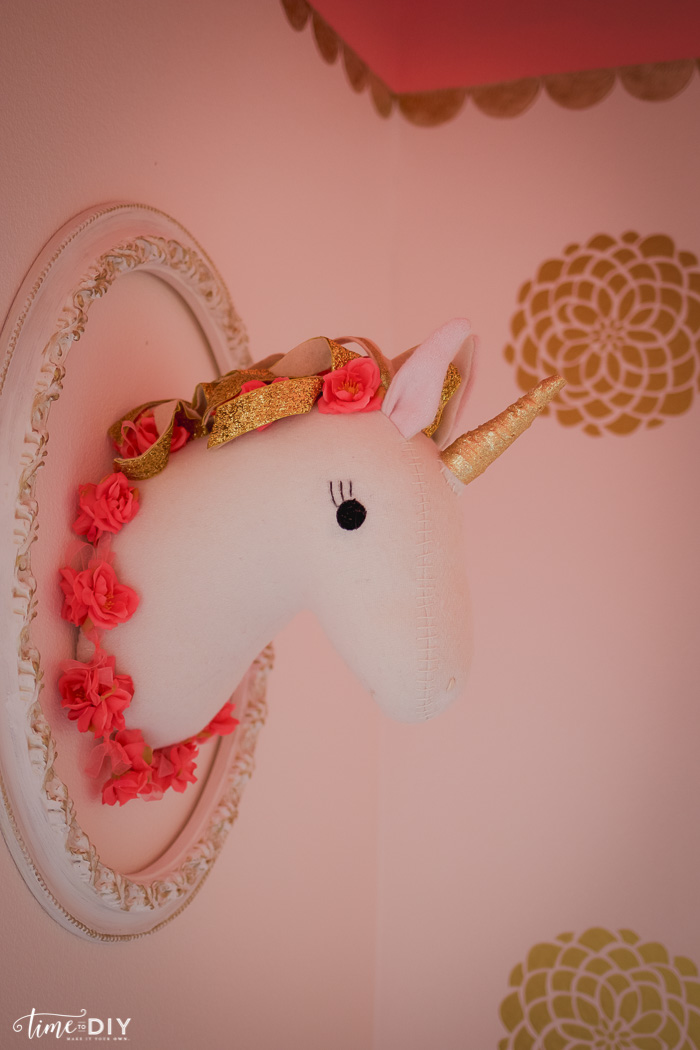
Then I put up the Hobby Lobby gold R-E-A-D letters with 3M Command strips, as well as the unicorn inspired by the Pinkalicious series.
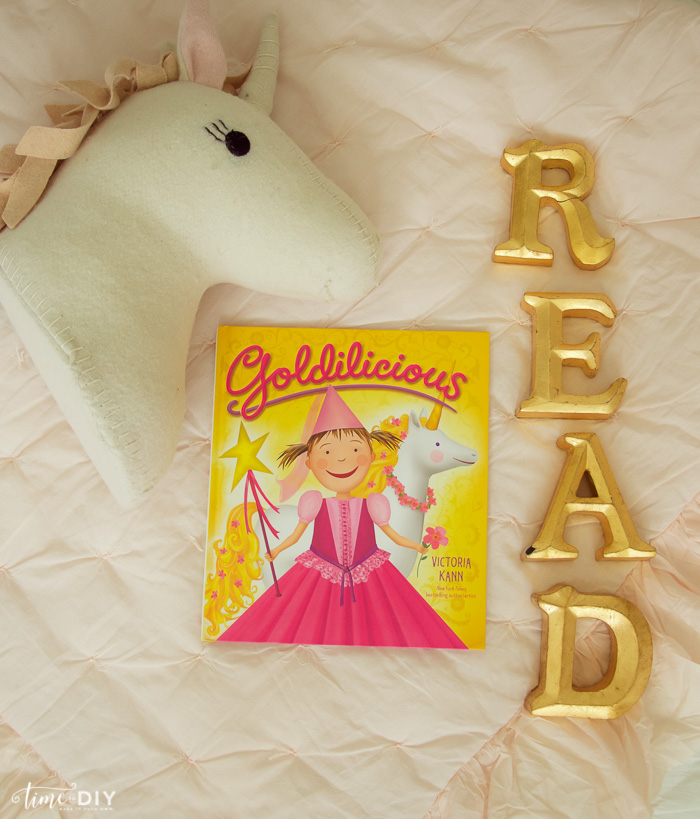
The unicorn makeover details are here.
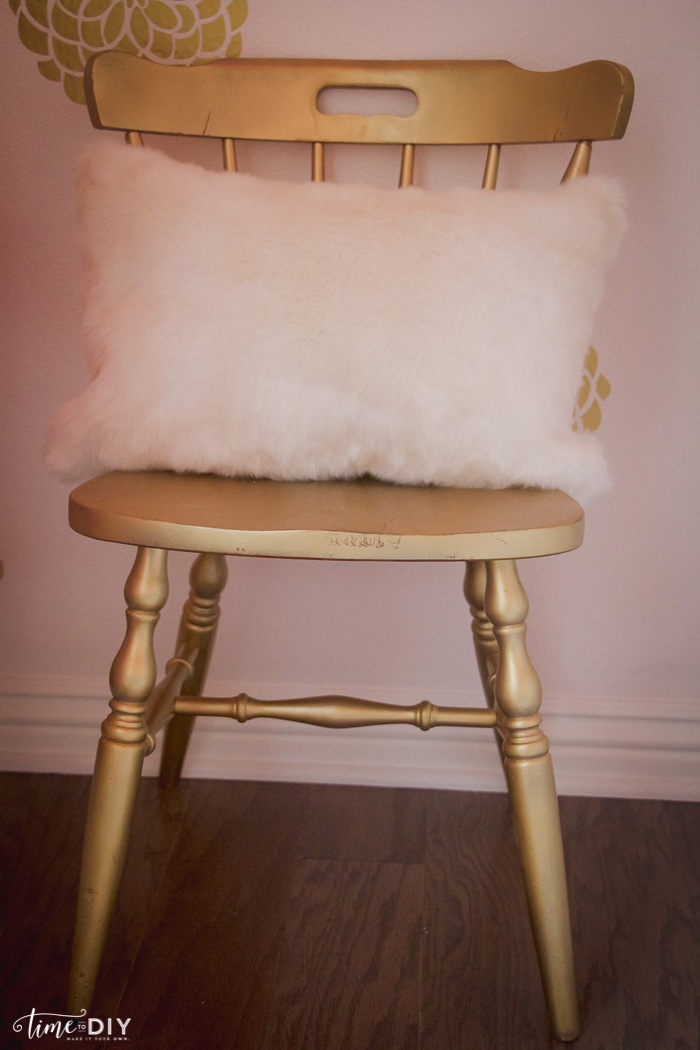
To complete the look, I added the chair I painted for my daughter’s one year photo shoot and a fur pillow from the Restoration Hardware Outlet.
Follow me on Facebook | Instagram | Twitter for more home decor ideas!


Such a great idea and they turned out so perfectly! I may be using this in my son’s “big boy” room ?
Thanks, Lindsay! Aw, big boy room! So fun! 🙂