It’s week 2 of the One Room Challenge (ORC) and I’m excited about my progress! If you’re just joining, I shared the room and some of my ideas last week.
This week I got some grunt work out of the way, painting mostly. After a lot of overanalyzing, I decided to paint the ceiling.
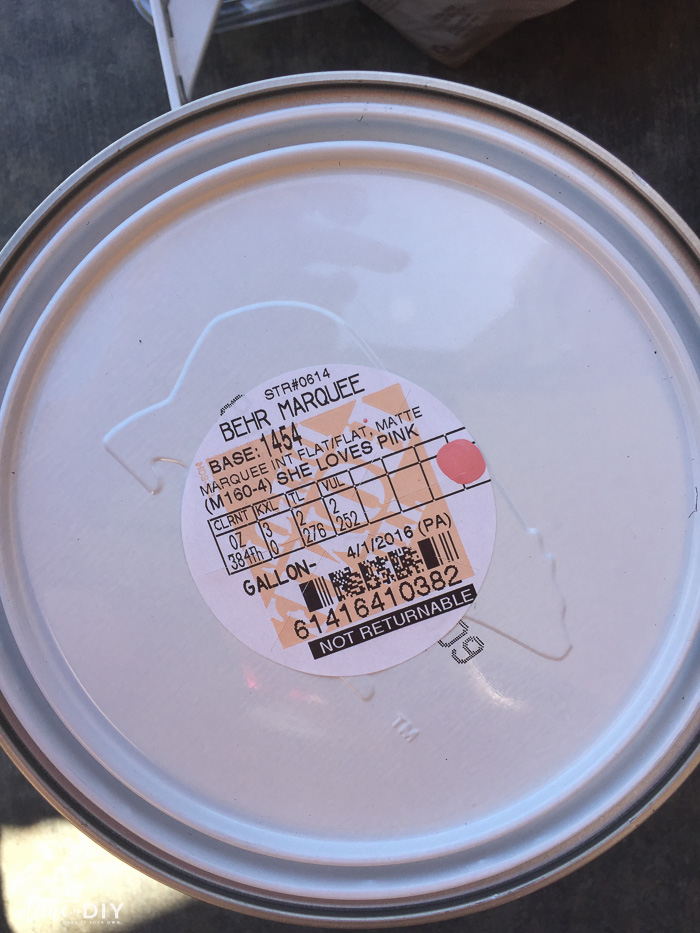
So many coral pink options to choose from, it was hard to decide…
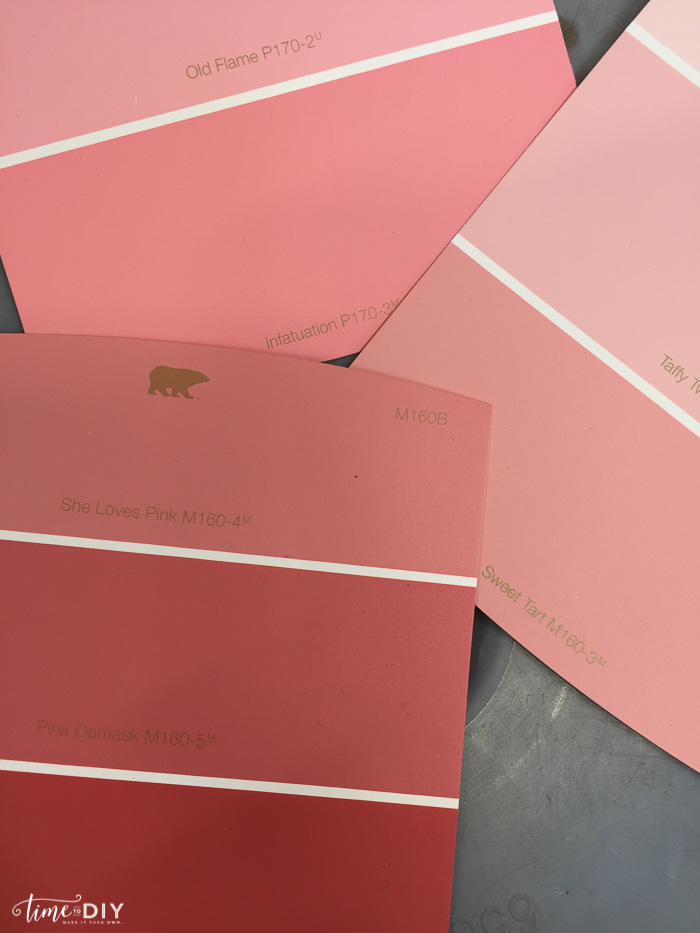
Went with this:
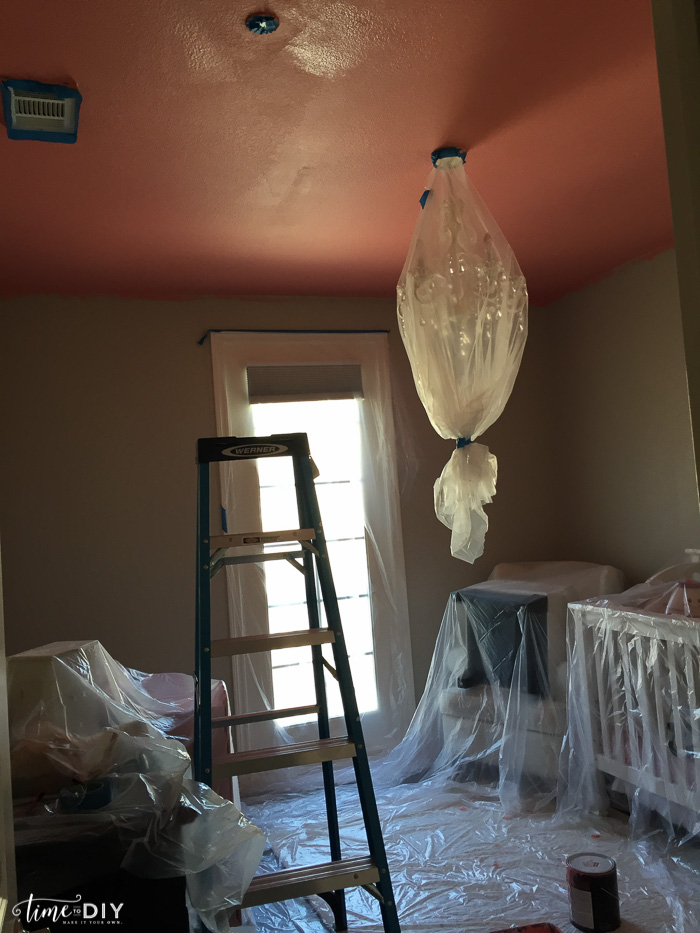
Painting the ceiling is no joke! I was lucky to have my friend Gretchen helping me (And I told her that I was painting the ceiling and she still came over to help, talk about a true friend!) and she snapped this action shot. That was right before I realized I hadn’t extended the rod so I’m looking a little awkward.
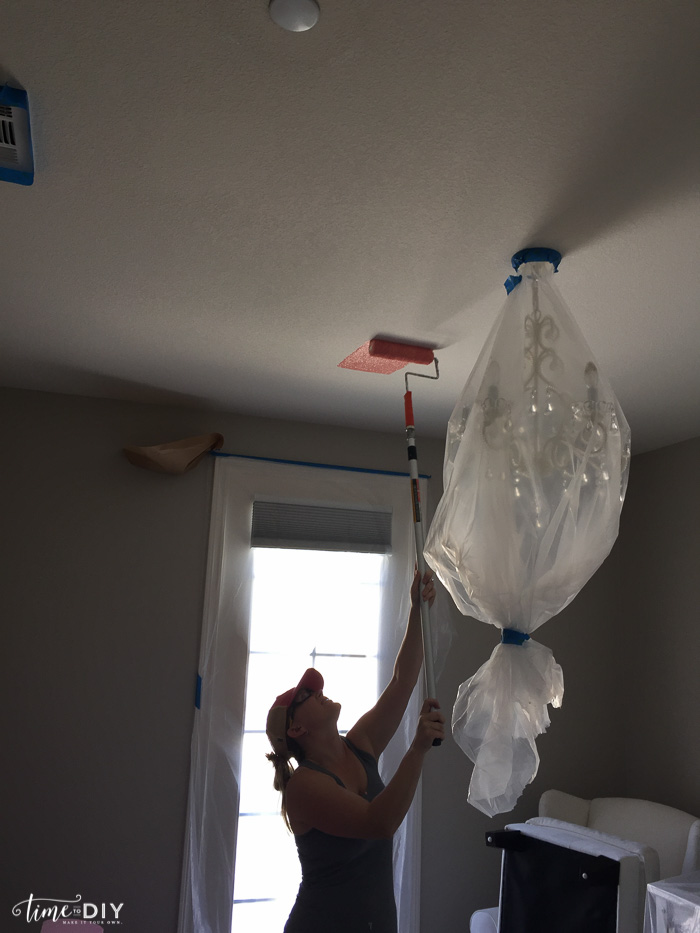
I felt like paint was constantly falling on my face, but it wasn’t too bad.

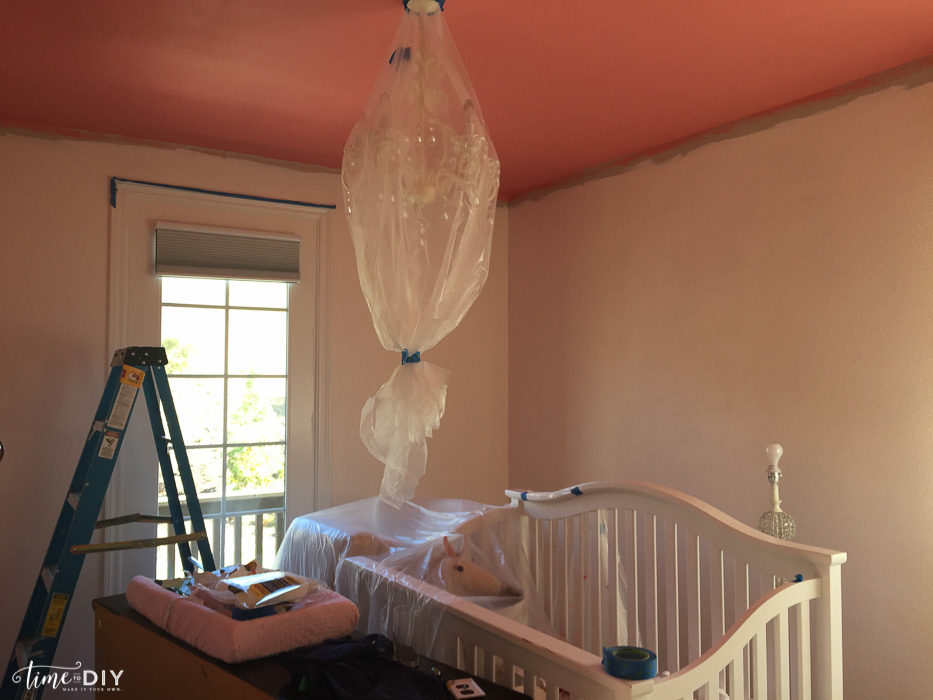
I was worried at first because it looked a tad rough and dark against the gray walls…
But then I did some of the blush and felt better.
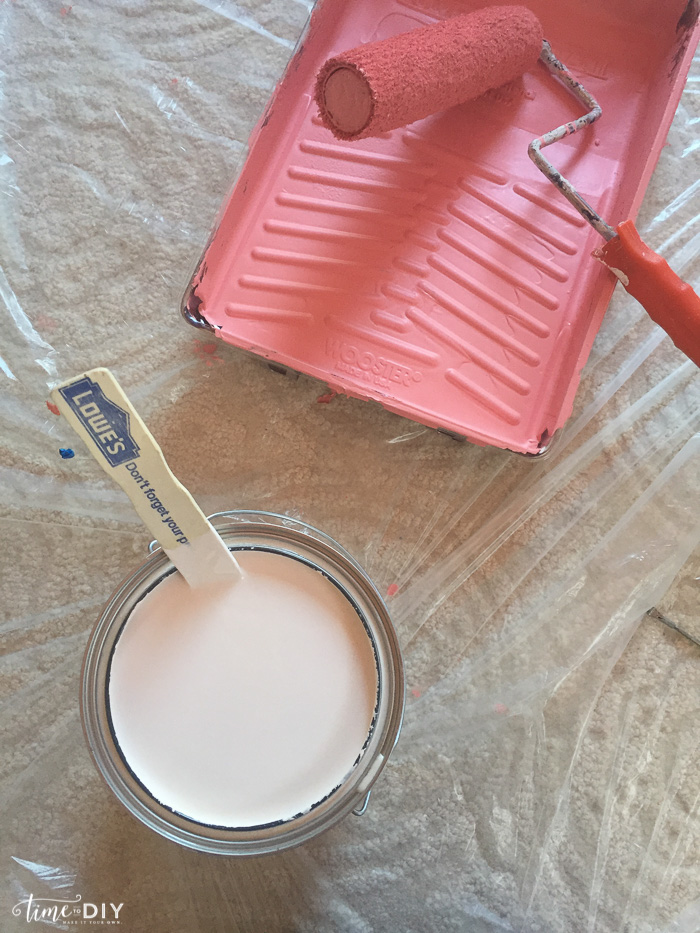
That lighted it up a lot.
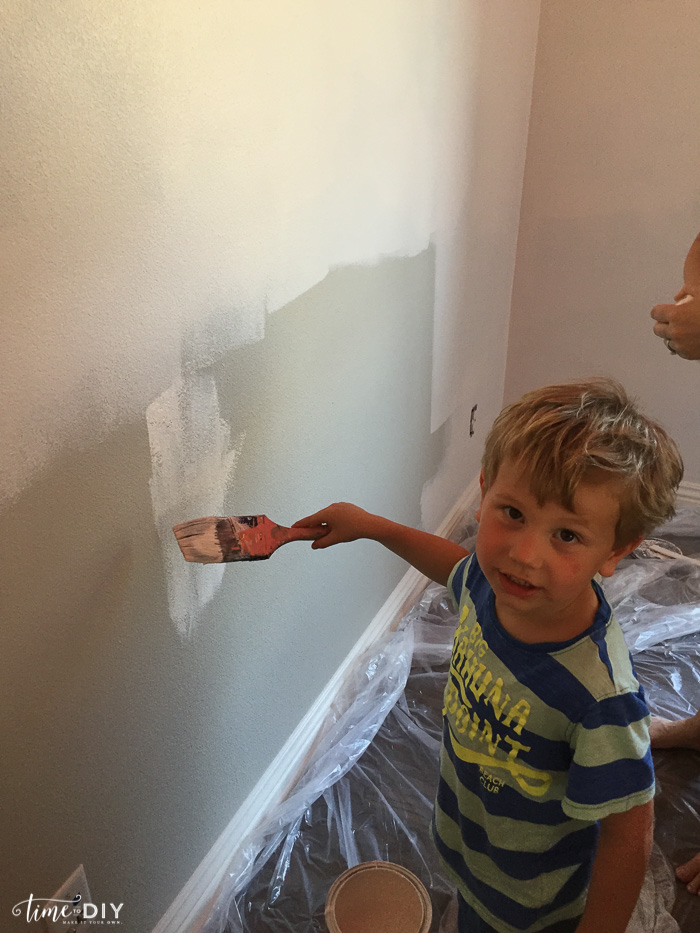
My little guy wanted to help out, too.
And then it really started looking better.
My client approved, so that was good. She dropped off Spiderman to help me out.
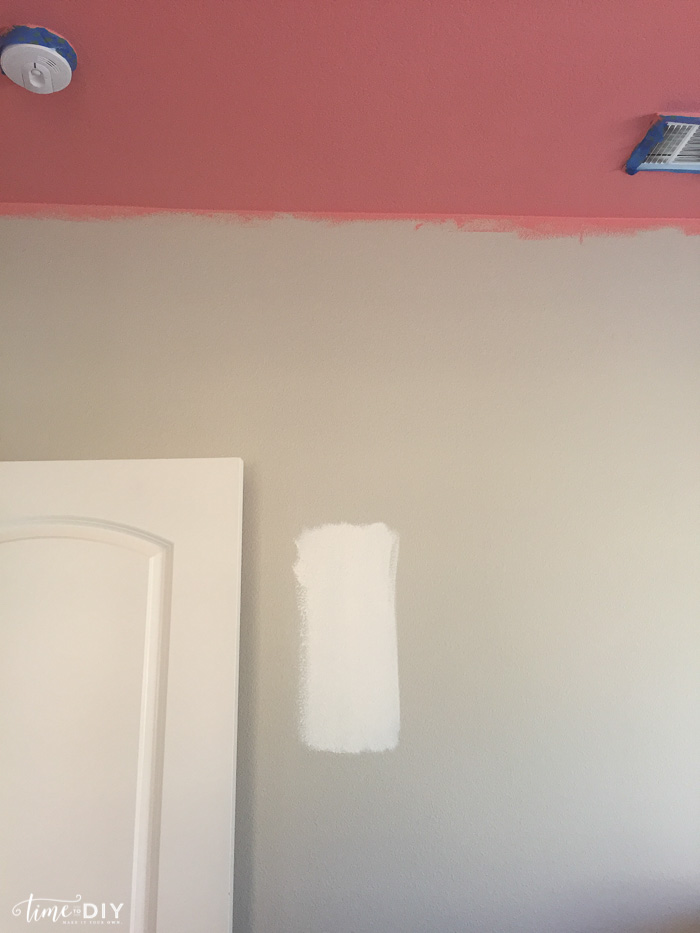
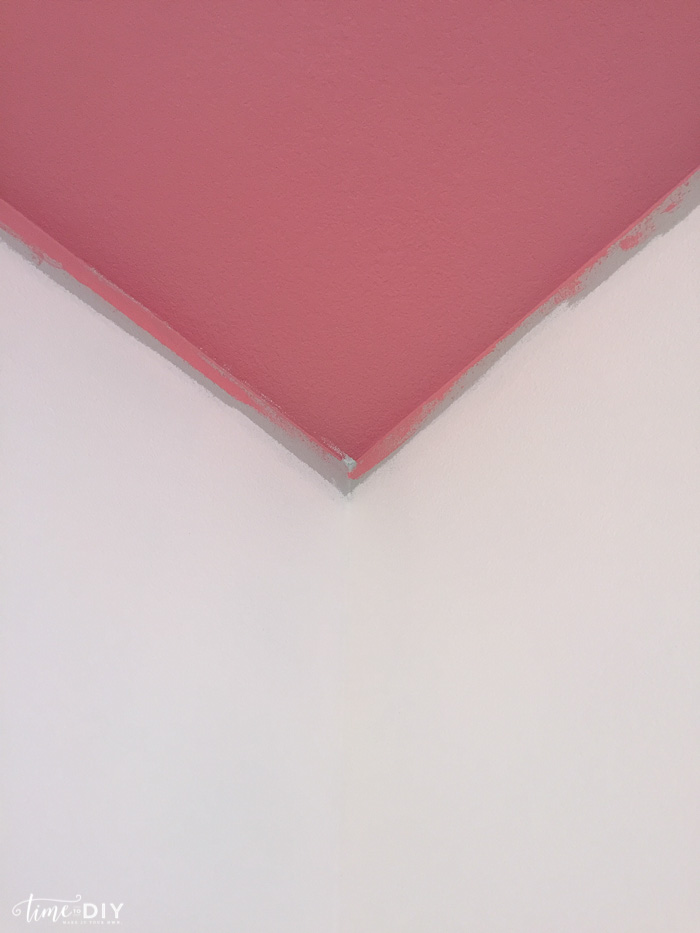
Then I drafted the border, directly on the wall in pen because the paint will cover it. I was a little nervous because it’s not something I’ve seen, just in my head, so that’s a bit scary. But what’s great about paint is that it can always be redone!
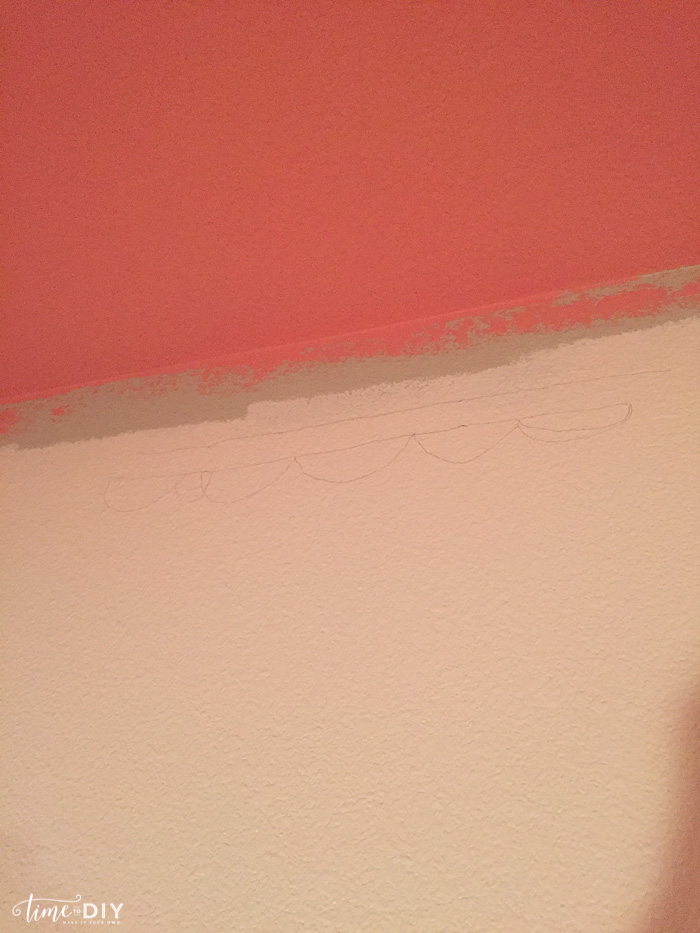
To make the border, I carried over the ceiling coral color. If you’re curious how to paint straight lines, you can check out my guest room makeover and boys’ room posts.
I borrowed my friend’s laser tool to apply the tape. It was awesome! You insert a pin in the wall, hang the laser and then it shoots out lines that are leveled and straight. All I had to do was put my tape on top of the laser.
We were a bit pressed for time so I forgot to get a picture. Oops! But here it is with the tape and one coat of the base color over the line.
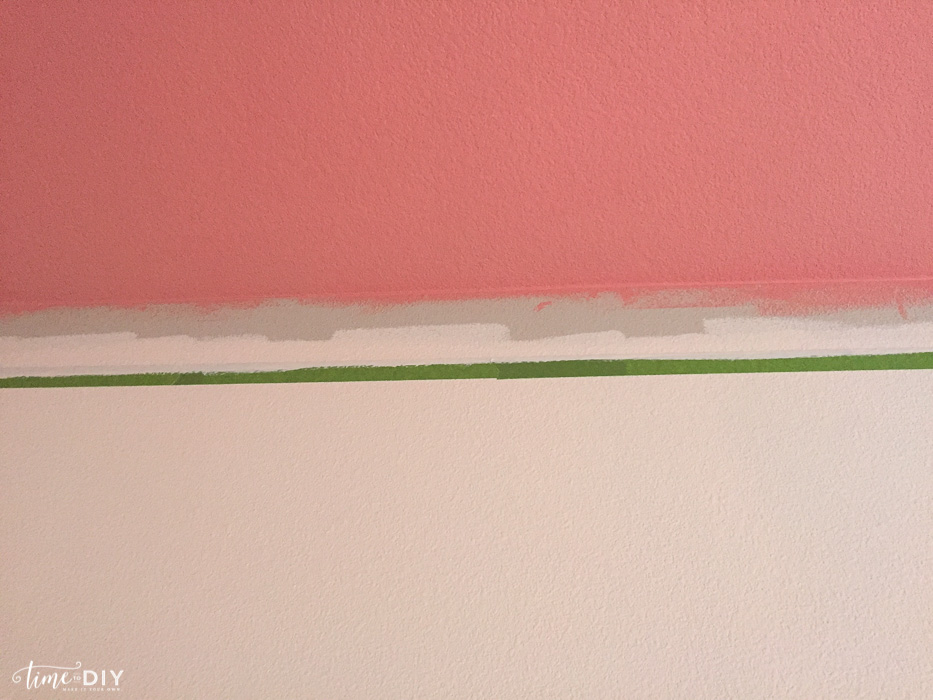
In addition to painting the base color first over the tape (so the base color seeps through instead of the new color), I also painted the coral upward over the tape first and then with barely any paint on the brush I filled it in by brushing across the tape line.
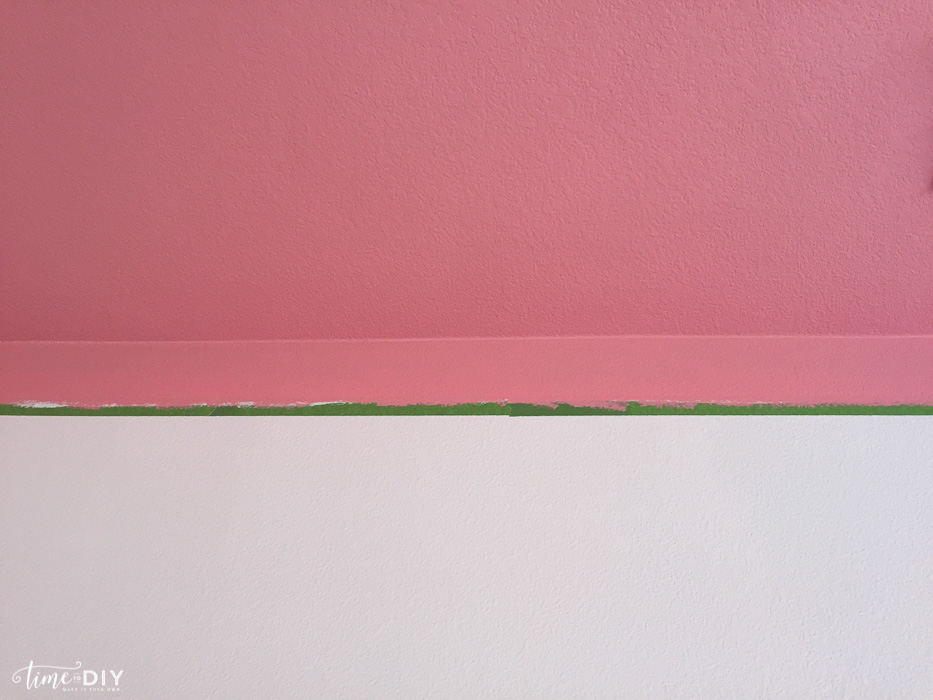
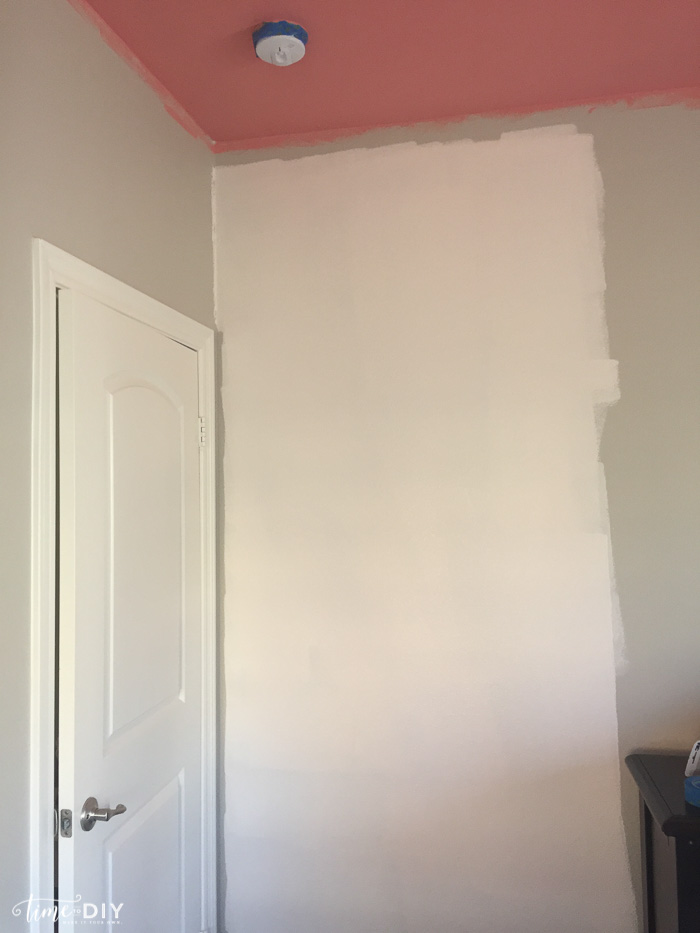
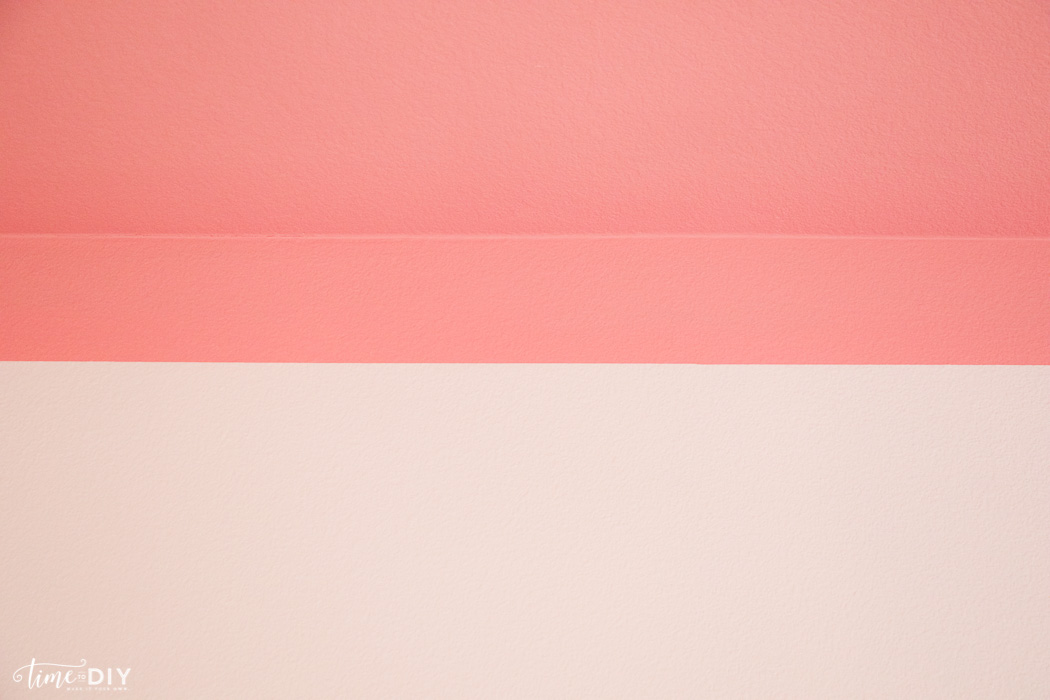
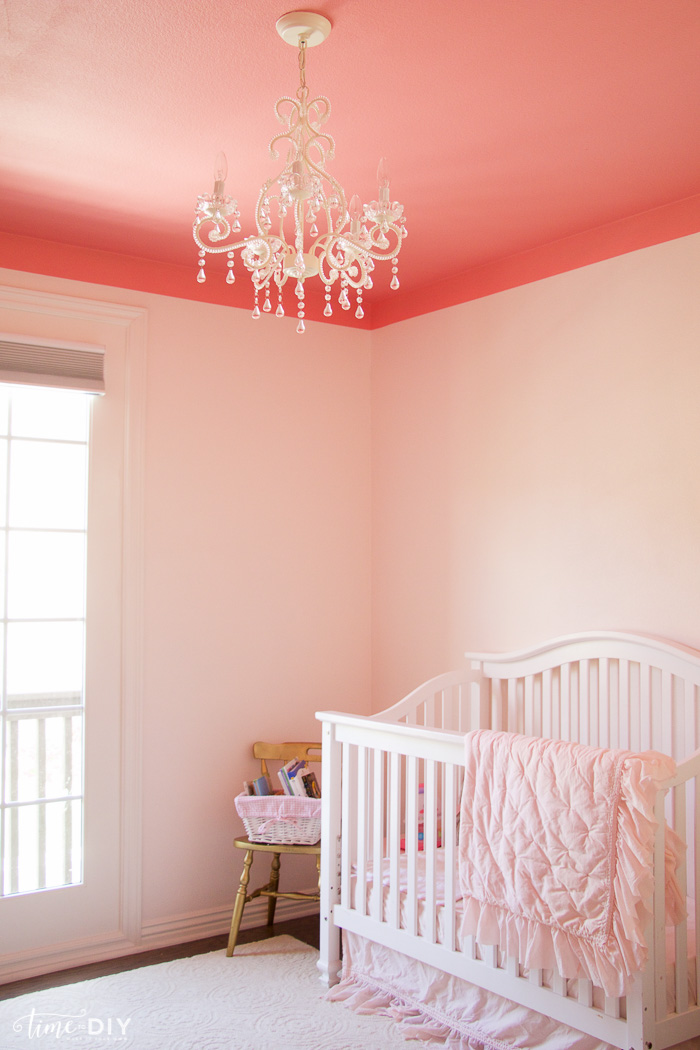
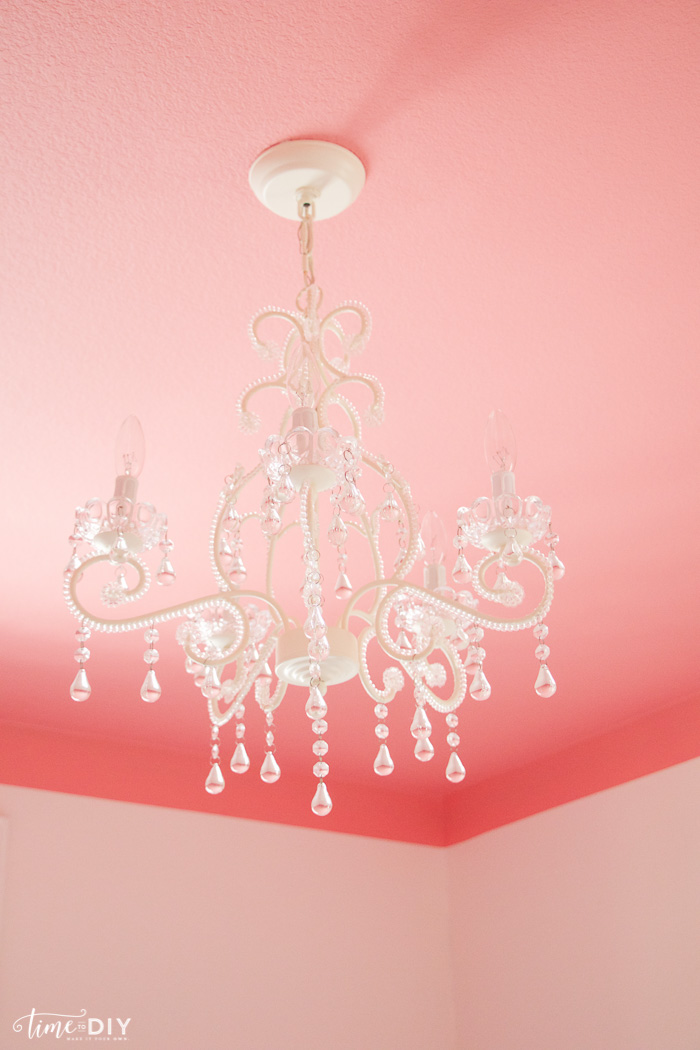
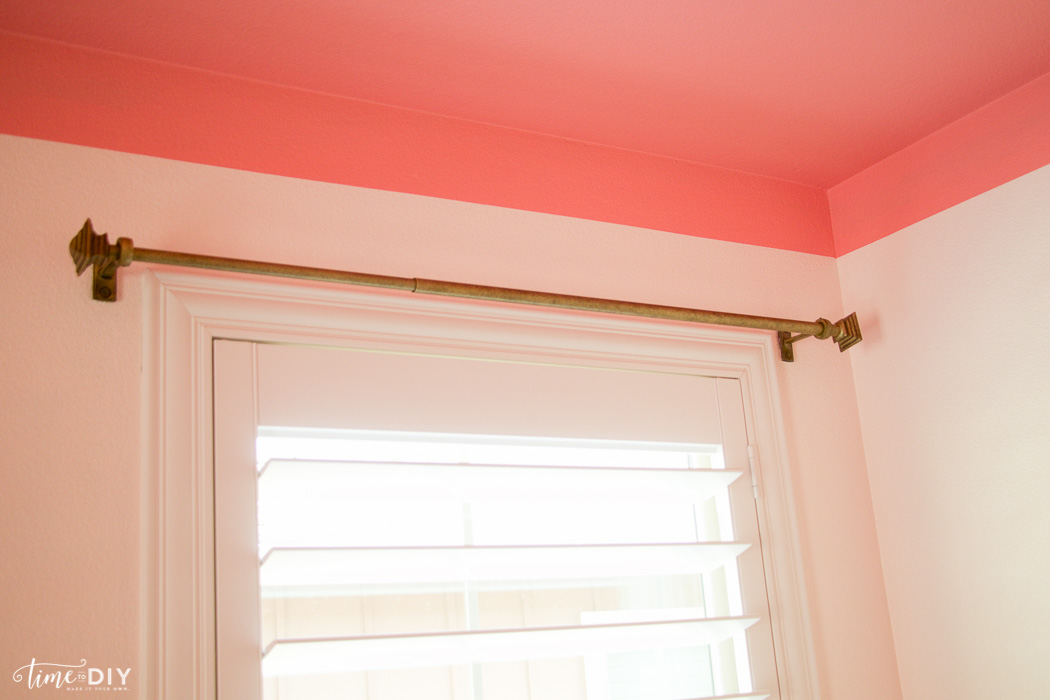
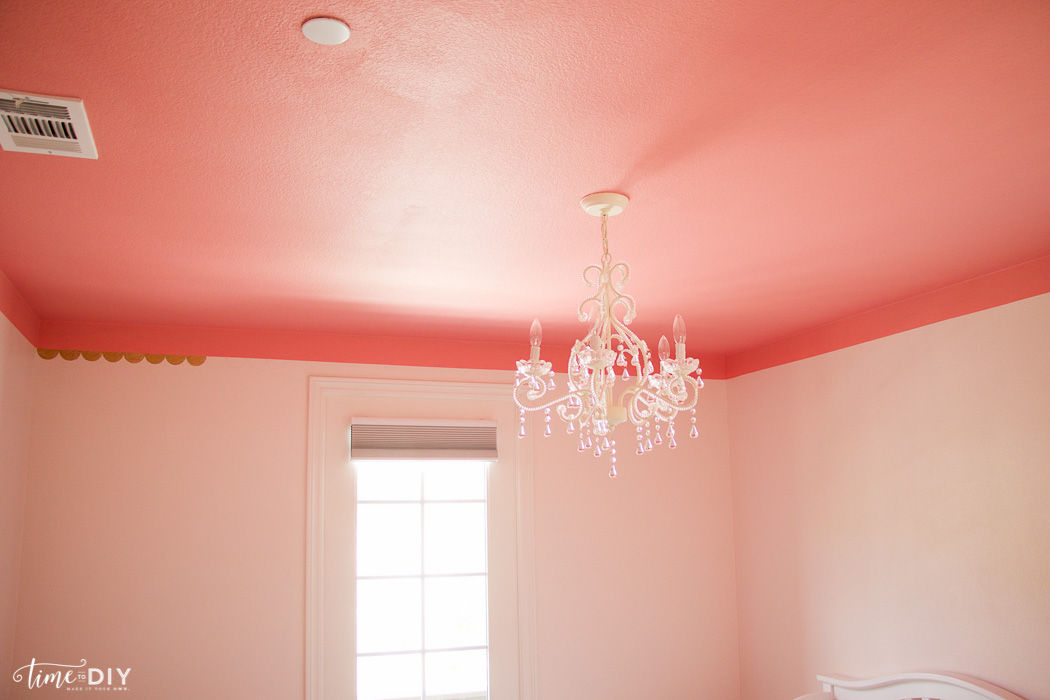
Beautiful, right? Can you believe the color change in different lighting? That’s why it’s always good to paint some color on all walls and see how it changes throughout the day. Above is in the morning, and below is late afternoon when there is the most sun.
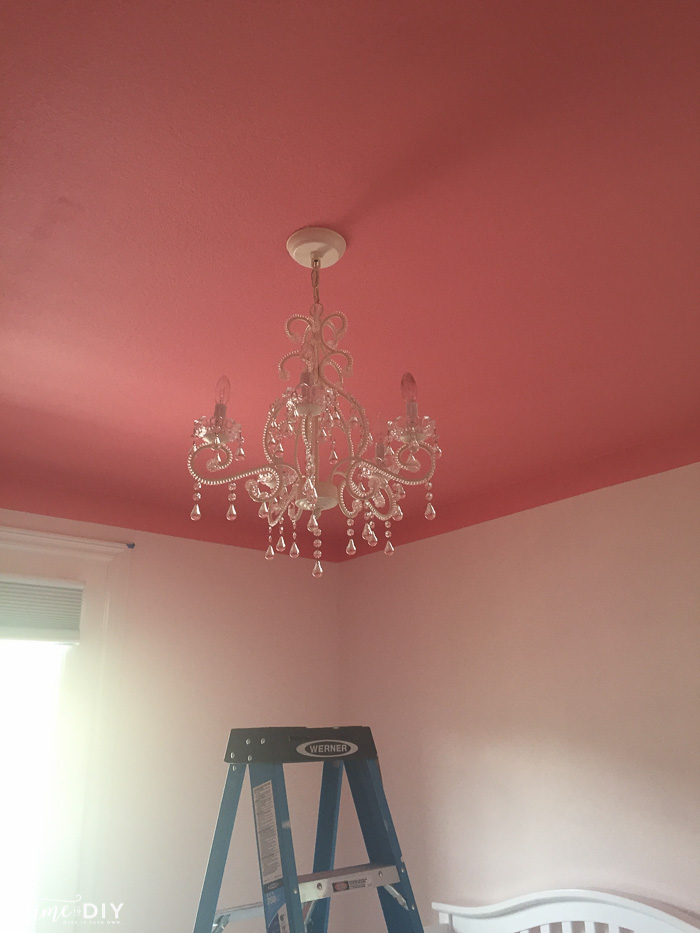
The chandelier shows up a lot better now. The only downside is that the lighting is a bit pinkish at night with artificial light, but I might be able to add an ivory medallion to help.
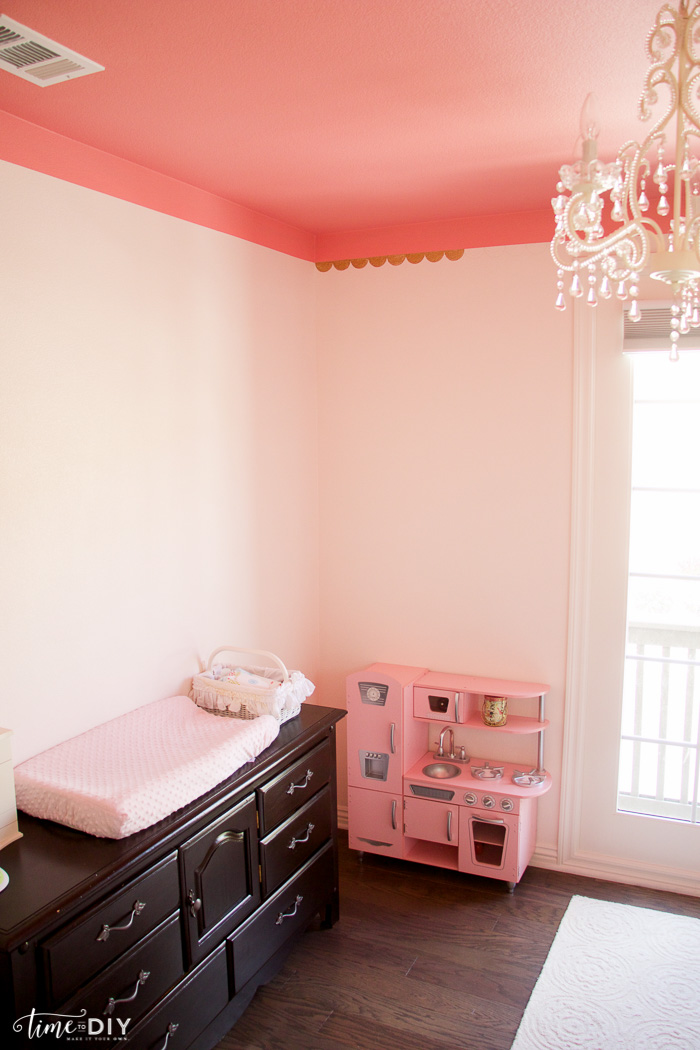
Then the tricky part: to finish the border, I wanted to paint some gold scallops (this is the part that I haven’t seen so I’m nervous about it). I used a mason jar lid for my outline.
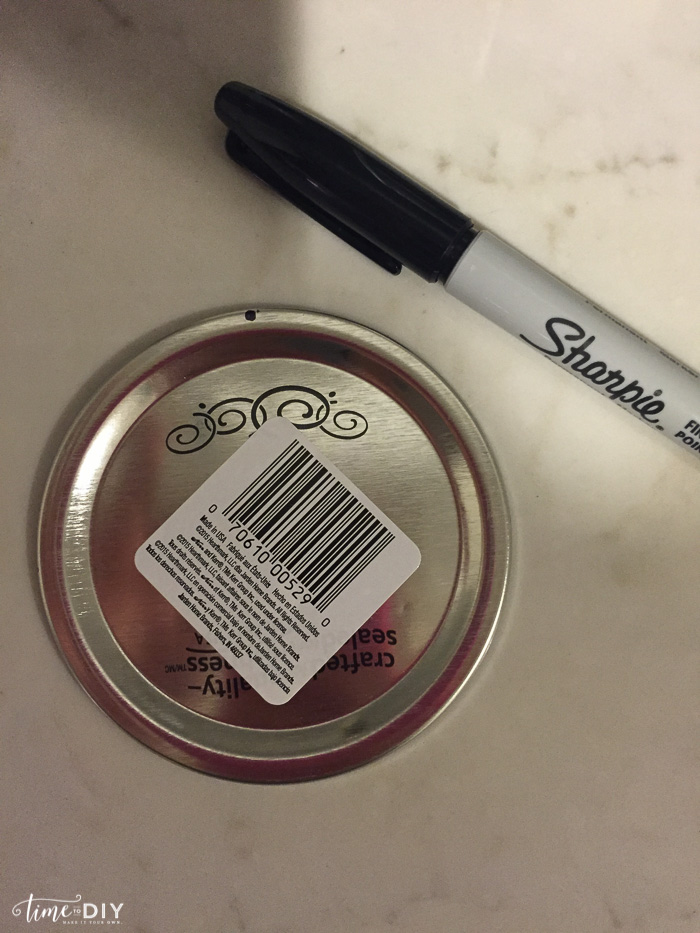
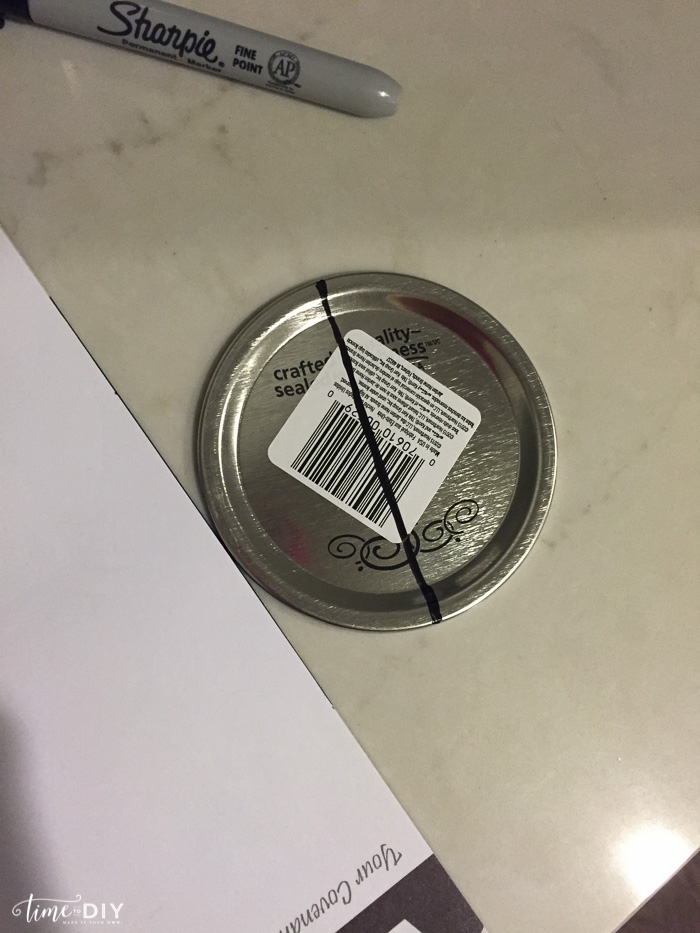
I aligned the black line in the center of the lid with my coral line to trace a half circle with a pencil. Then I hand painted with some gold metallic paint, only to discover that it needed two/three coats and it was going to take a very long time. It’s not easy to hand paint over textured walls either!
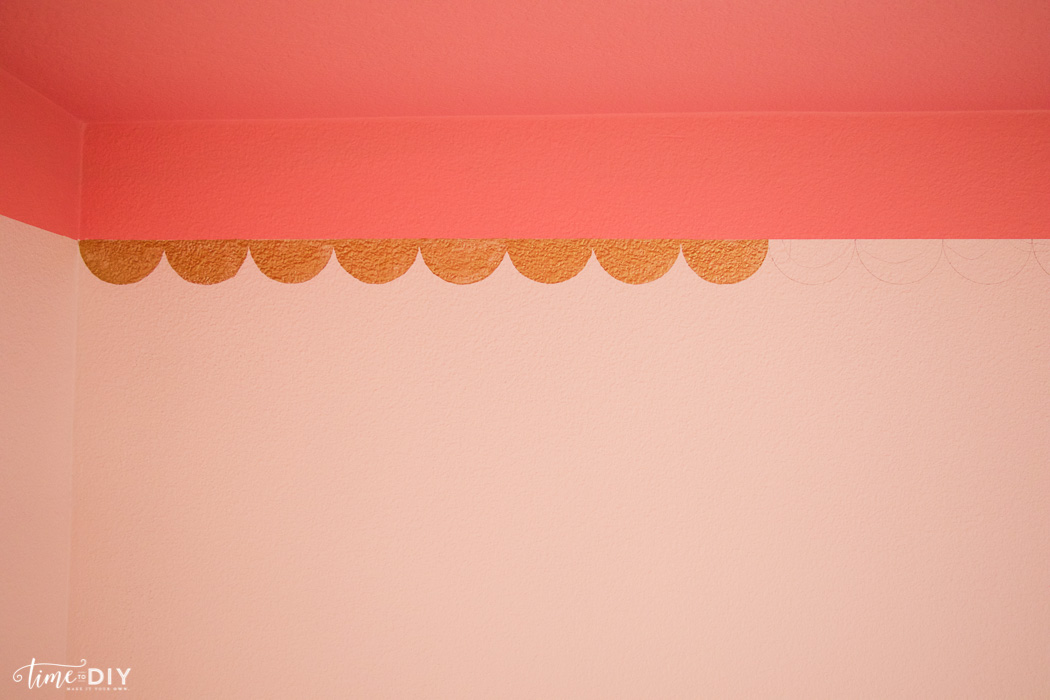
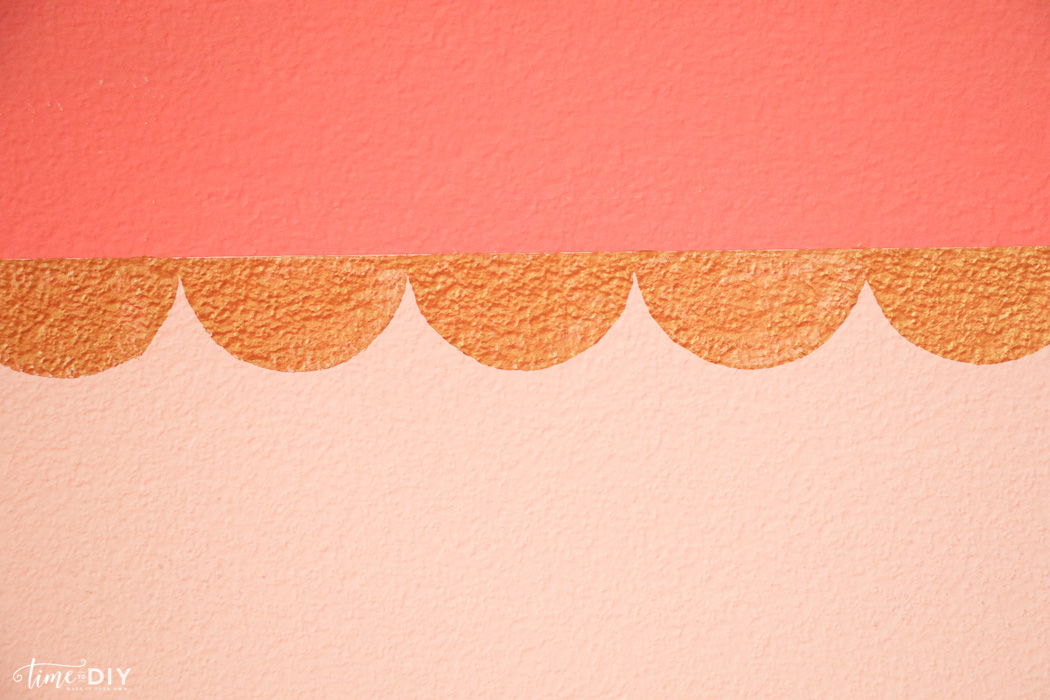
But I think it’s worth it. Slow and steady is all it takes, right? I will do a few each day so look for that completion in about week five. 😉
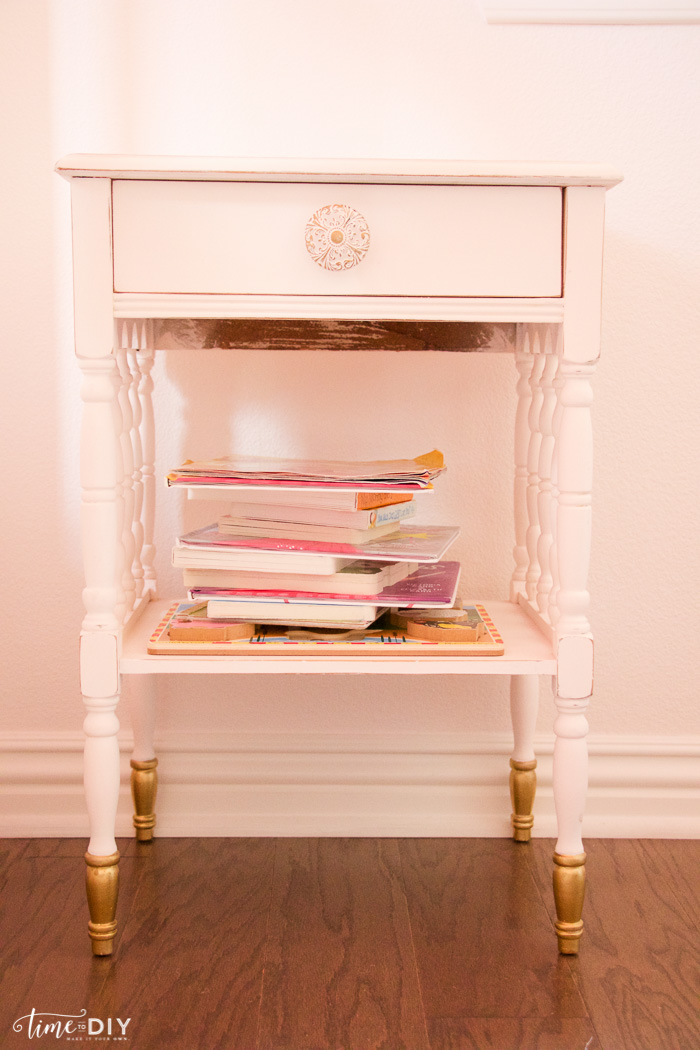
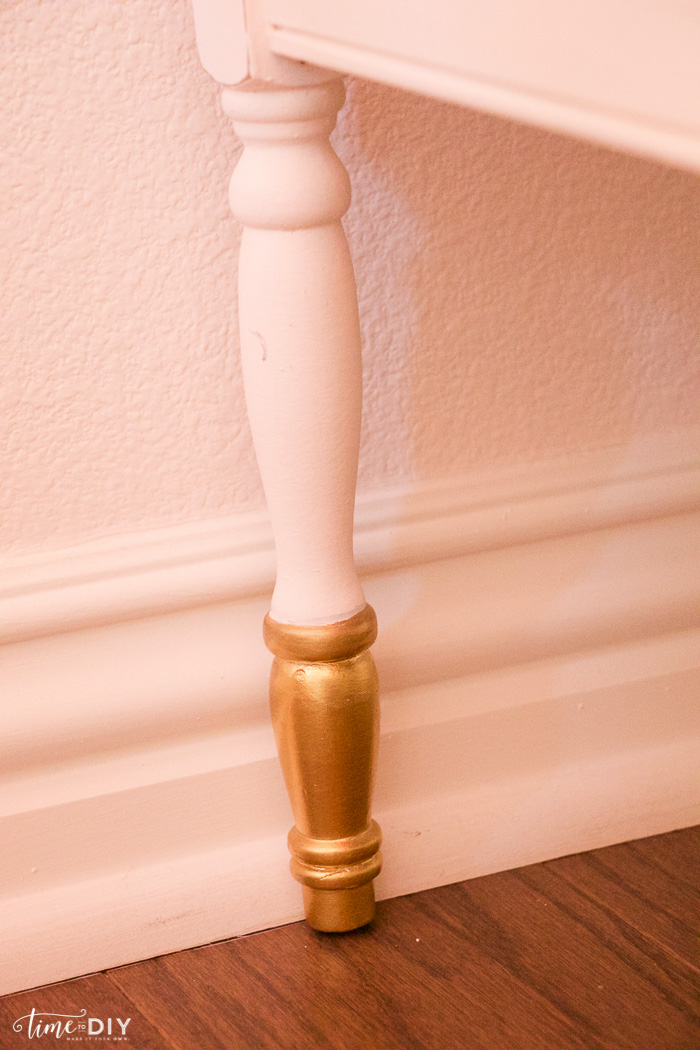
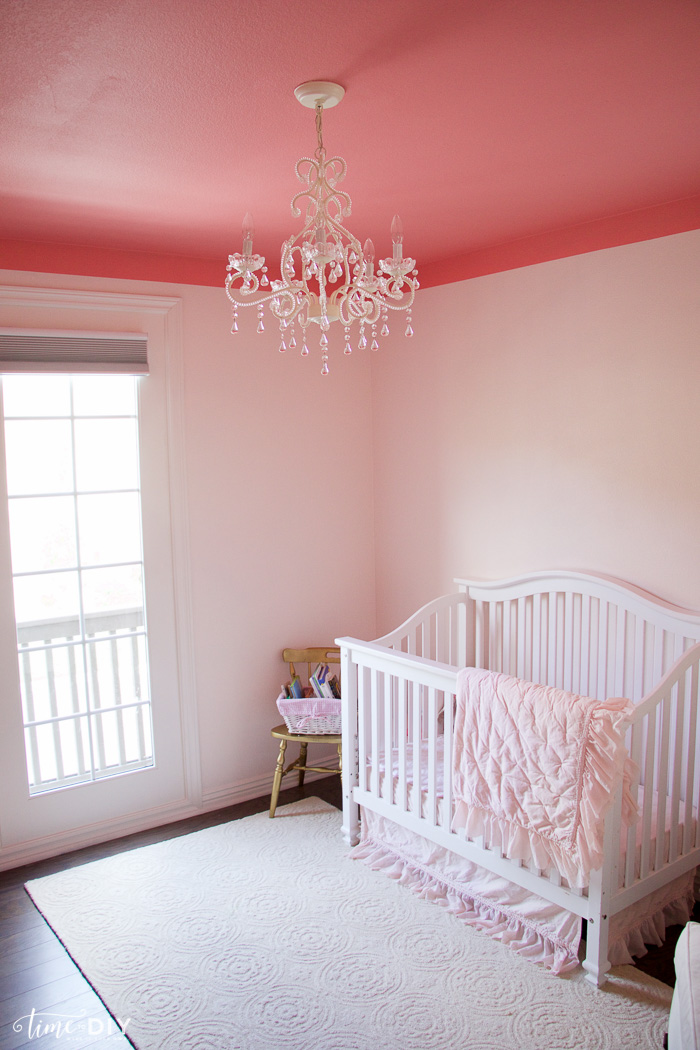
This is how it’s looking right now…ignore the furniture, that needs to be painted. Except the side table, that one is ready to go.
I got this table at a vintage market.
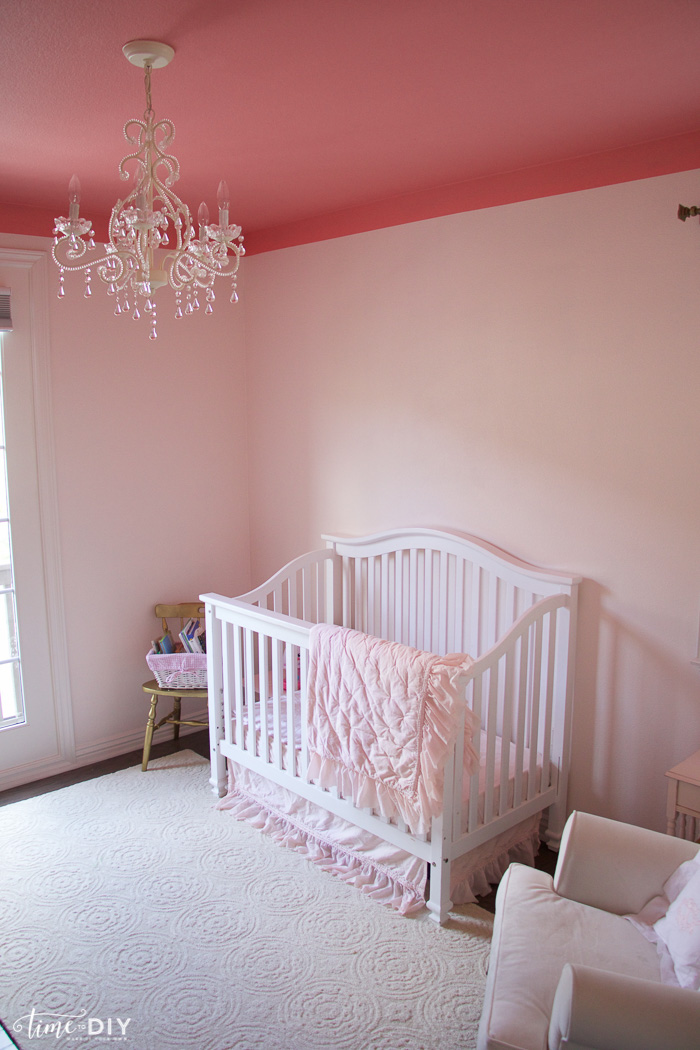

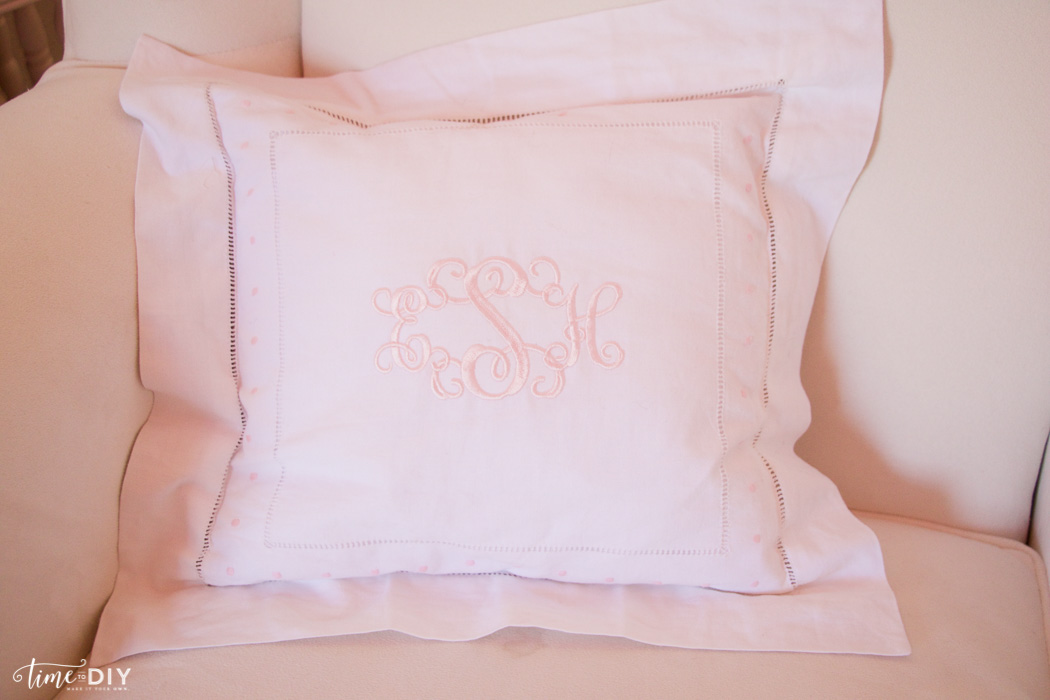
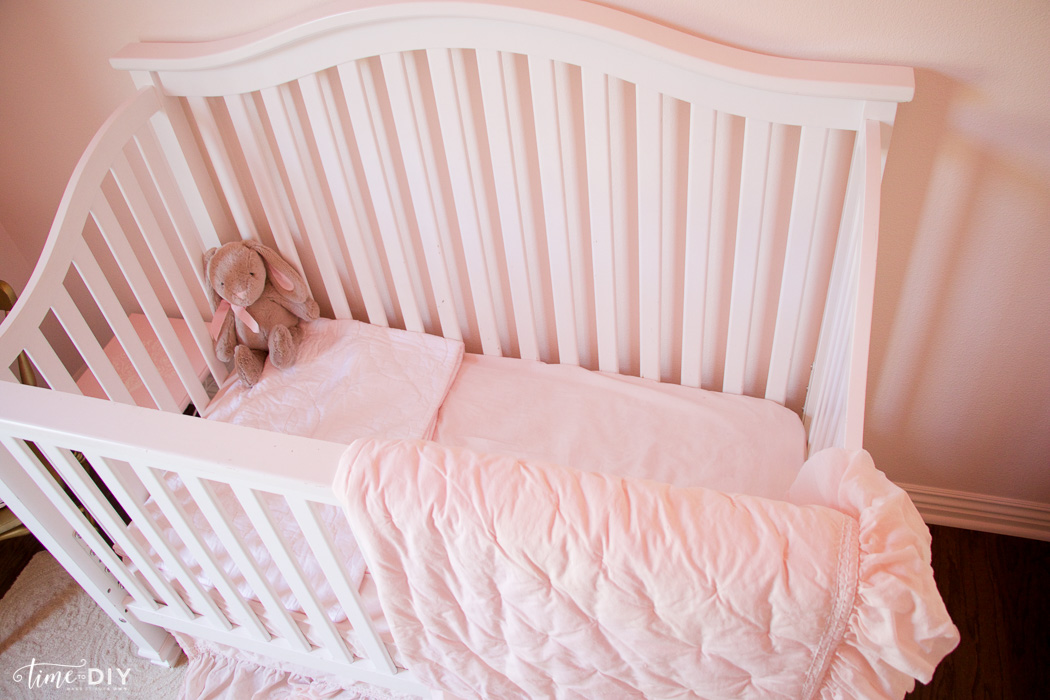
New bedding from RH Baby and Child.

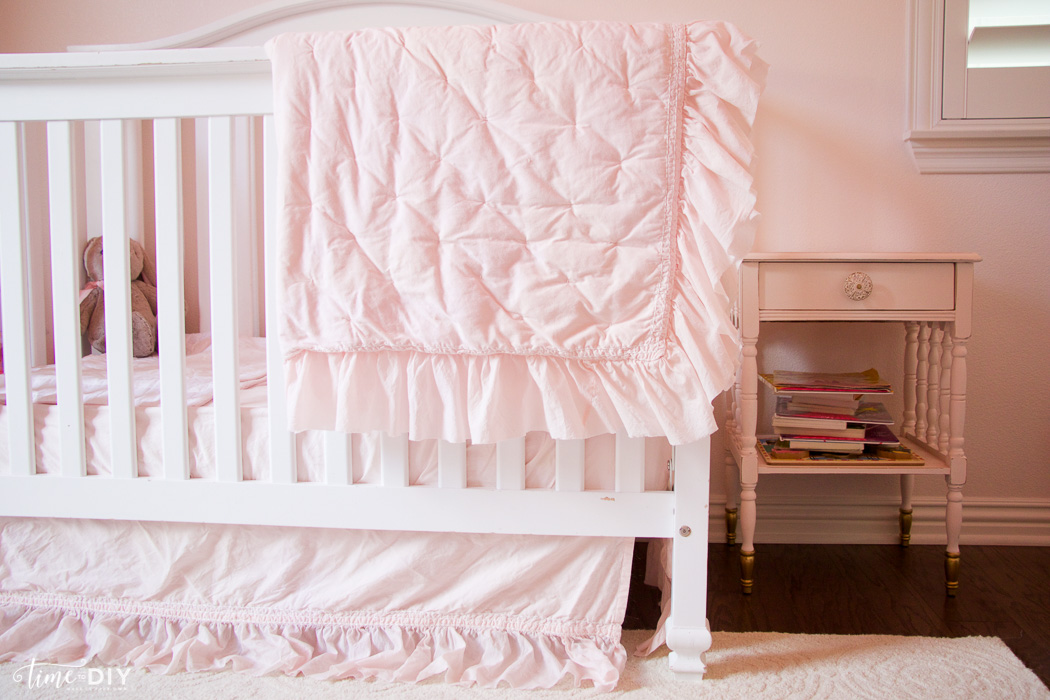
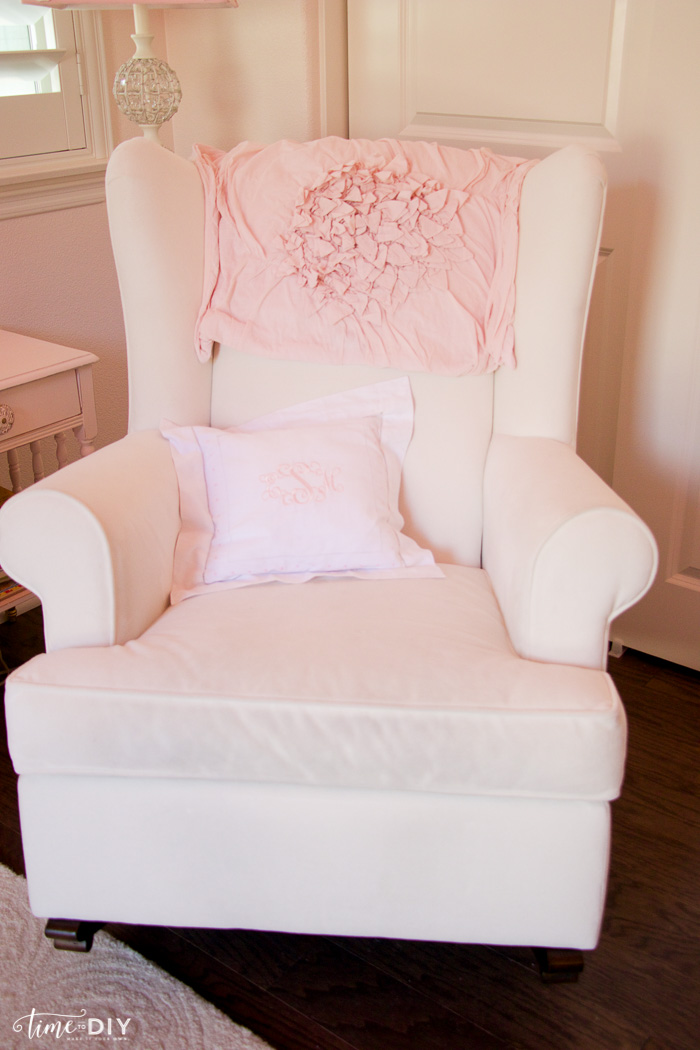
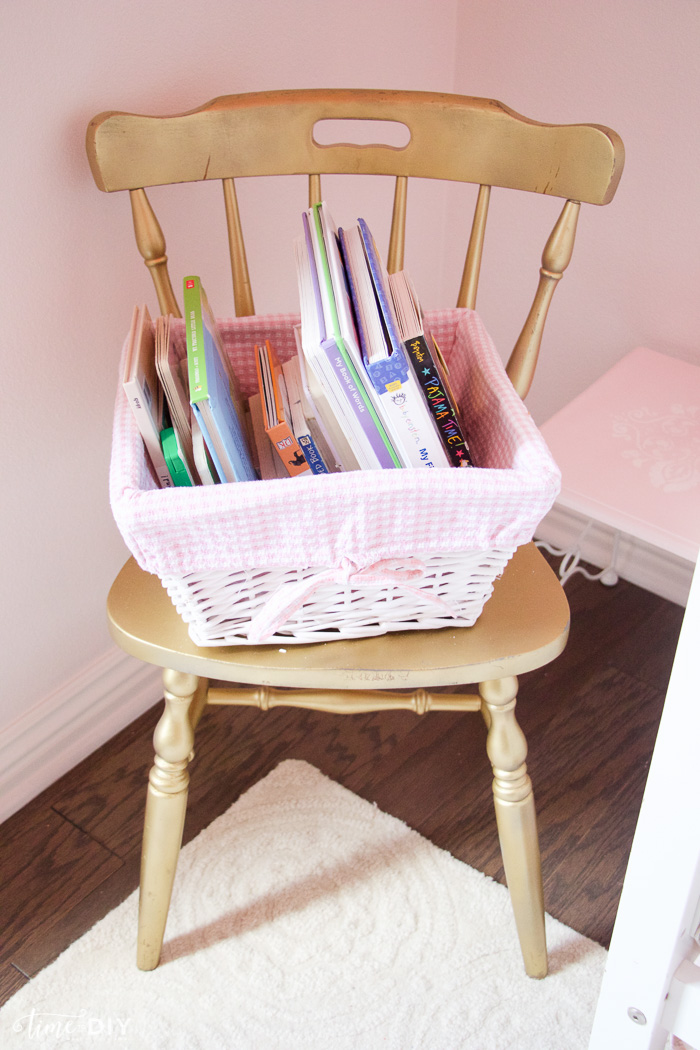
This chair was a repaint DIY for my daughter’s one-year photo shoot. I just need to do some touch-up.
That’s it for now! Don’t forget to check out what the other participants are up to in week two, and stay tuned for more progress next week!
![]()


Love the paint and the gold scallops!! Those are going to look great! I think choosing paint colors is the hardest part for me. We’re trying to decide on an exterior house color right now and it’s taking up more space in my brain that it should, ha!
Thank you! Oh man. Exterior is tough. Good luck and you will have to show me when it’s done!
What color gold paint did you use, where did u get it?
I used metallic gold paint that I got from Target. 🙂
I am in love with the way the scalloped roof came out. I am in the middle of remodeling my daughter room she is two and obsessed with anything princess so I am going to use your idea as an inspiration. Can you please give me some advice on what type of gold paint you used to do the scalloped roof? I am new to DIY projects since we just purchased our first home. Please advice, thank you so much.
Hi, Lily! How exciting! I love all things gold! I used the gold metallic paint sold at Target. Have fun!
Hi I’m also painting something similar !! It’s beautiful by the way I love your room !! I’m curious did you have to wait to tape a specific amount of time once you painted ??
Thank you! How fun. I usually just follow the drying time on the paint can before I tape – I think for most paints it’s about an hour. Have fun!
Hi! I was wondering what the name of the blush color paint was that you used on the walls?
Hi! It’s Restoration Hardware “Blush” – and Home Depot can color match it with Behr paint too. 🙂