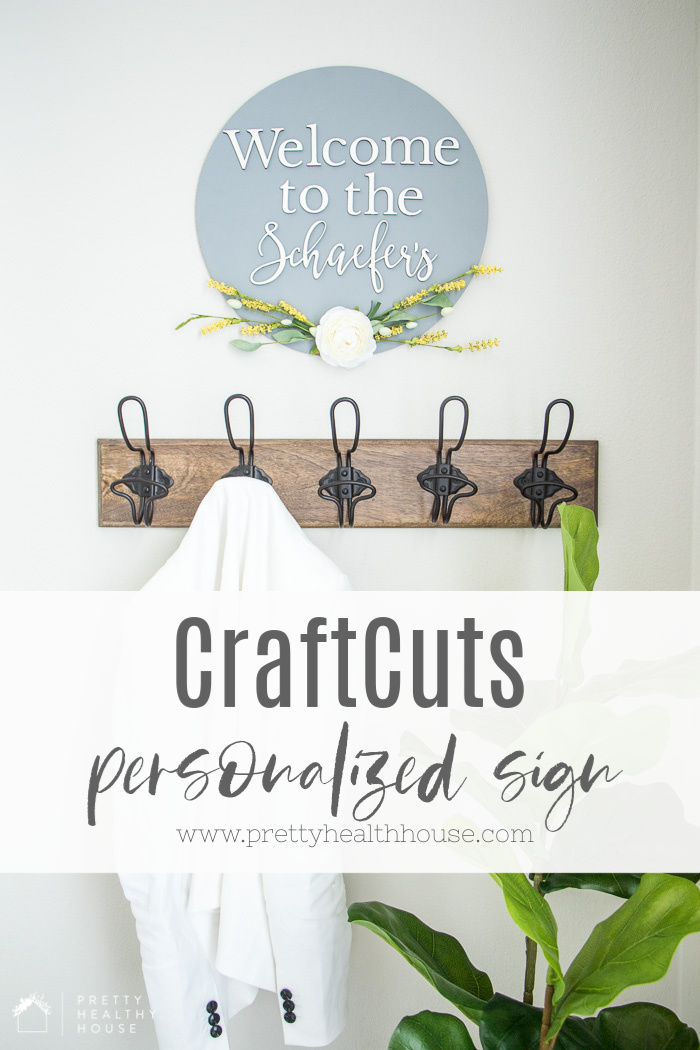
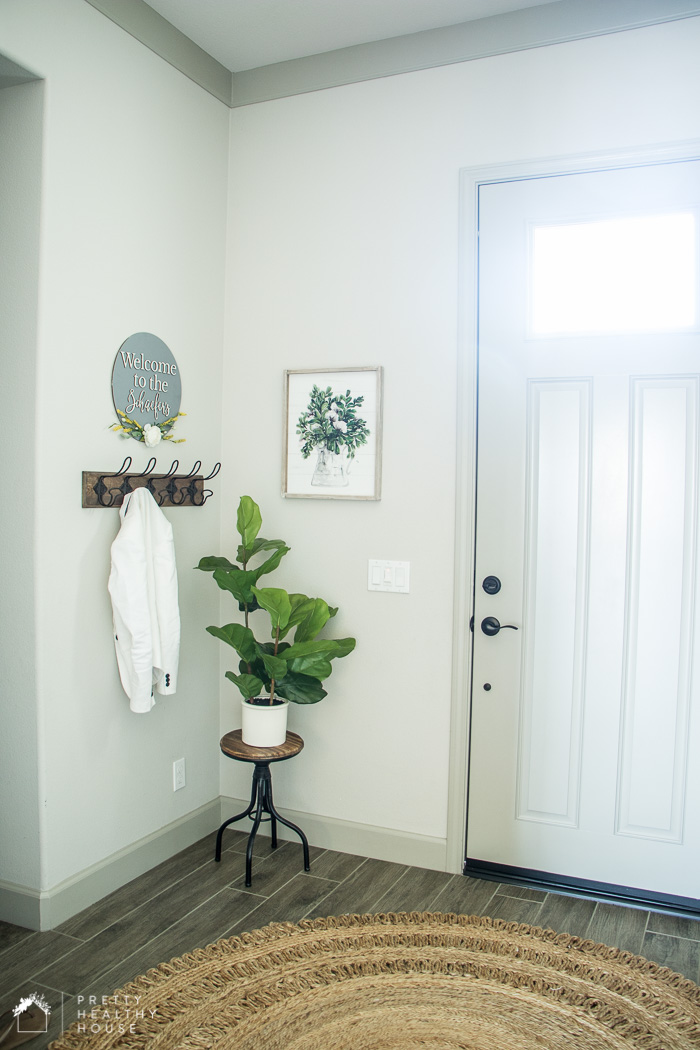
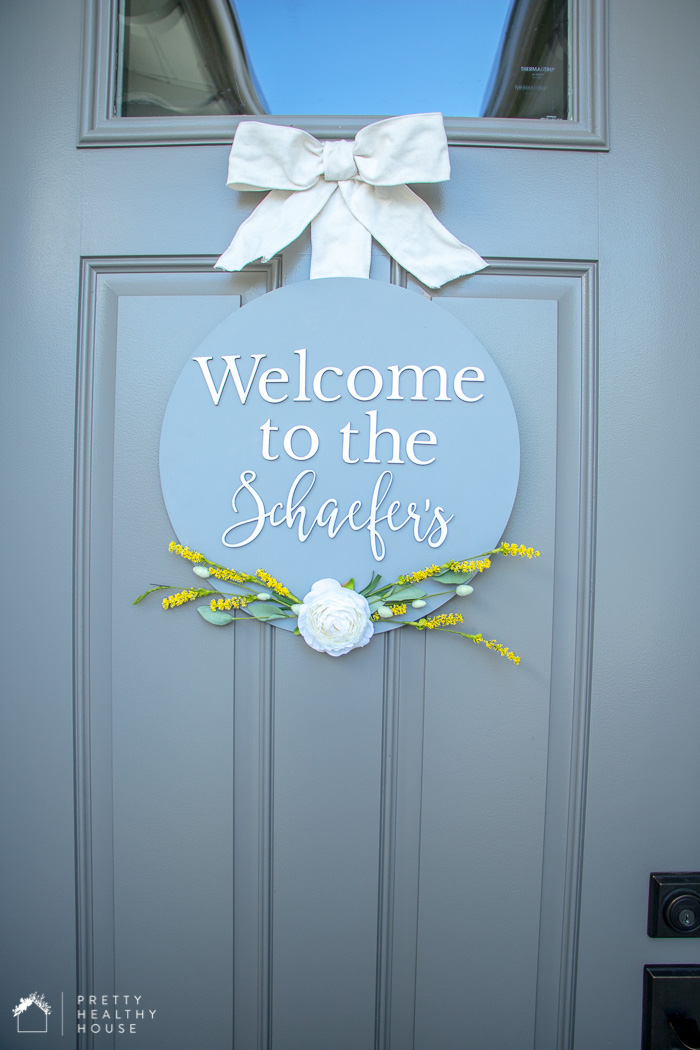
A simple and fun personalized welcome sign using CraftCuts wood cut-outs and a circle backing, perfect for home decor or a gift idea.
CraftCuts wood cut-outs and wall signs are two of my favorite things, so I combined the two to create a fun and personalized welcome sign. But I couldn’t narrow it down to just one idea so I made two options instead! Read on to see how I personalized it in two different ways.
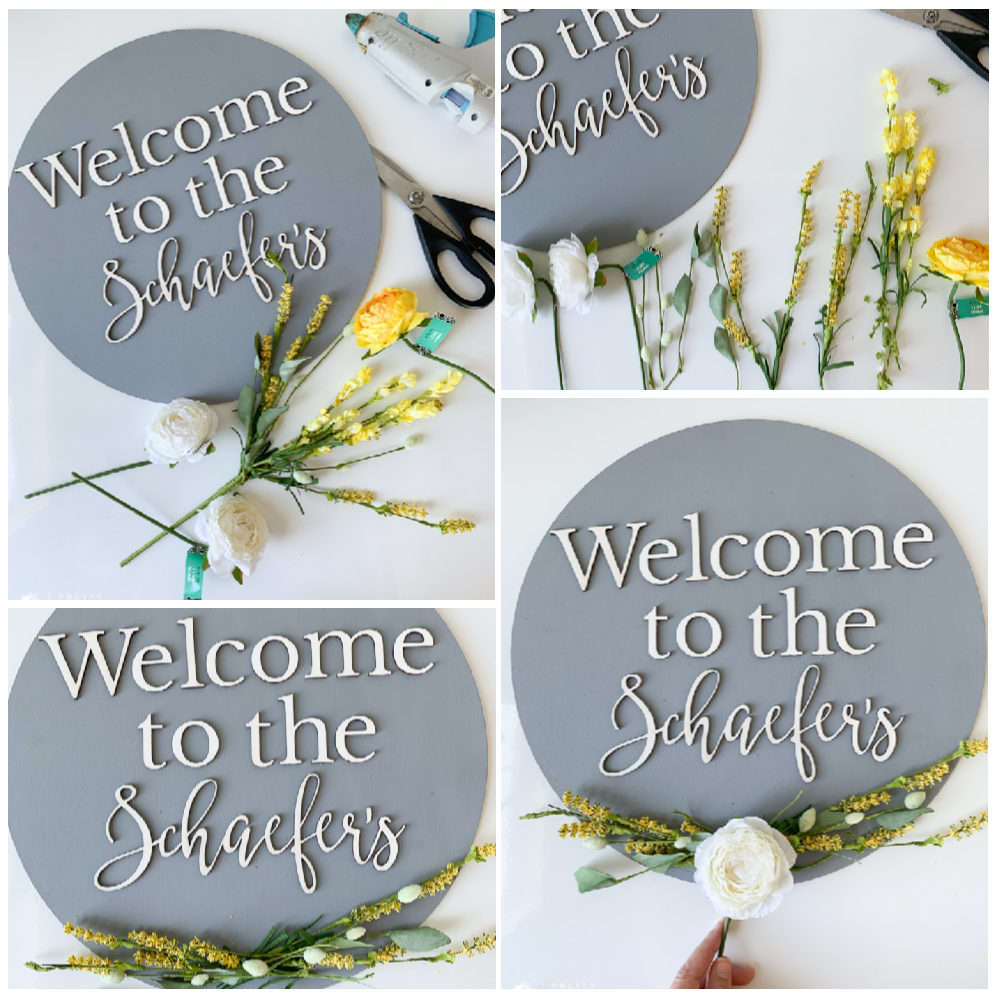
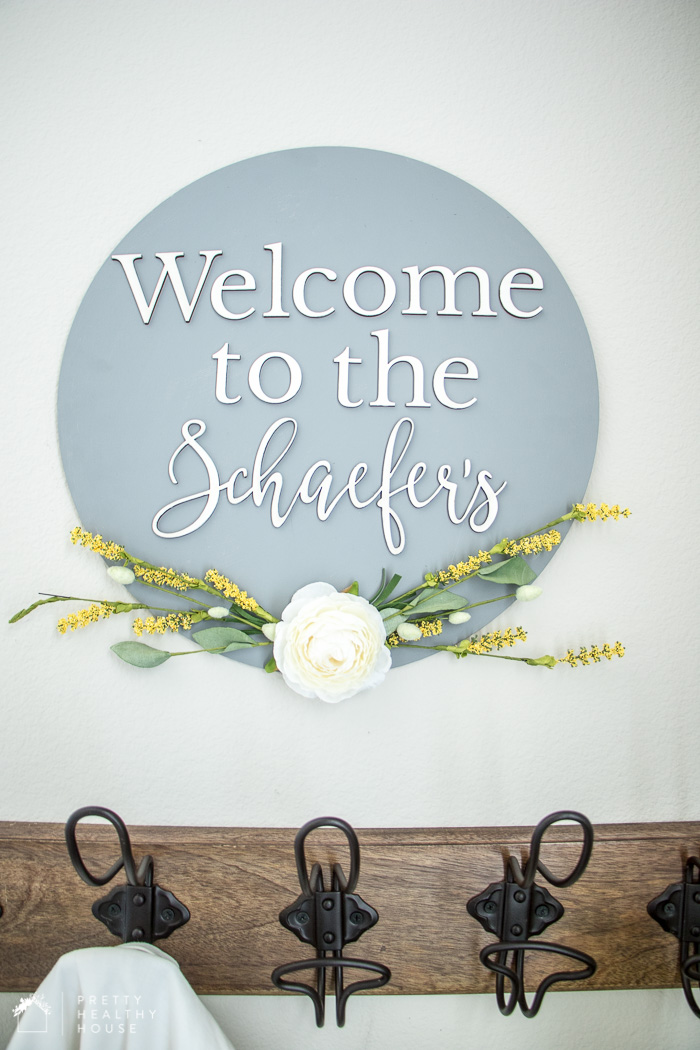
I used a 15 inch-wide, 1/8-inch thick circle (unpainted) for the backing and two types of letters:
- “Welcome to the” wooden letters – Libre Baskerville, 2 inch, 1/8-inch thick (unpainted)
- “Schaefer’s” script letters – Betterfly Smooth, 3 inch, 1/8-inch thick (unpainted)
I used a sponge brush to paint the backing first.
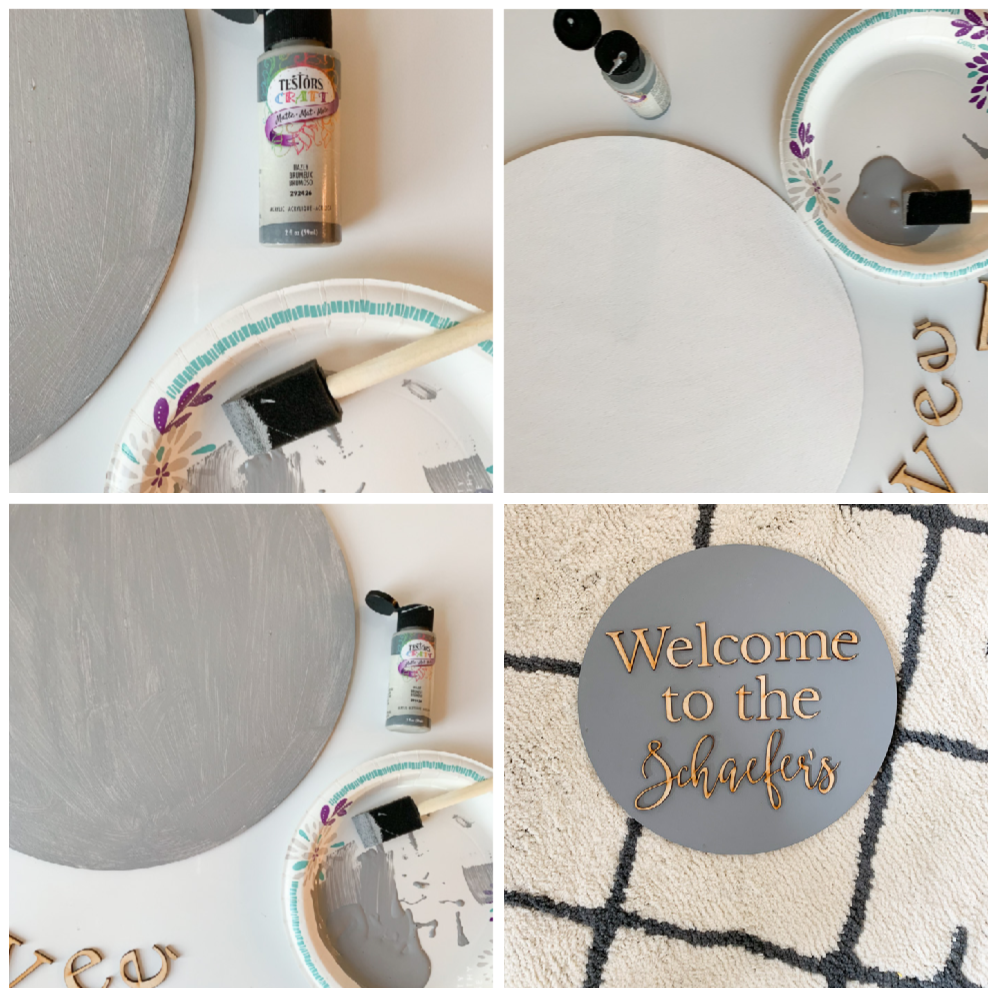
You can order letters pre-painted, which would be a little easier, but I like to choose specific paint colors and have flexibility to match my current decor so I prefer to paint them myself.
It took about three coats for full coverage – that was after I had painted it three coats of white and then decided to switch it out to gray. 😉
I debated keeping the letters a natural color, but my Instagram followers voted for white (great choice!).
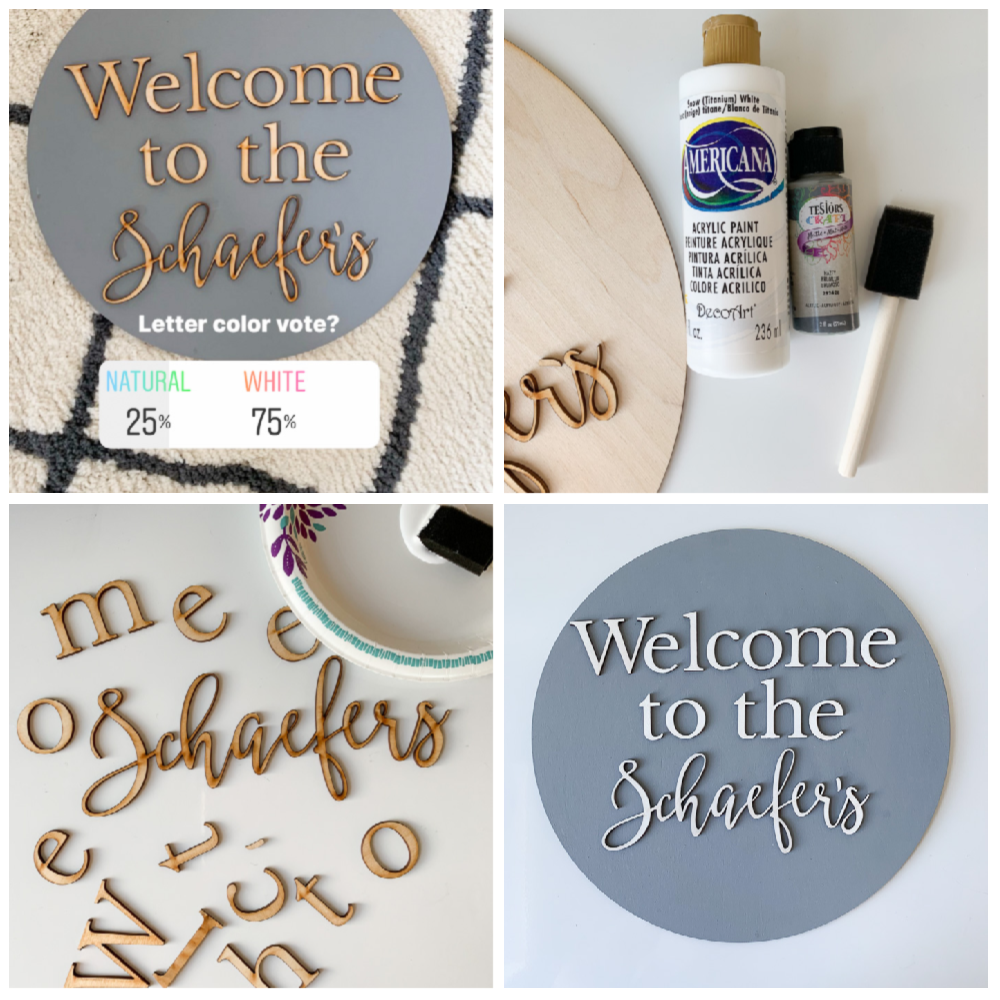
CraftCuts has a painting tutorial here, if you want to check out how easy it is. My process was a little easier because I just painted the top white and left the sides the natural finish.
It took two coats for the white, and I didn’t use a primer.
Gluing the letters is also easy. CraftCuts provides a nice template to keep the letters straight and level. But I like to live on the edge so I did it without the template.
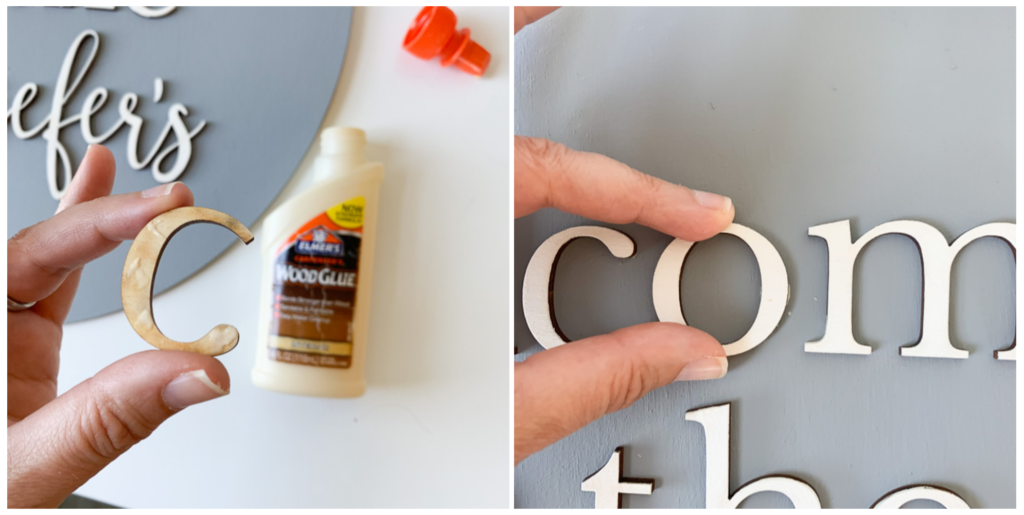
The letters only needed a little dab of wood glue to keep them secure.
I added some florals from Hobby Lobby to give it a summery flair.
I used hot glue on the florals because it’s an easy way to take them off later to switch them out for a different season.
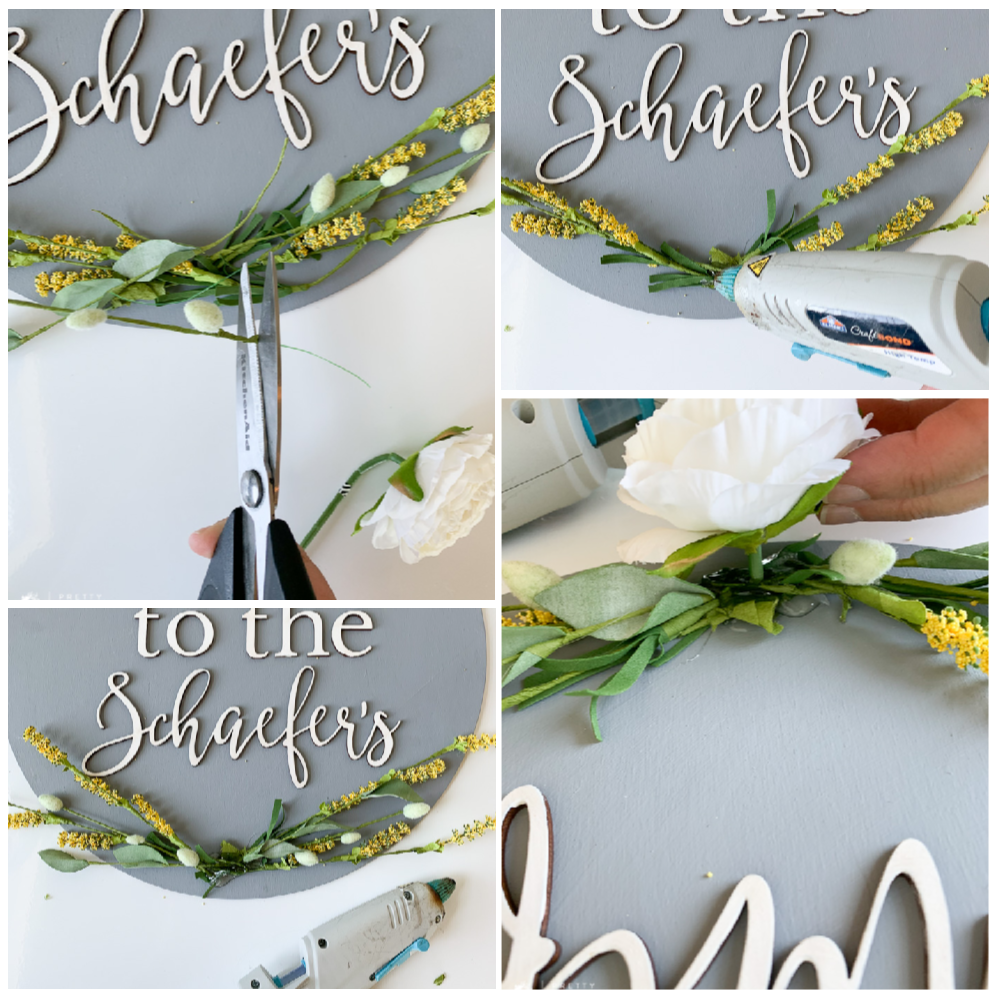
Using faux florals that you can change out is a fun and easy way to update decor periodically.
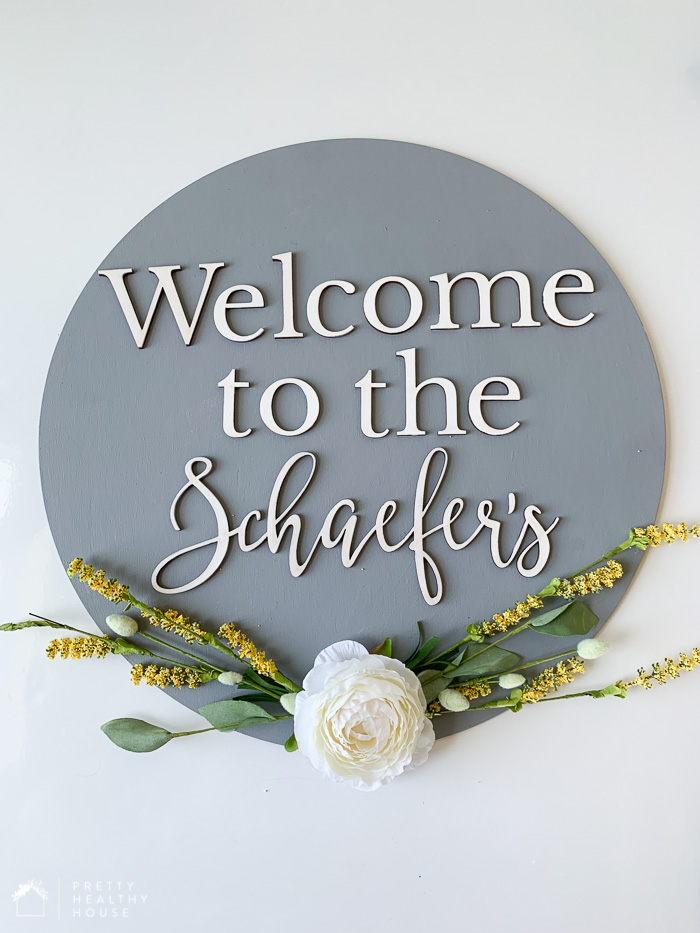
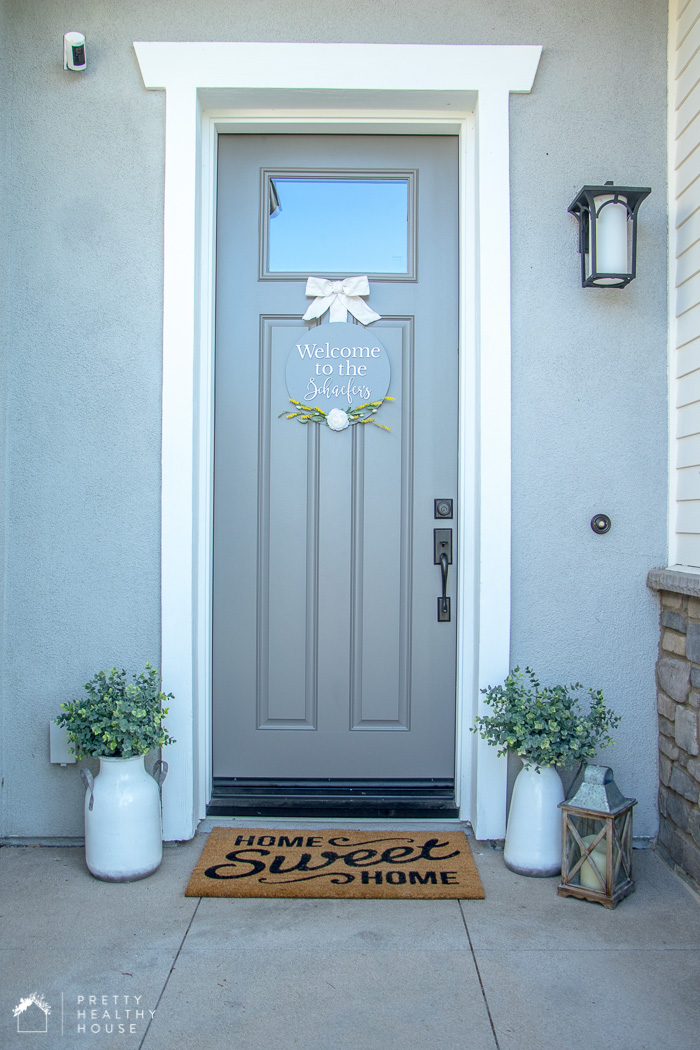
A fun and personalized sign that’s bright and cheery for summer! This would be a great gift idea if you have a wedding coming up!
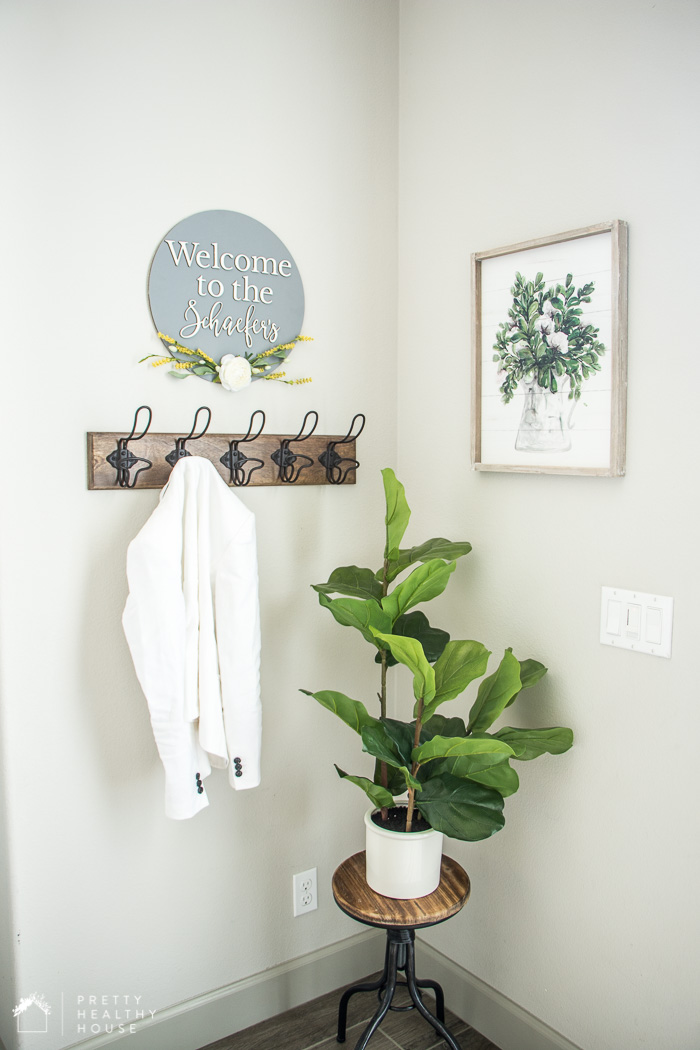
It only took one Velcro Command strip for hanging.
For the second option, I attached some ribbon and a bow to make it a traditional door wreath.
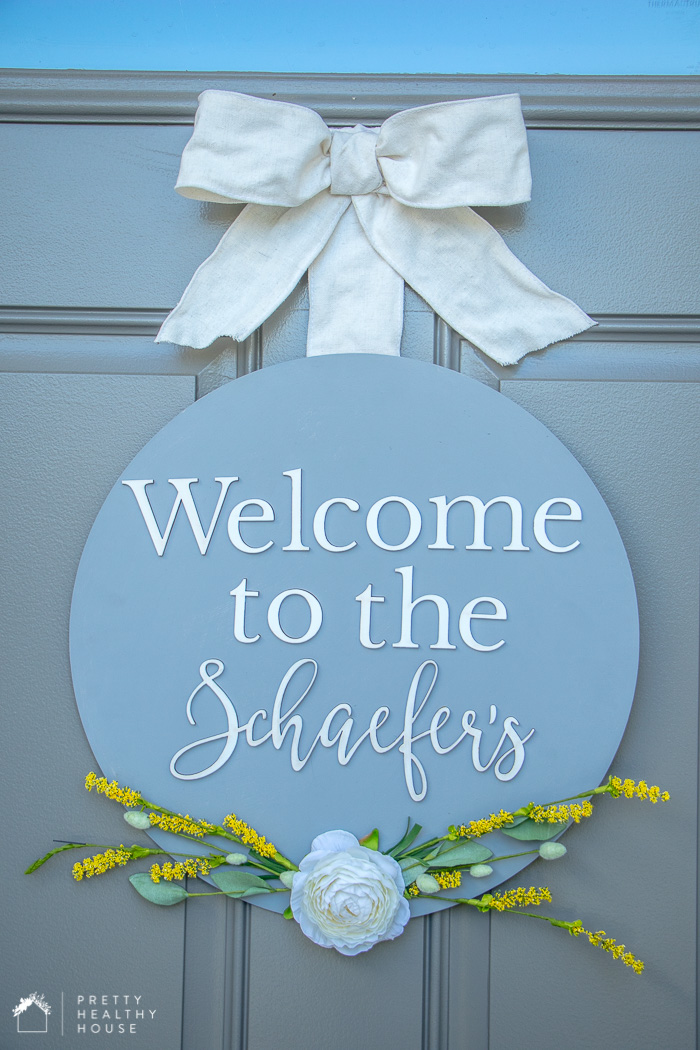
I used hot glue to affix the ribbon to the back, and cut a small hole in the back so I could hang it with a nail.
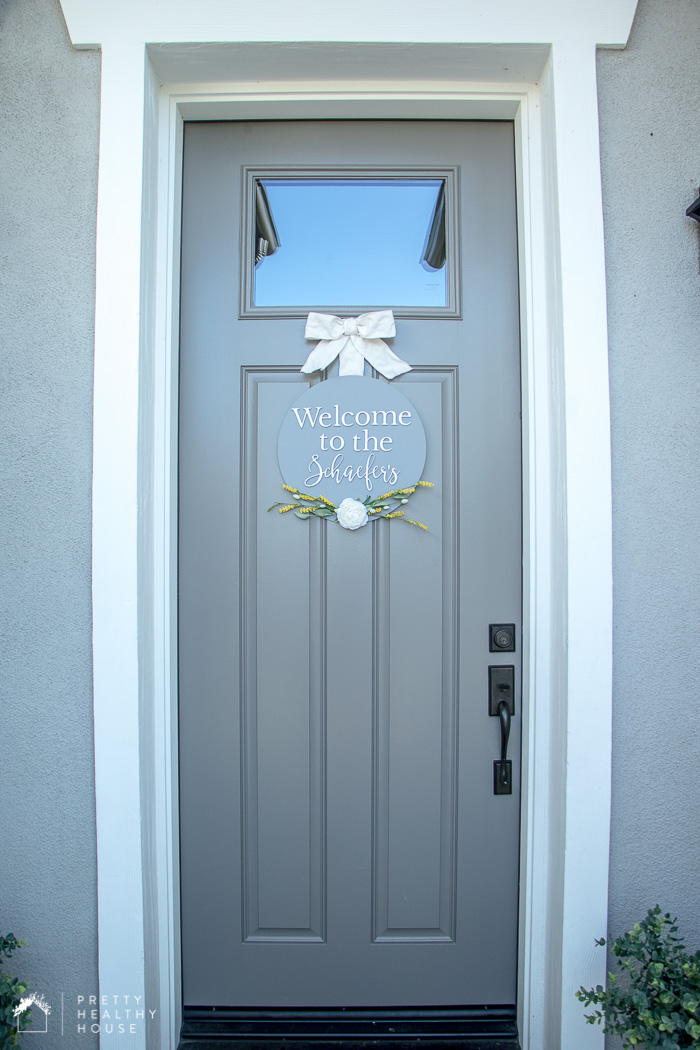
That’s the CraftCuts sign two different ways, which one is your favorite?
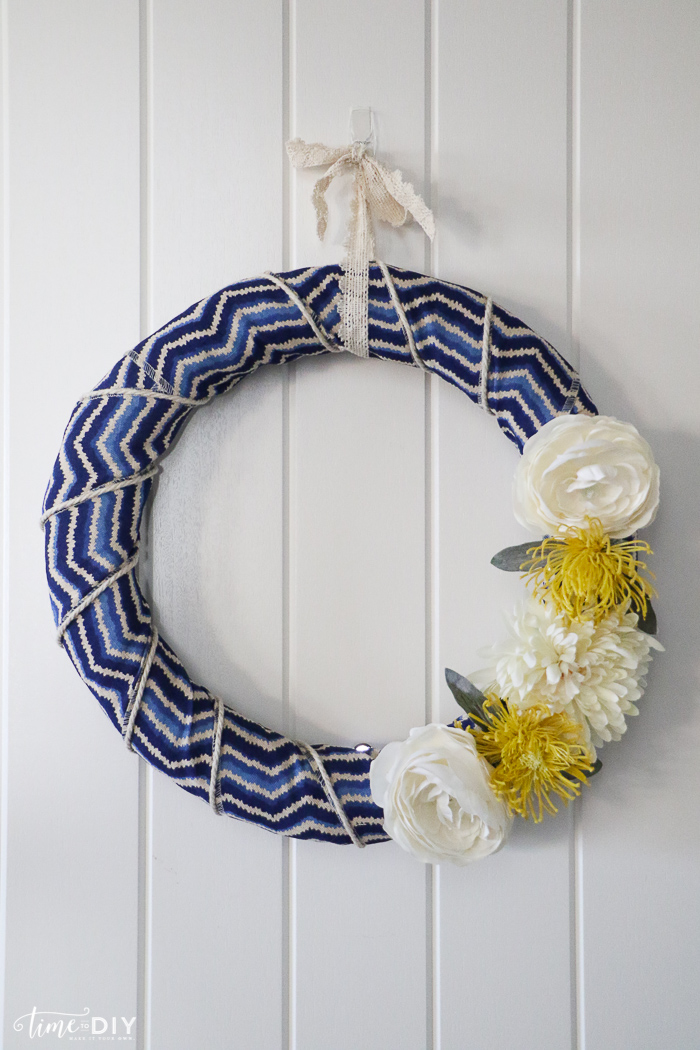
If you want more summer wreath ideas and how-to’s, check out this navy and white floral wreath,
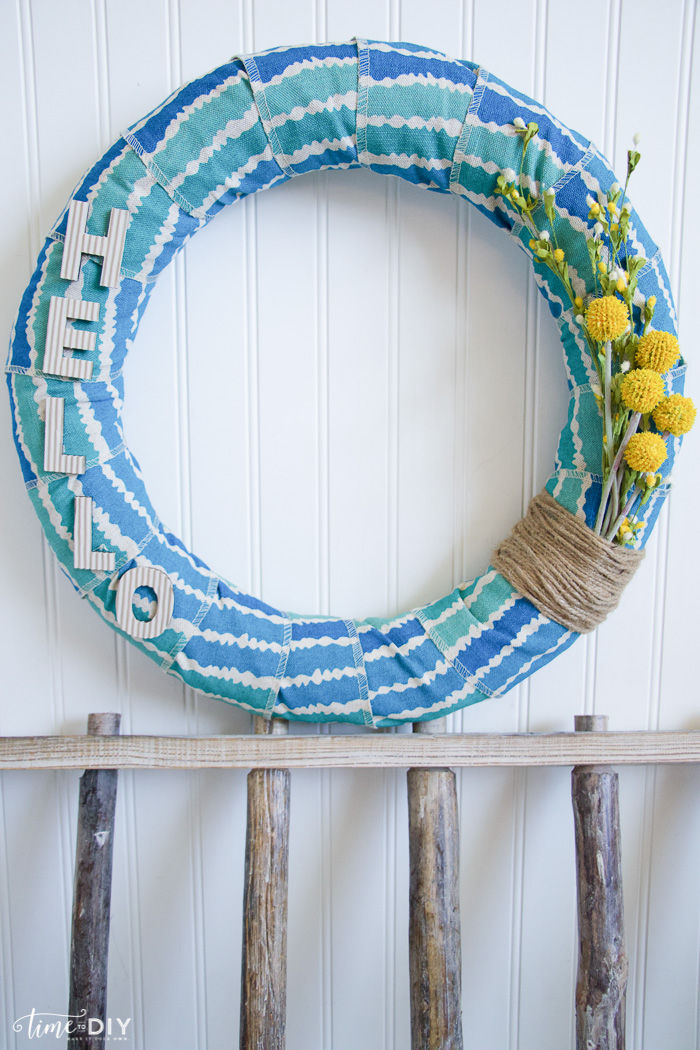
Or this turquoise and white “Hello” wreath,
Or a this patriotic ribbon flag.

*CraftCuts sponsored this review, but all opinions within are my own.


Leave a Reply