A functional command center to help your family stay organized with the weekly schedule and corral important documents to cut down on clutter.
A command center is pretty much a staple in any home to keep your family organized. Last year was the first year all three of our kids were in school, and it quickly became clear that we needed a visible schedule as well as a place to corral all the papers to keep our sanity with all the activities and events.
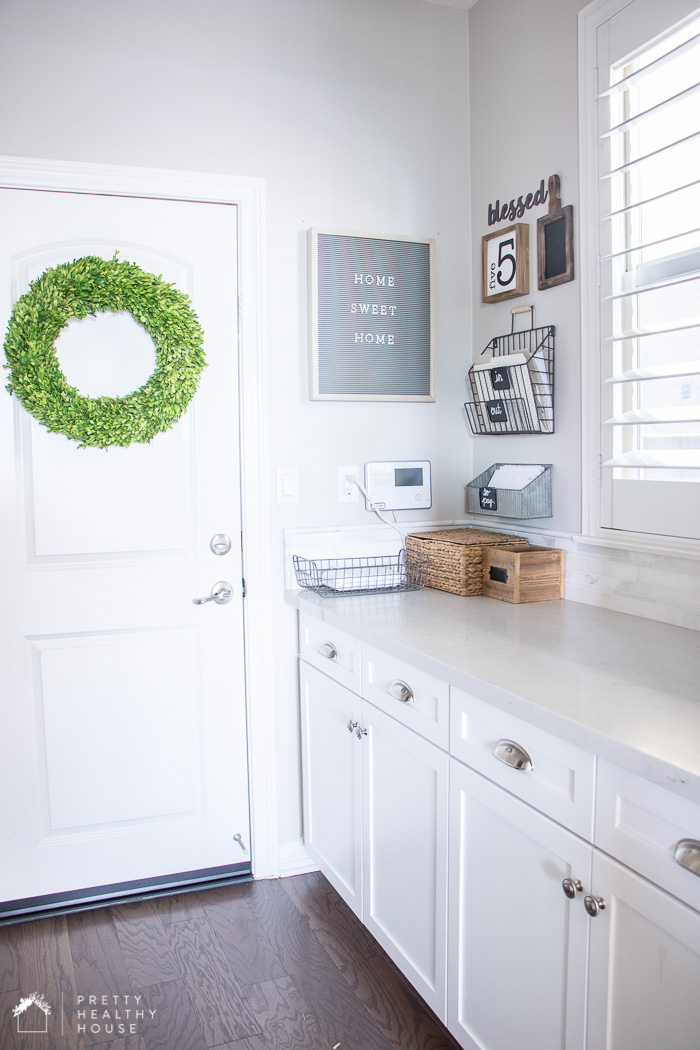
We moved in January and now that I’m basically unpacked (the garage is still a mess, ugh), it’s time to set up a functional command center! I’m going to model it after the one in our last house that worked well, which I haven’t shared yet on the blog yet, so here it is!
Setting up a command center
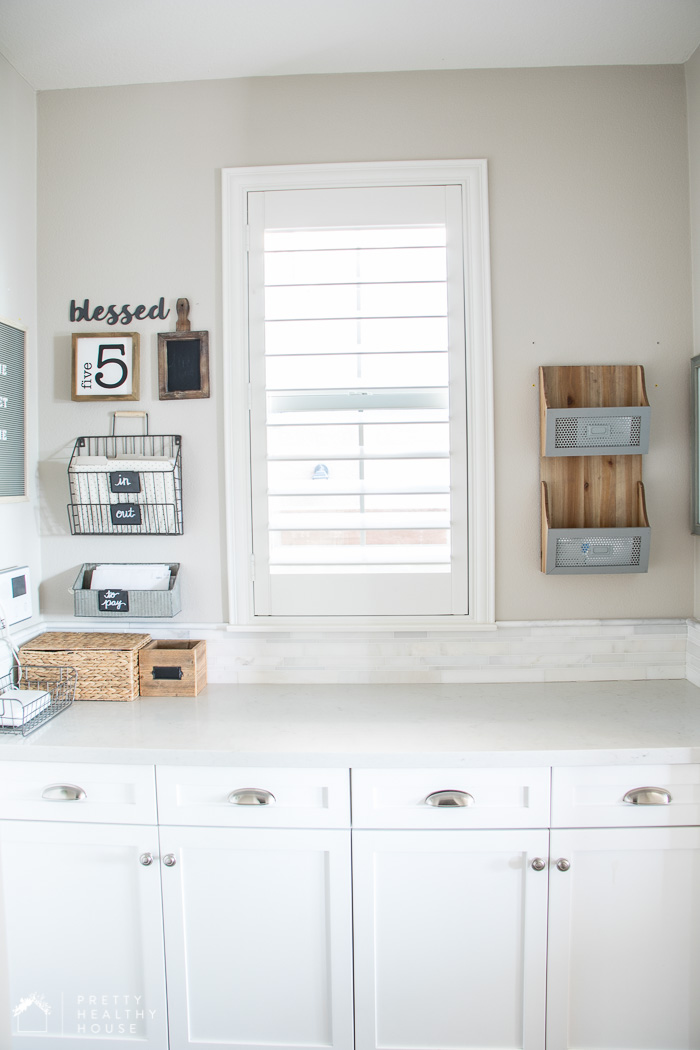
The first step is finding a place for it. This space in our old house, the entry from our garage near the pantry that opened into the kitchen, was technically our butler’s pantry. I initially had it set up as a tea and coffee station, but turns out that wasn’t as practical with three kids under 10 so I gave that up and decided to convert it to a command center.
Corralling and tossing the paper
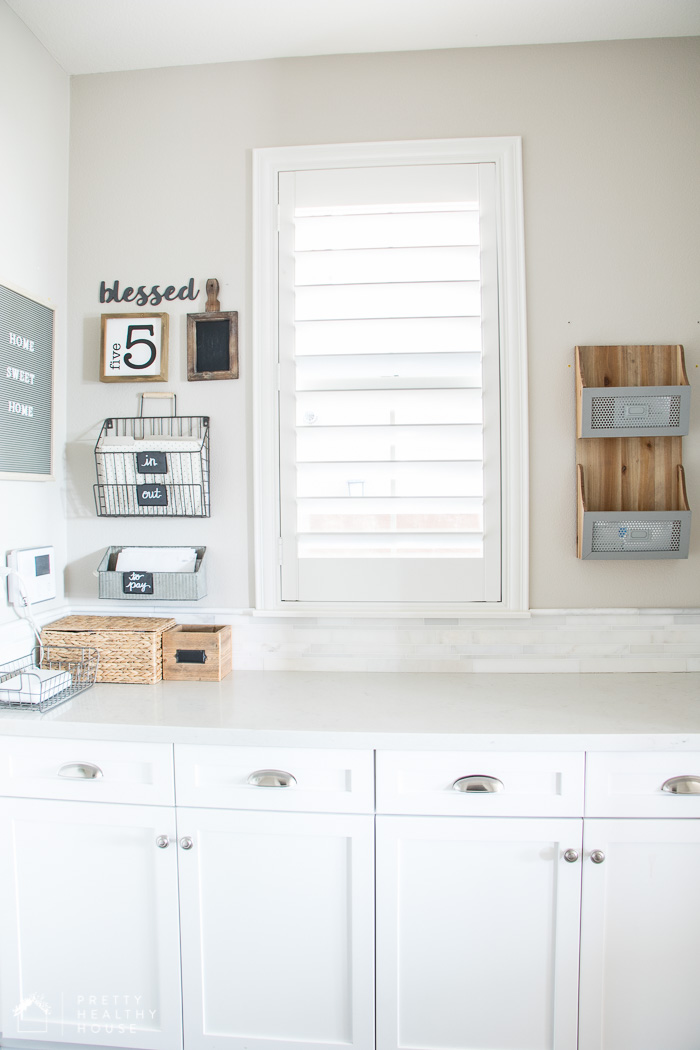
First, make a list of what papers you need to organize (and toss). I used vertical wall hangings so there is a spot for every paper we need to organize or file/save. I will have another post on organizing/tossing paper soon.
Make it pretty
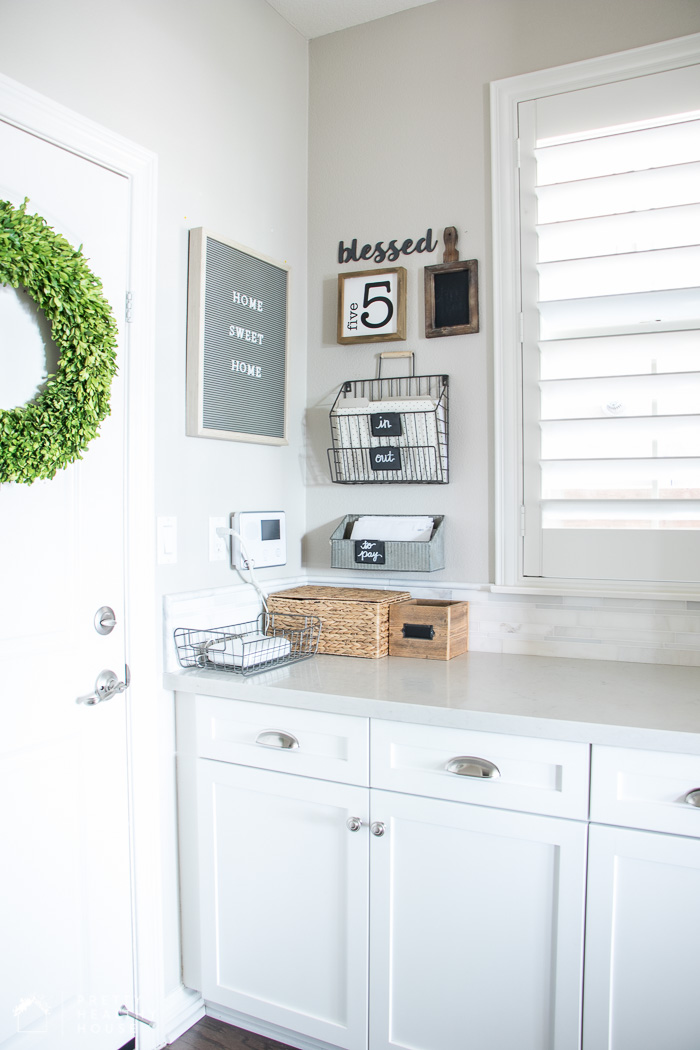
Once you have a system for the paper organization, another key component of a command center is making it pretty. All the bins need to match (or at least been in the same color scheme), and having some décor items to make it feel stylish will help you keep it clean and organized.
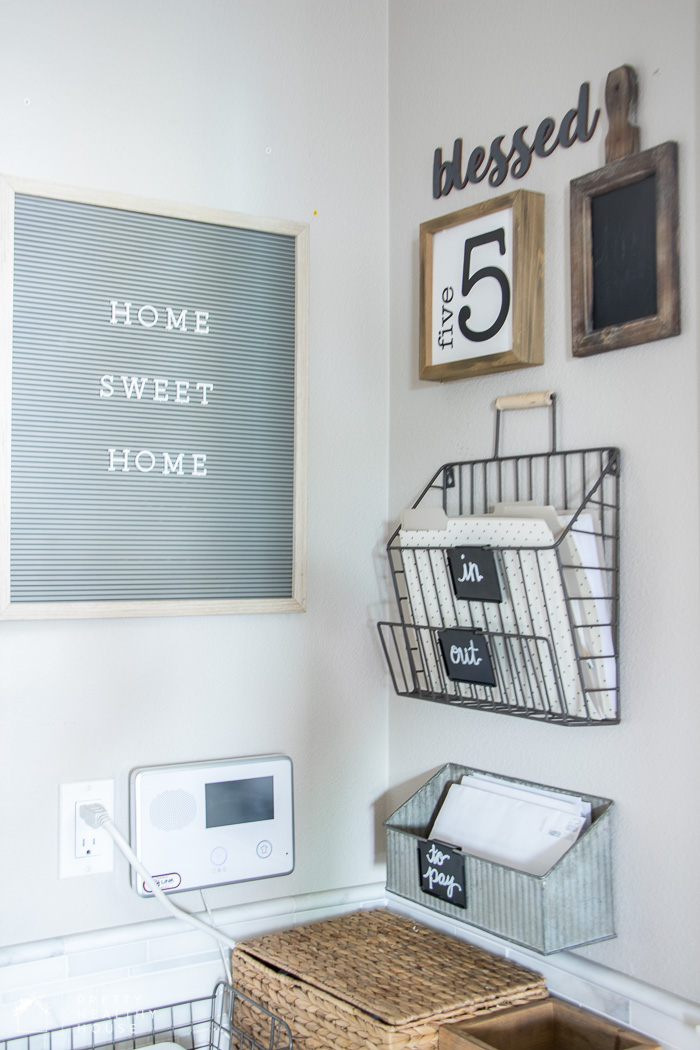
I chose the number “5” because we are a family of five, and the CraftCuts “blessed” sign because you always want to remember that when you come in/out the door, the chalkboard to write random notes, and a letter board so I could switch out fun and inspirational quotes.
Tabletop storage for other items
Vertical wall storage is a great place for paper, but you need some tabletop storage for phones, electronic devices, office supplies, etc.
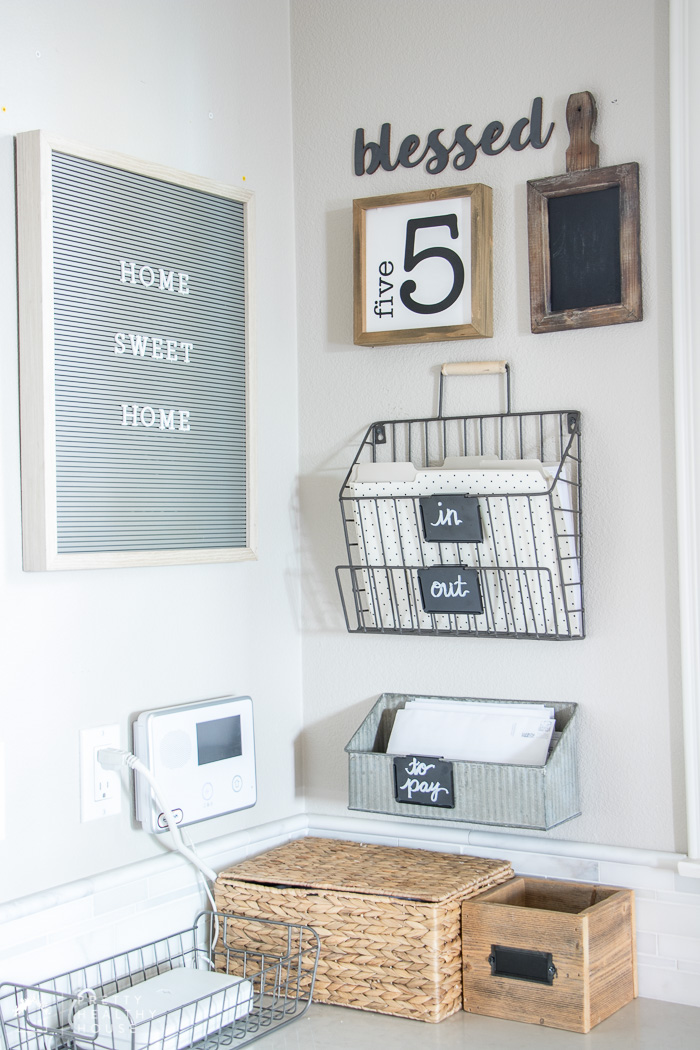
The bottom basket with a lid was a charging station. I cut a hole in the side of the basket so the plugs could go through it and the cell phones, ipads, etc. would be out of sight while charging.
The wooden box was a catch-all for things like pens, pencils, a letter opener, and our address stamp.
The metal basket in front stored our phone disinfectant and scotch tape.
Display a weekly schedule
Once you’ve tackled storage, the most important item is the place to display the weekly or monthly schedule. One the right wall had a monthly calendar where I wrote all the school and sports activities for the week. I also store them in my phone calendar, but it’s good for the whole family to have a visual of what is going on each week, as well as a monthly outlook of travel schedules, holidays, etc.
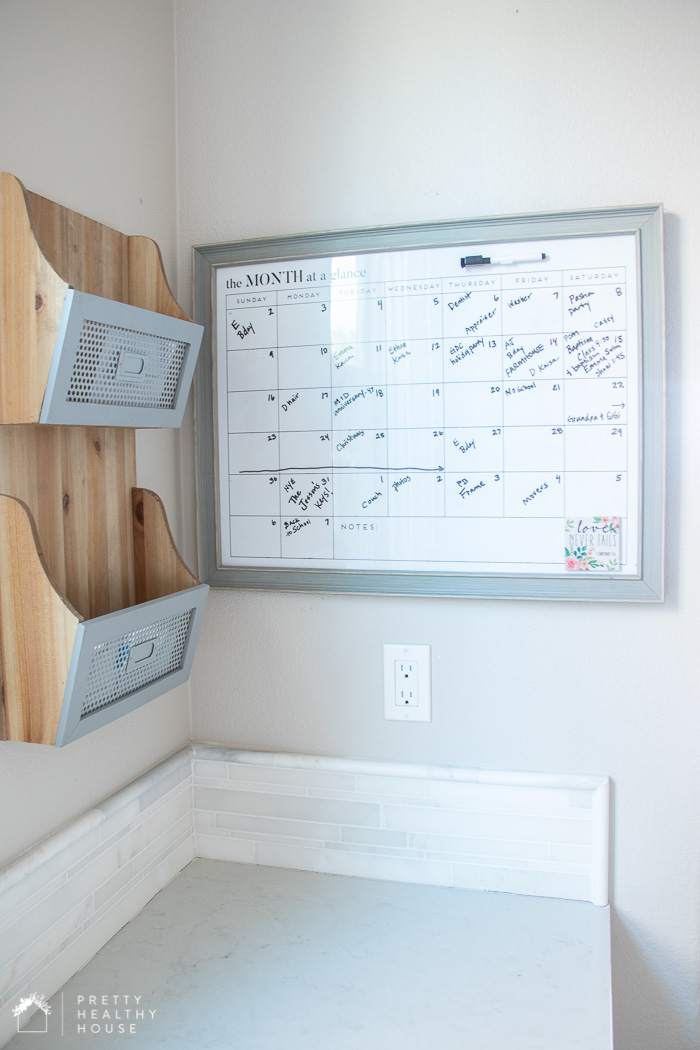
It took me awhile to find the perfect wall calendar. It was a weekly hunt at Home Goods, but I finally found one that was the right color and orientation.
Hang kids’ artwork
If you have room, another important item to have a pin board to display kid artwork. I didn’t have one in this space (it was in another area), but I have since made room for one in my new home near our monthly schedule. I will share that soon!
If one of my kids brings home artwork, I will switch out whatever is underneath with the new artwork and that will be on display until another work of art comes in.
If it’s one that “sparks joy” or is particularly special, it will go in the “to file” bin and not the circular file. But usually I don’t feel bad about it going to the circular file, if it’s had some time on display. You can always take a picture and make a book of artwork later.
These are only a few tips for an organized command center. How do you stay organized?


Leave a Reply