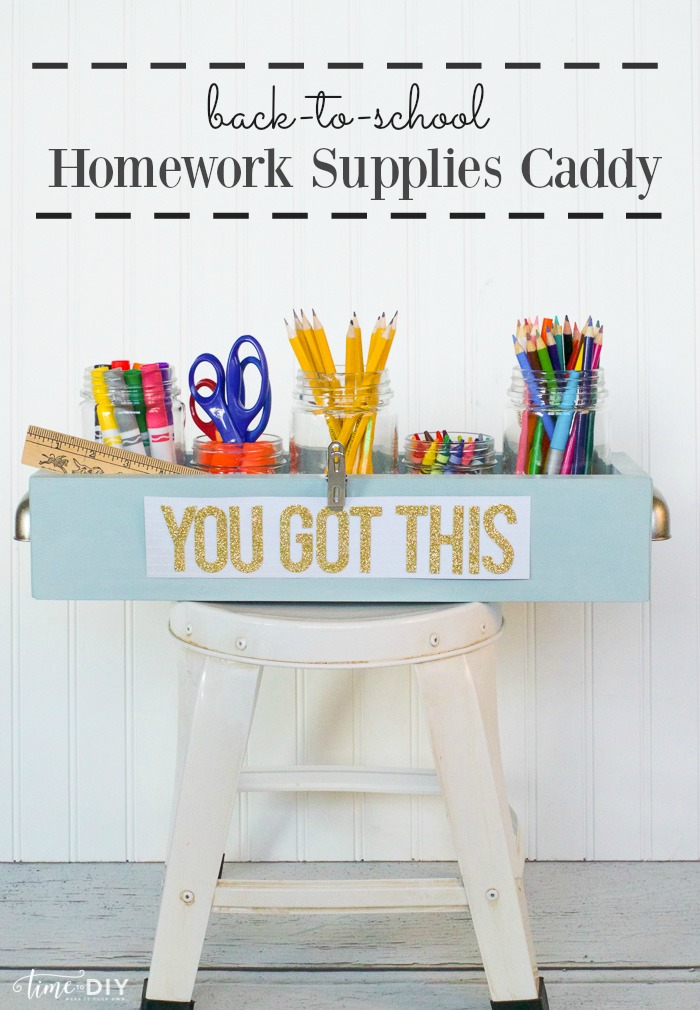
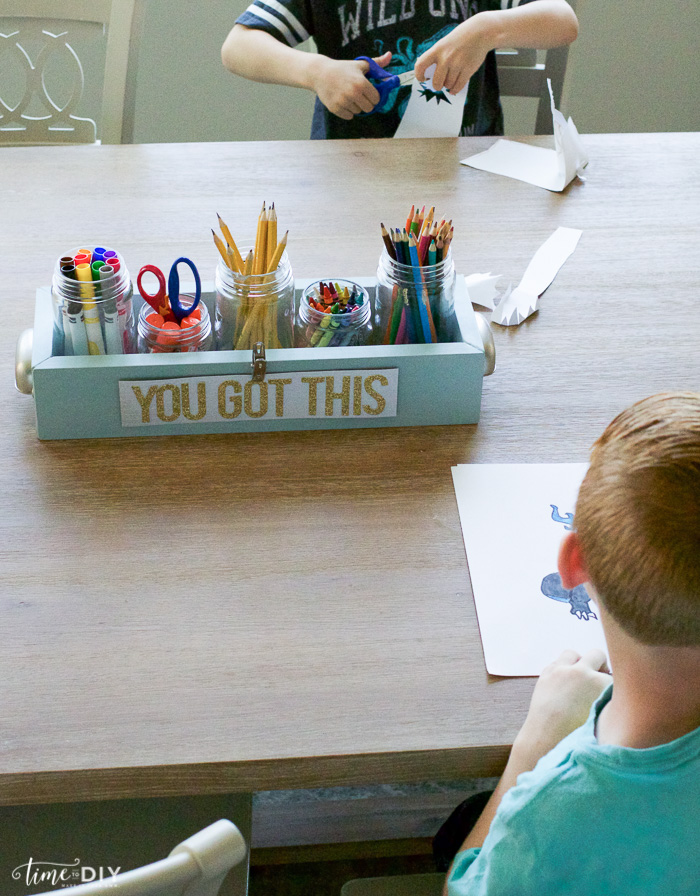
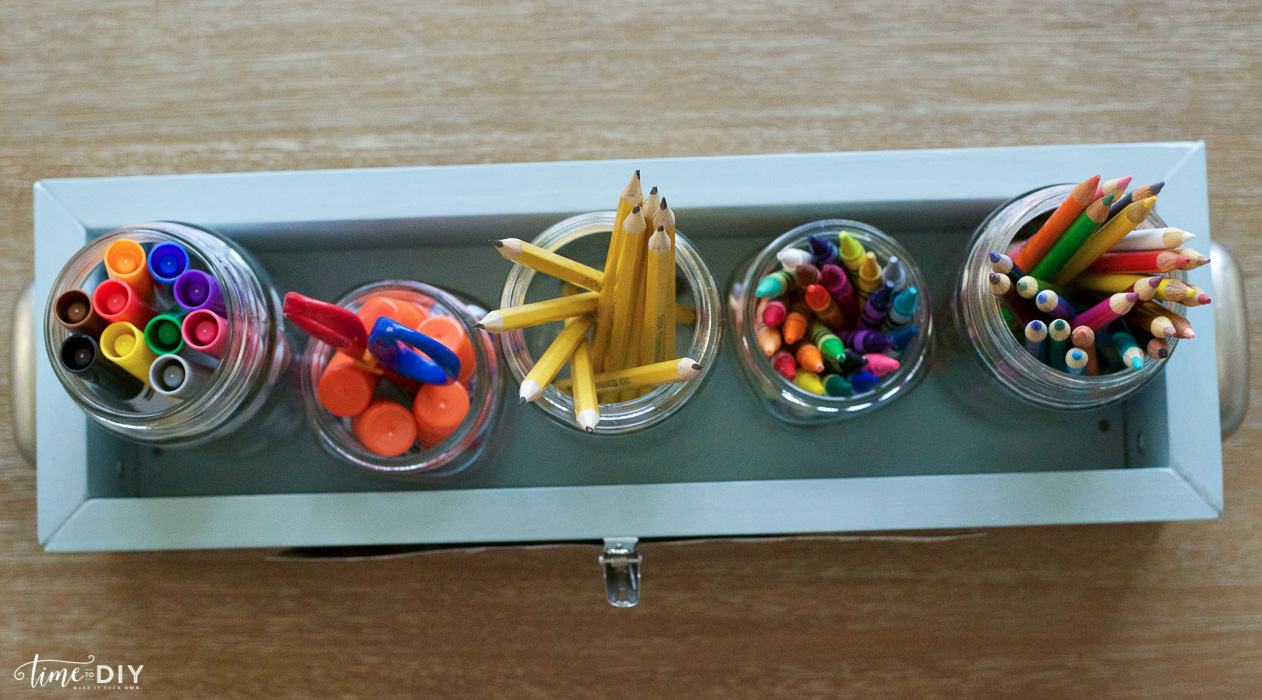
Back-to-school always kicks me into get-organized mode, although it doesn’t typically last very long, haha. I’m working toward the ‘everything has a place’ goal (raise your hand if you’ve mastered this with kids and please tell me everything you know!) so I’m going to show you how to make a portable caddy to corral all those school supplies. Mine is pictured with younger elementary supplies, but it can easily be switched up. Read on for all the details!
Caddy Dimensions
- Inside: 15-3/4 in. (wide) x 4 in. (deep) x 2-3/4 in. (high)
- Outside: 17-1/4 in. (wide) x 5-1/2 in. (deep) x 3-1/2 in. (high)
Here’s what you need (what I used):
- 4 ft. x 3-1/2 in. x 3/4 in. board (any wood will do – I used my neighbor’s scrap pine)
- 15-3/4 in. x 4 in. x 3/4 in. board (I used the bottom of an IKEA spice rack)
- Wood glue (and filler, if needed)
- Nails (1-1/2 in. low-profile finishing nails)
- Paint (Americana Decor Chalky Finish in Vintage)
- Finishing wax (BB Frosch Clear Wax)
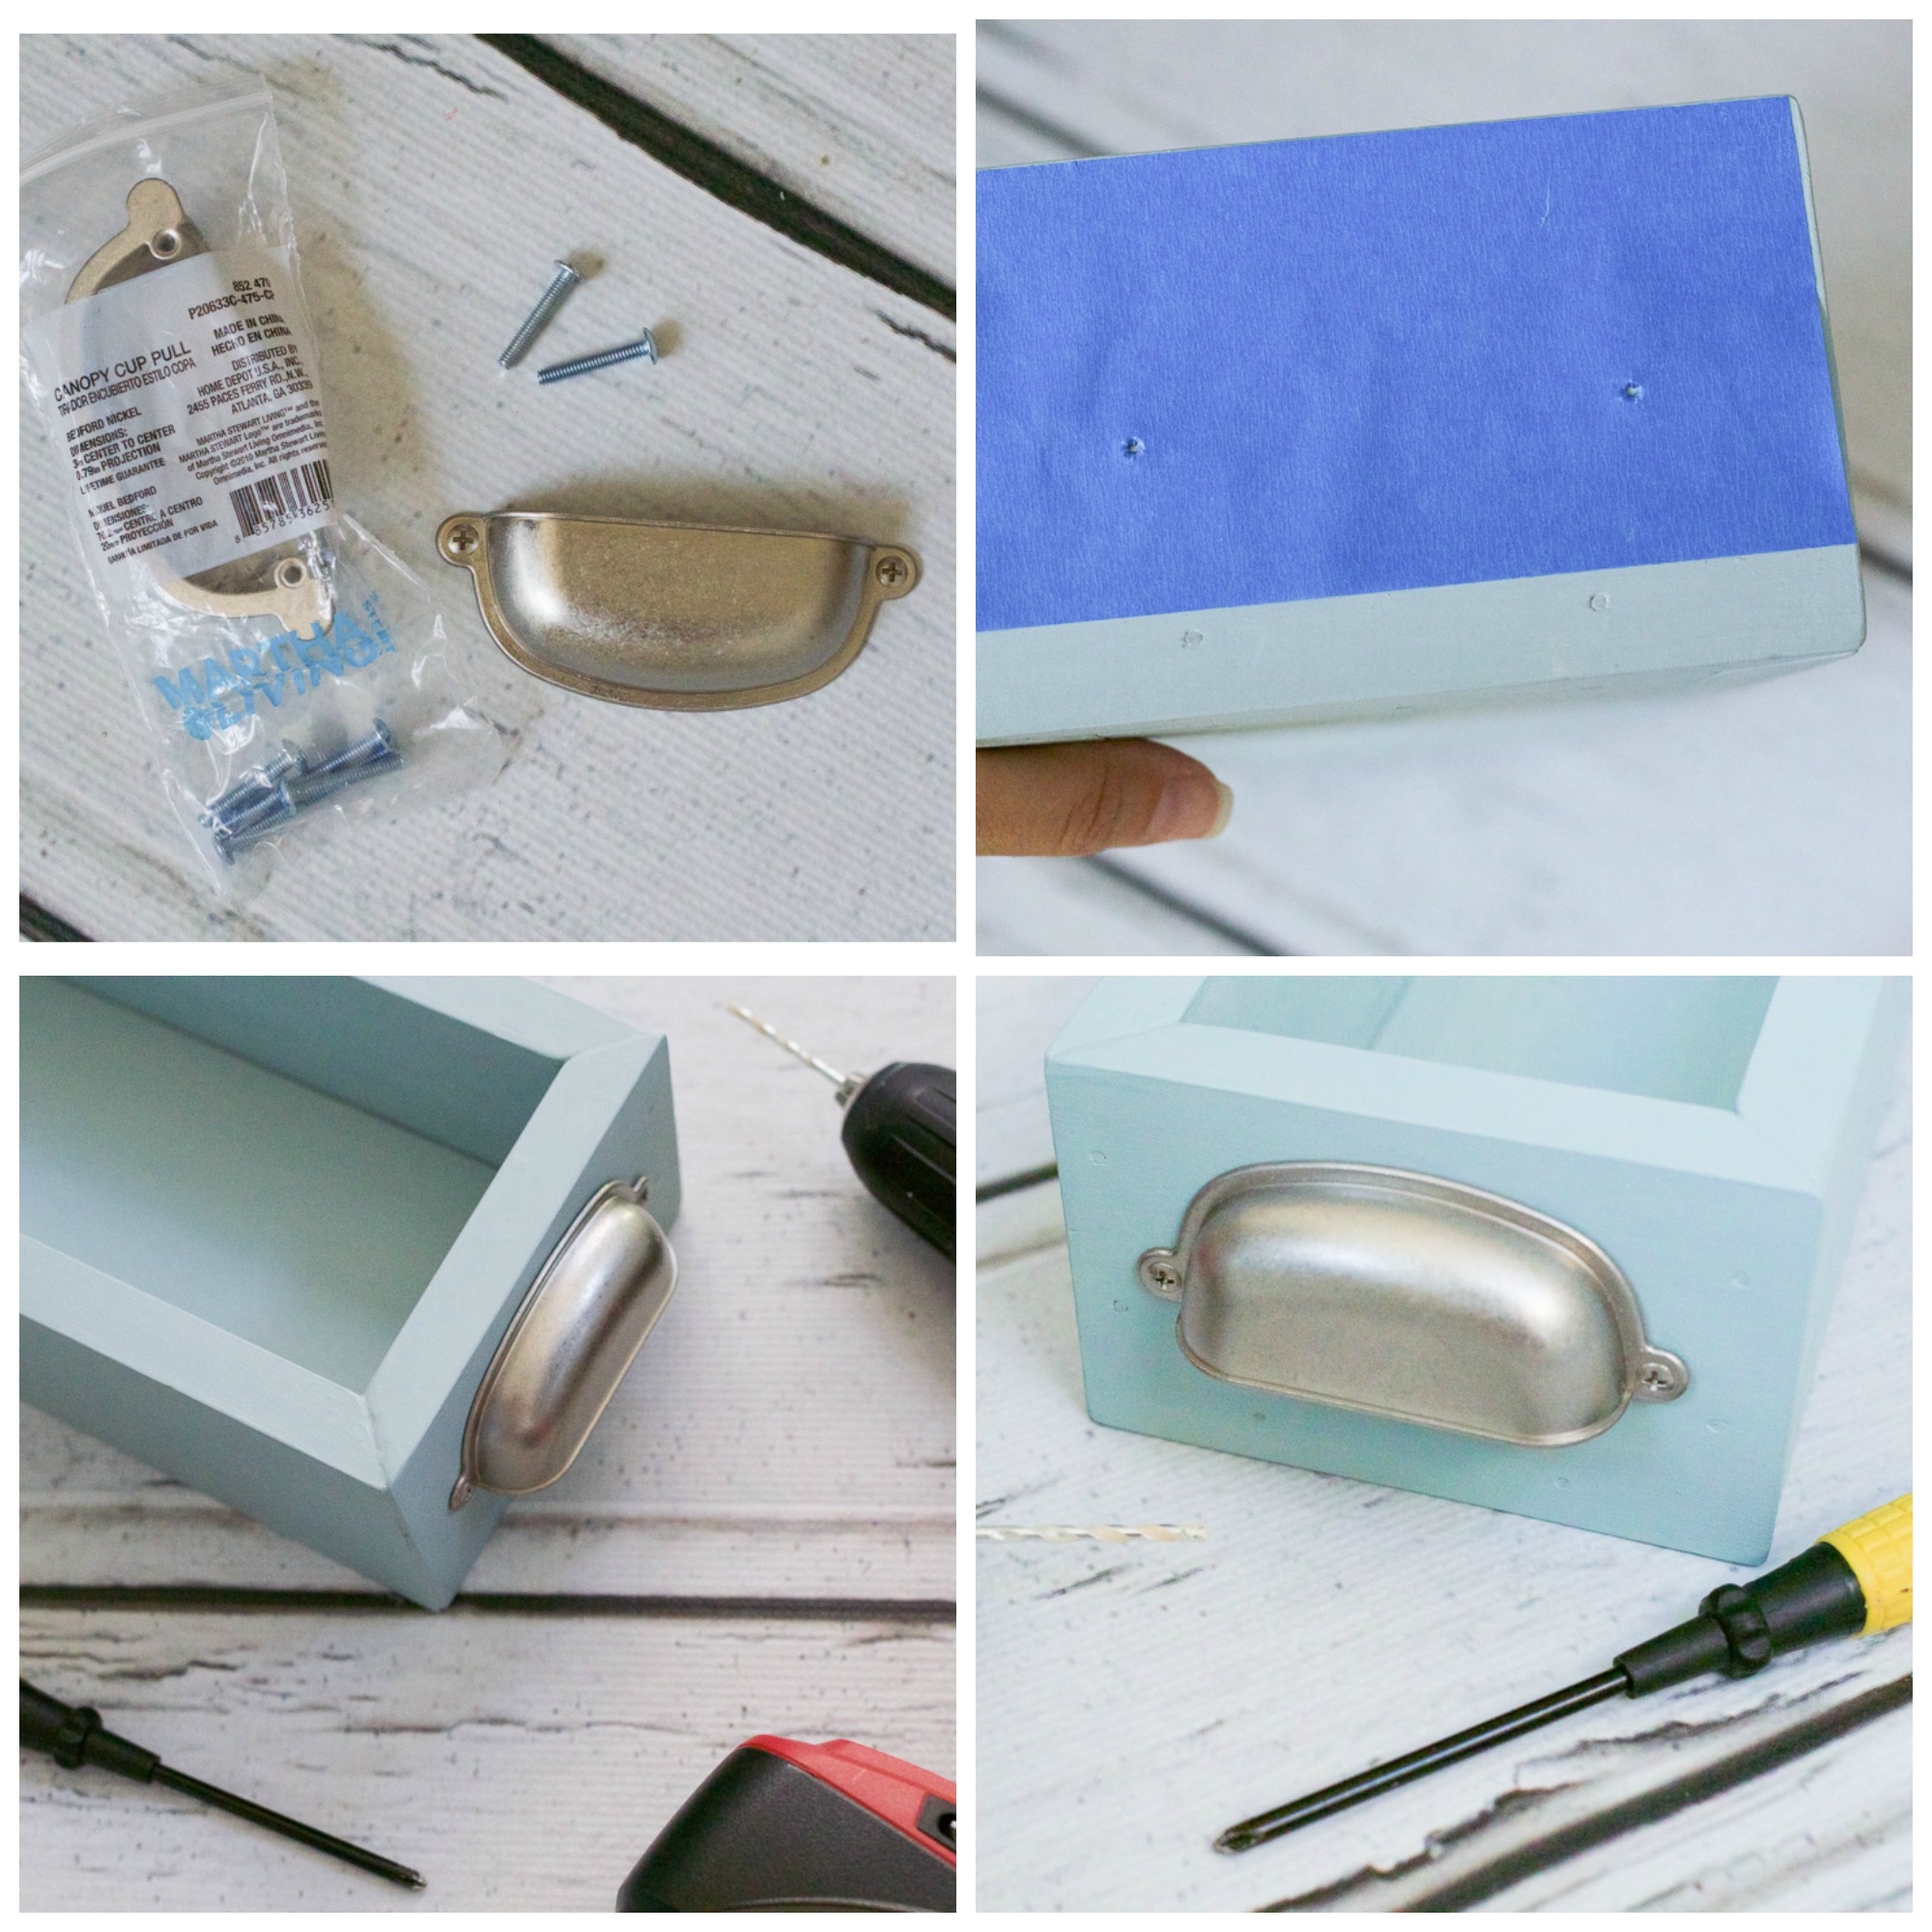
- Pull handles (3 in. Canopy Cup Pull by Martha Stewart Living)
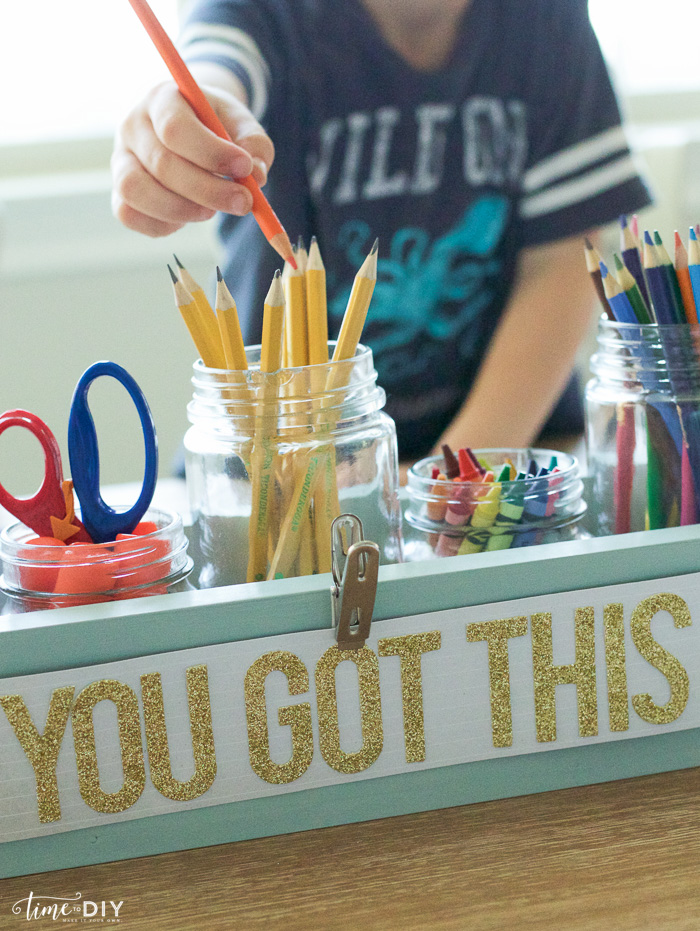
- 5 jars (Target Dollar Spot) or cans
- Homework supplies (pictured: markers, ruler, glue sticks, scissors, pencils, crayons and colored pencils)
- Sign: Clip (Michaels), super glue, scrapbook paper (Heidi Swapp), and letters (Target Dollar Spot)
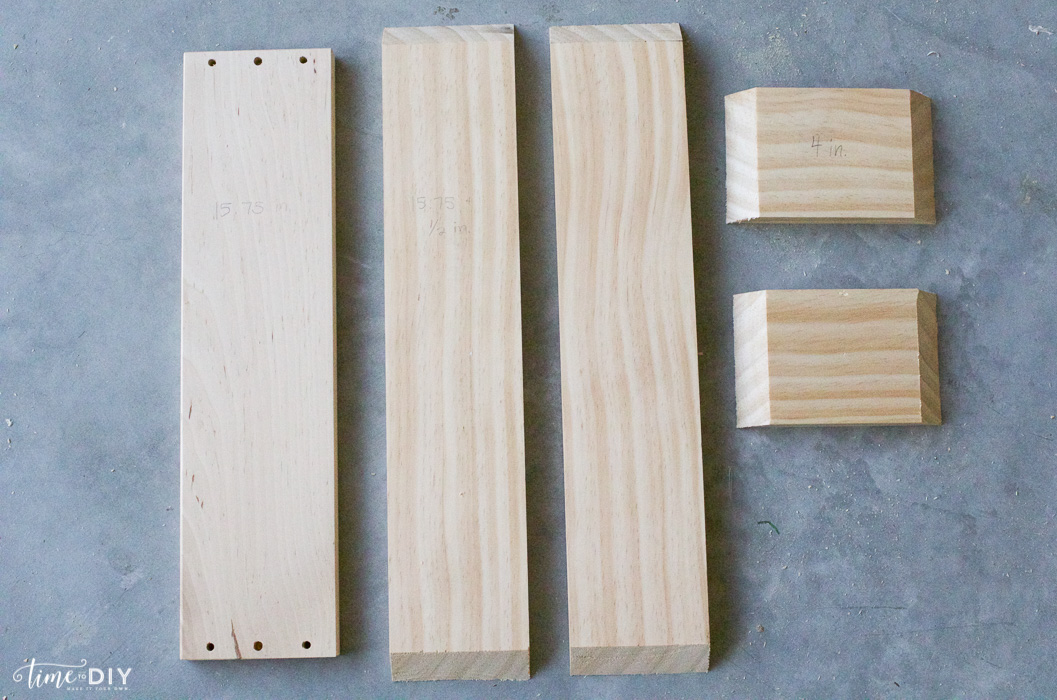
Cut measurements for a box to hold 5 jars:
Bottom board: 15-3/4 in. straight cut (pictured: IKEA spice rack bottom)
Front/back: 15-3/4 in. inside measurement with a 45 degree angled cut (outside measurement, 17-1/4 in.)
Sides: 4 in. inside measurement (5-1/2 in. outside measurement)
After I made the cuts I dabbed a little wood glue on the edges and nailed the bottom and sides.
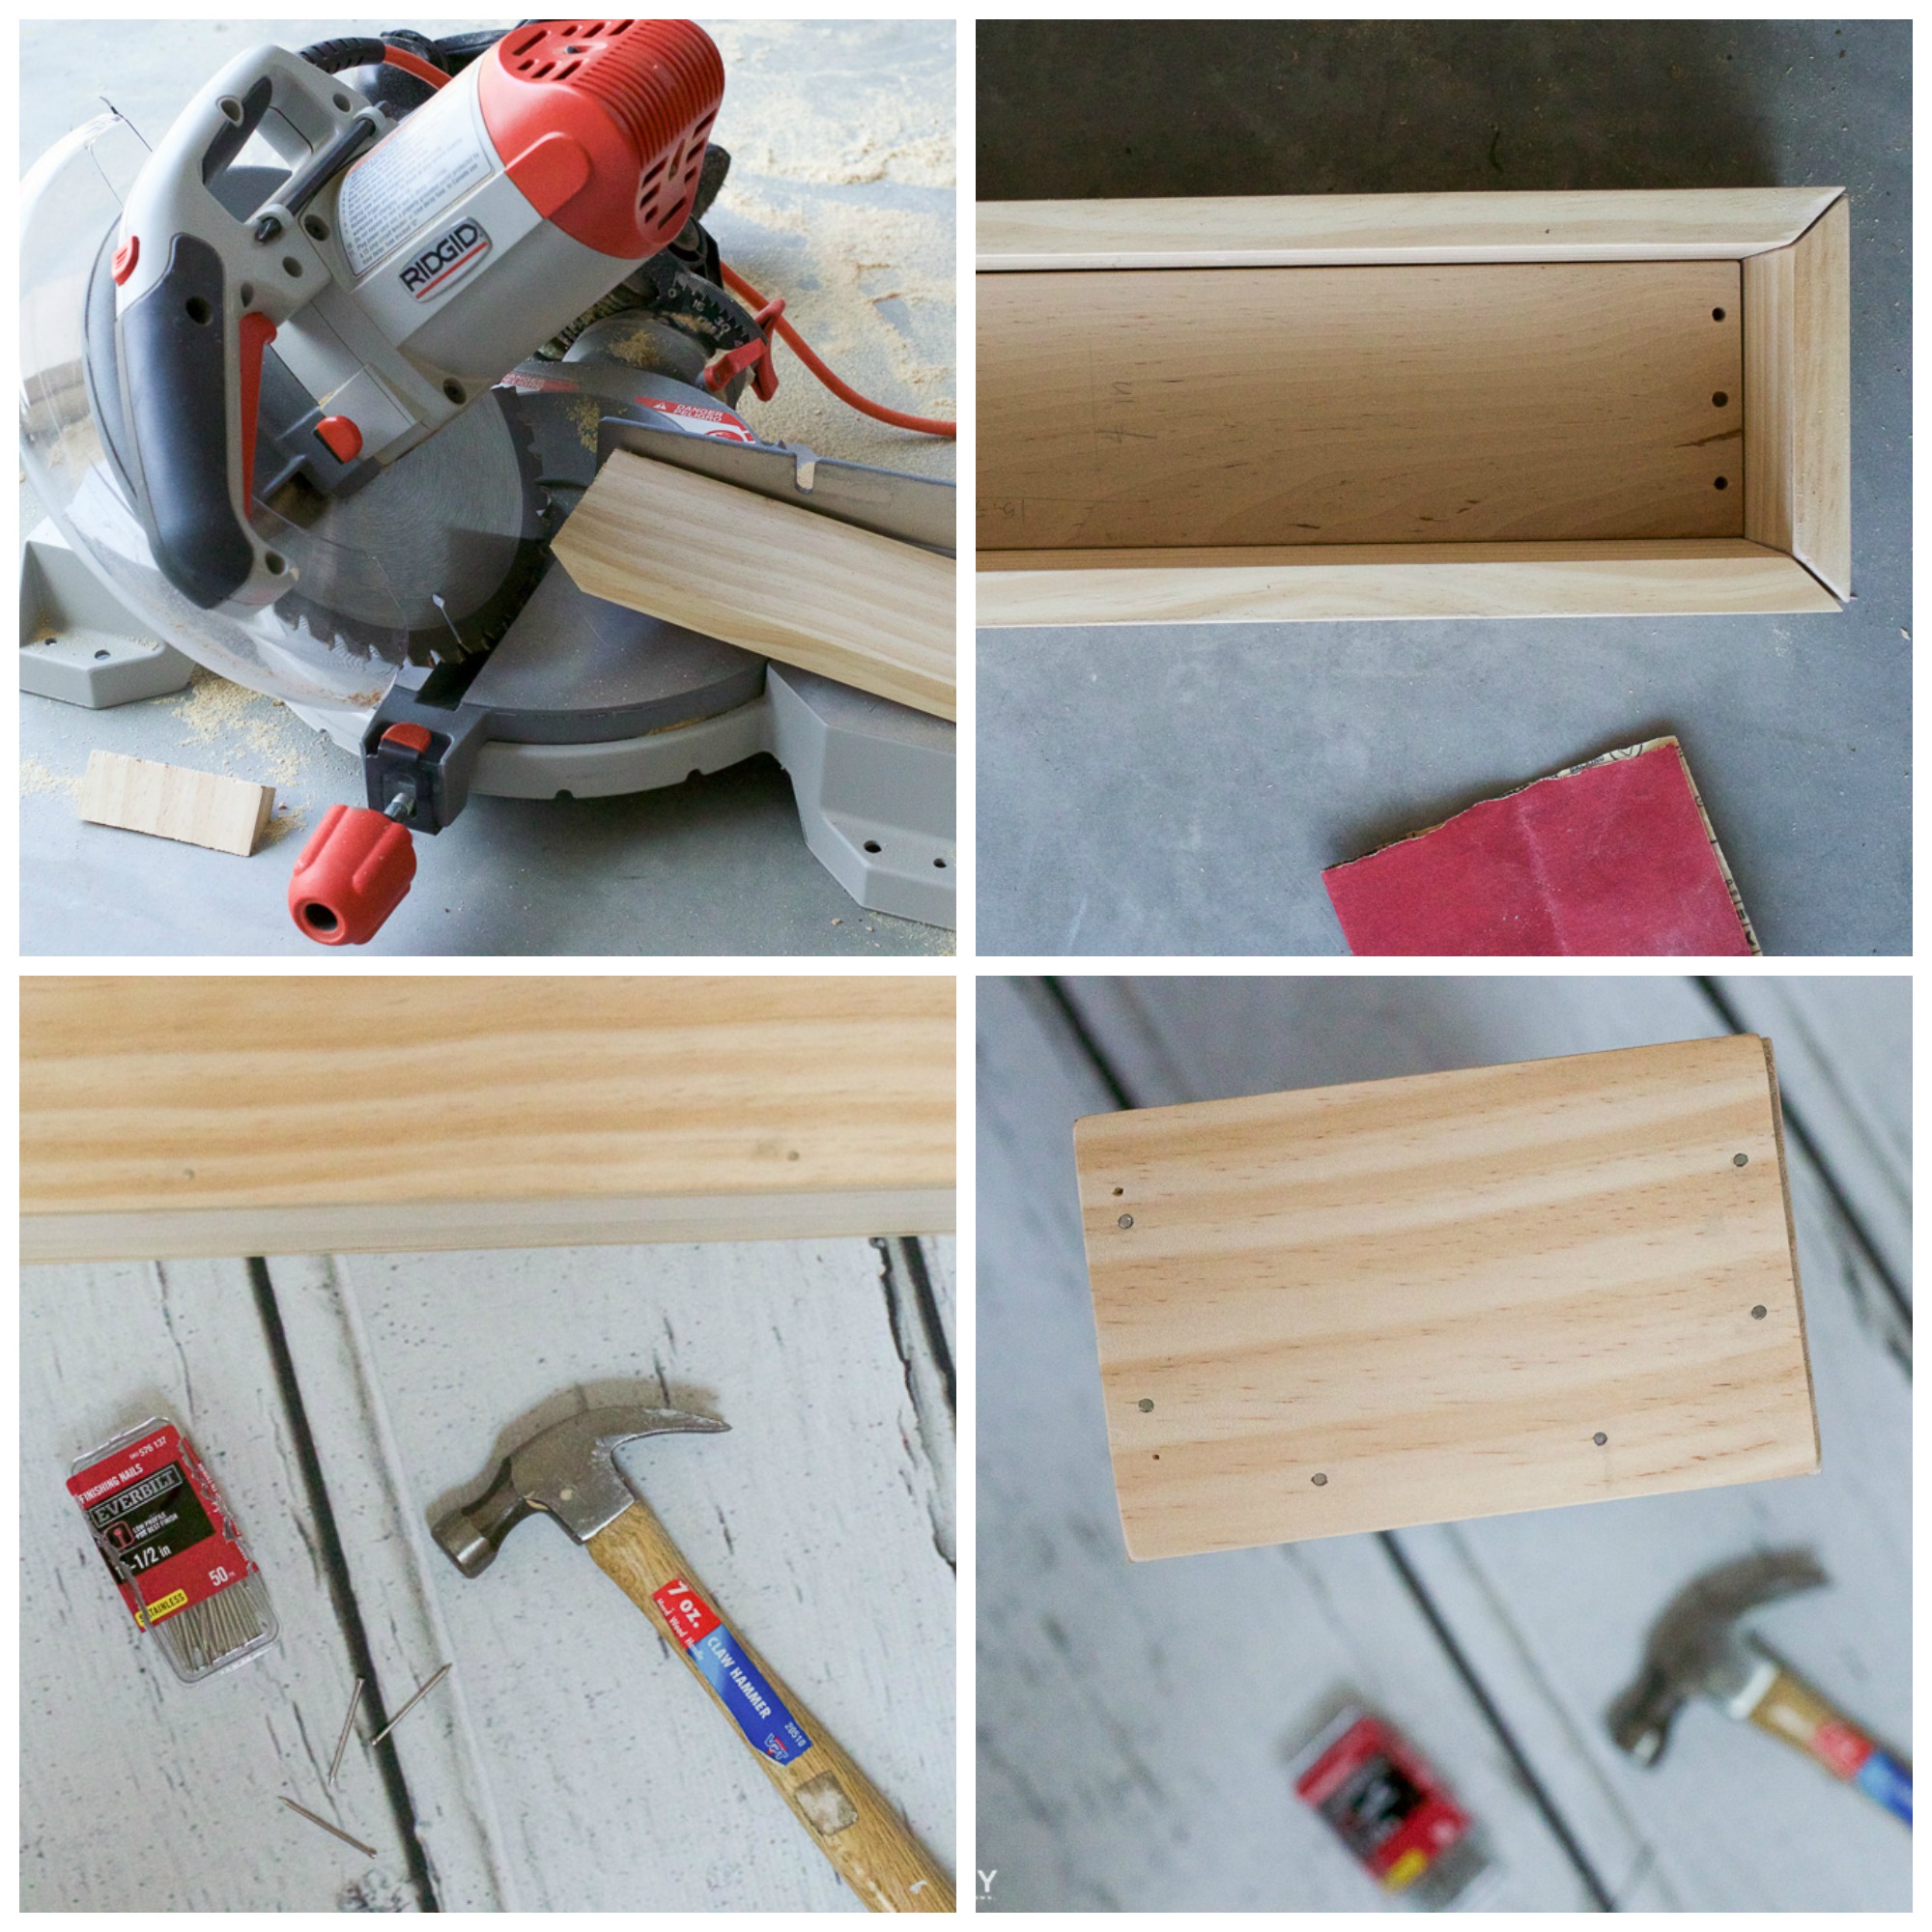 I used some spackle to fill in some of the spaces. Wood filler is better, but since I was painting it, it didn’t matter.
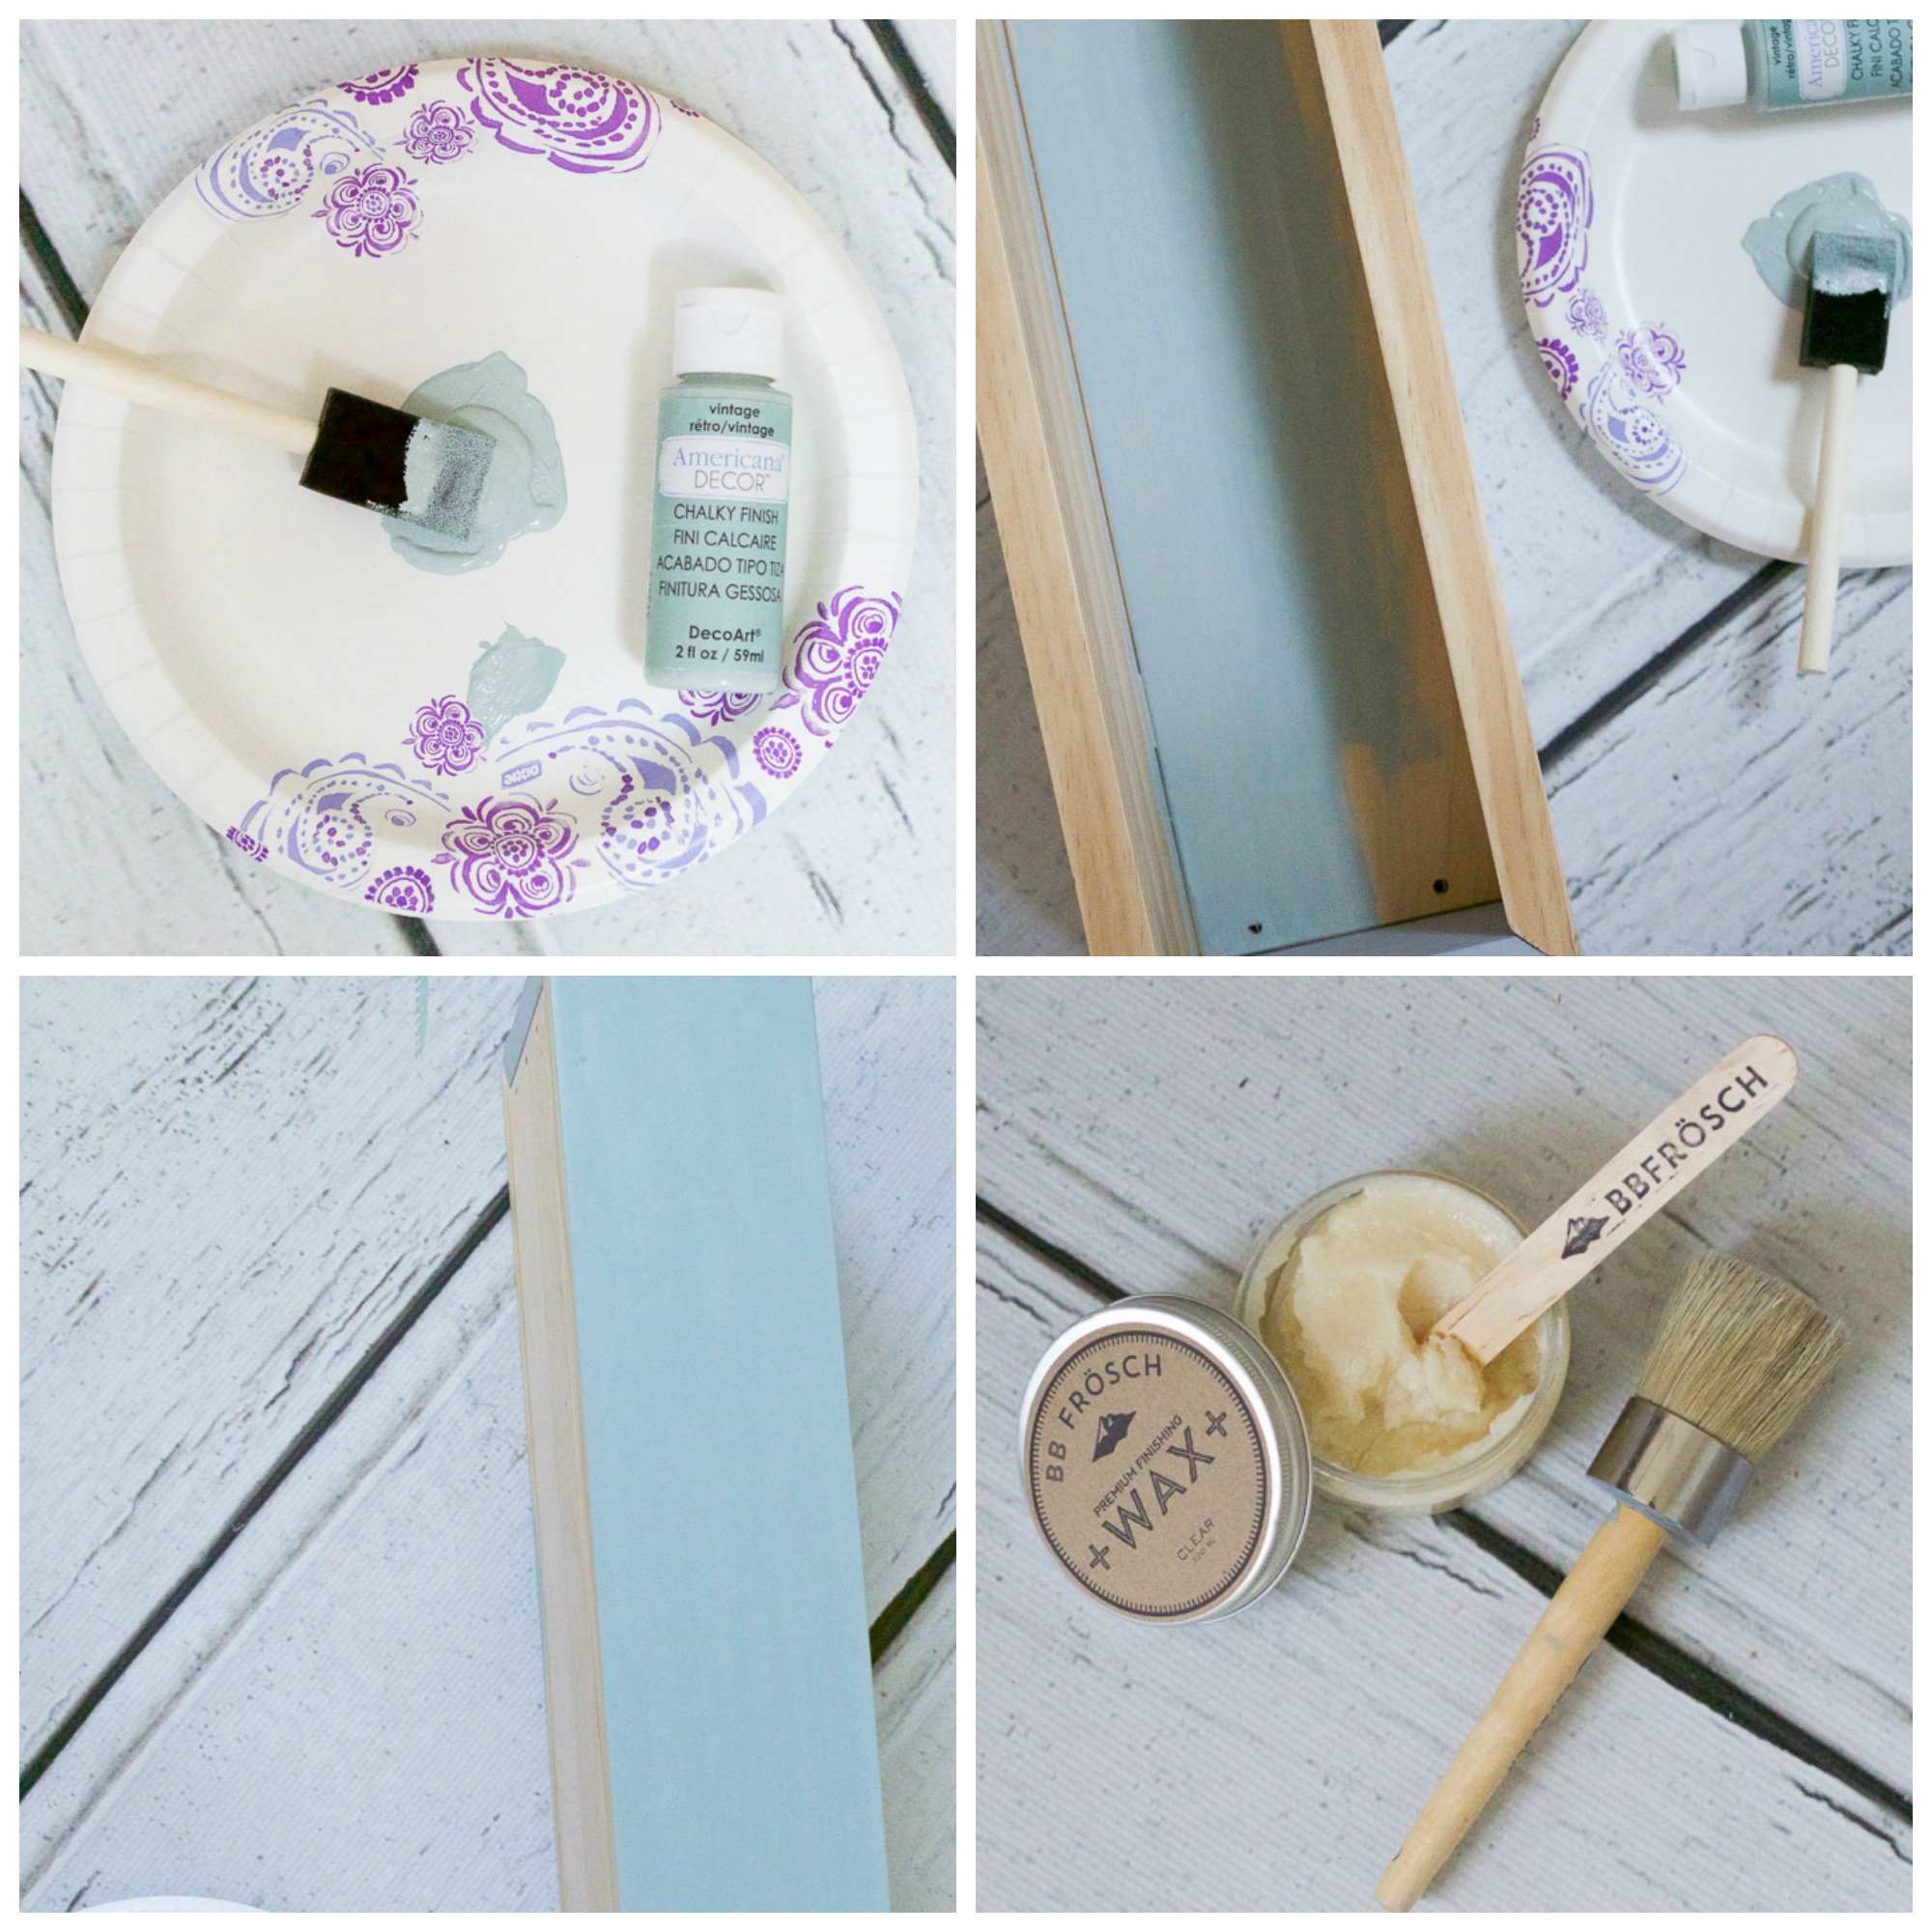
Next I painted (2 very light coats, it may crack if it’s too thick) and sealed it with one coat of wax.
And finally, the hardware on the sides. Those are faux screws on the pulls with the real holes for the screws on the inside. It’s tricky knowing where to drill so I lined up painter’s tape with the sticky side out on the box and then attached the pull and poked the holes with a pencil. Then I removed it from the pull and and applied the tape on the box, put pencil marks through to mark the screw holes and drilled.
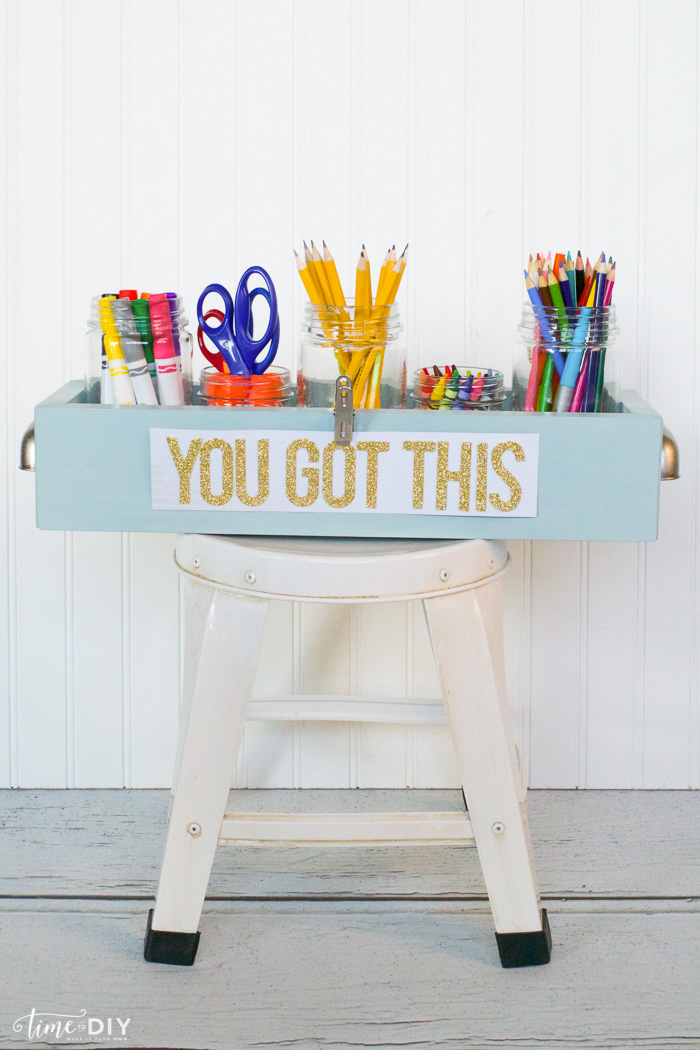
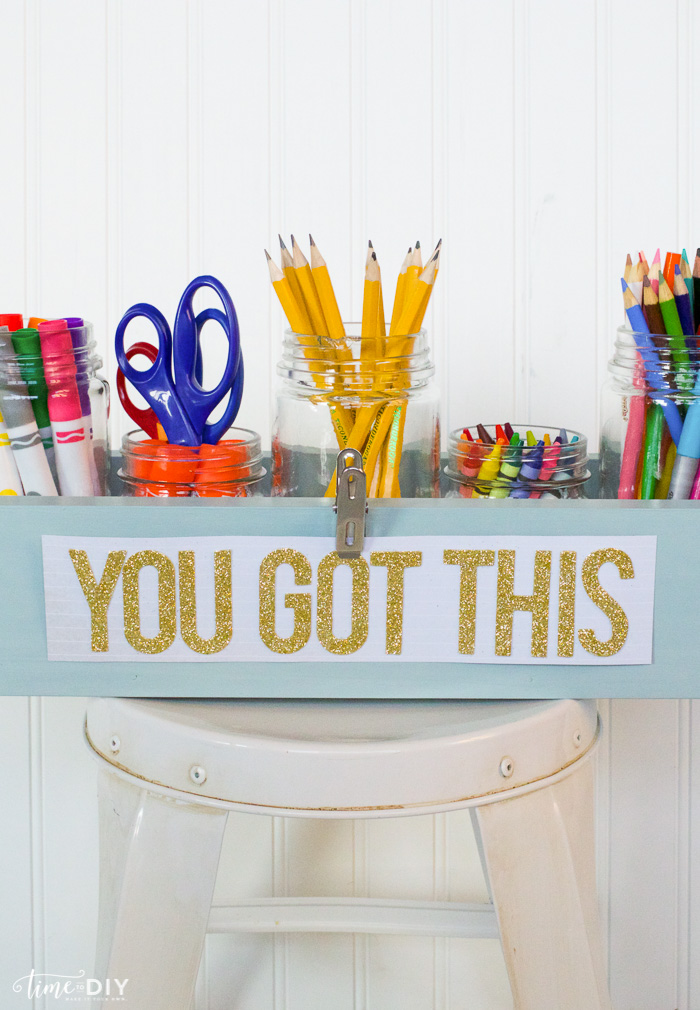
I considered painting a message on the front, but then decided to use a clip so I could change it out during the year. I cut scrapbook paper and glued letters.
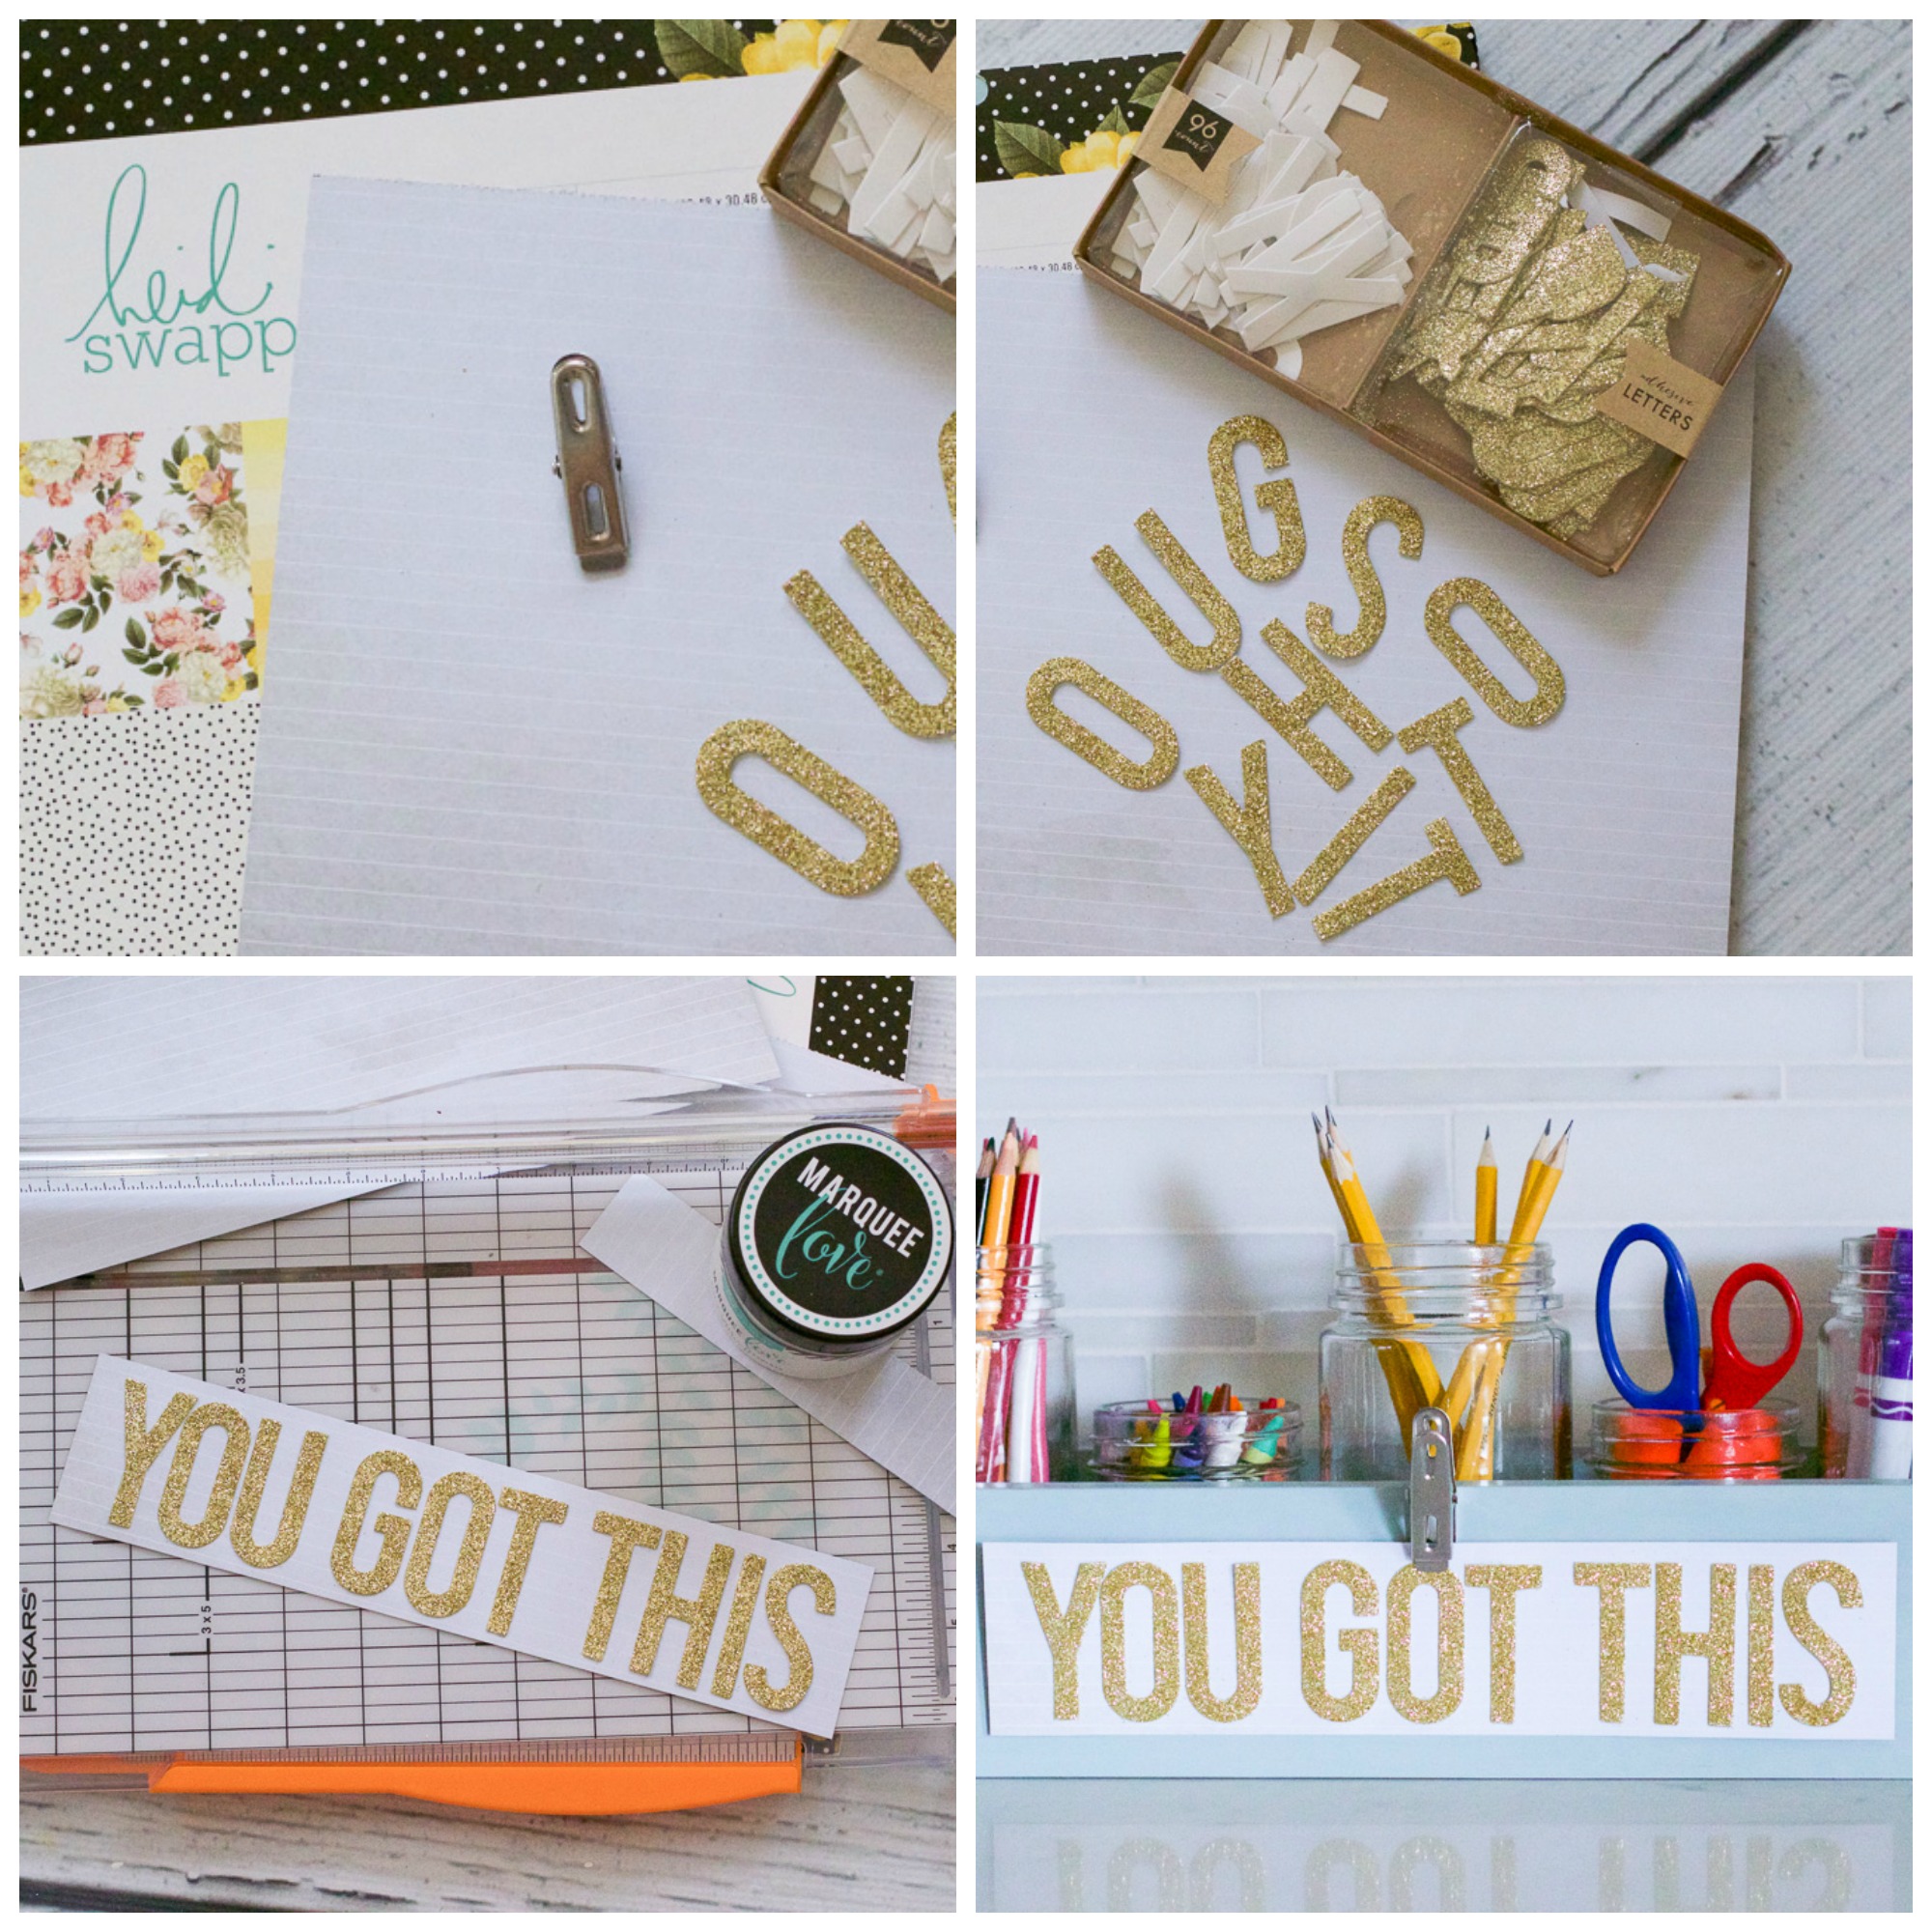
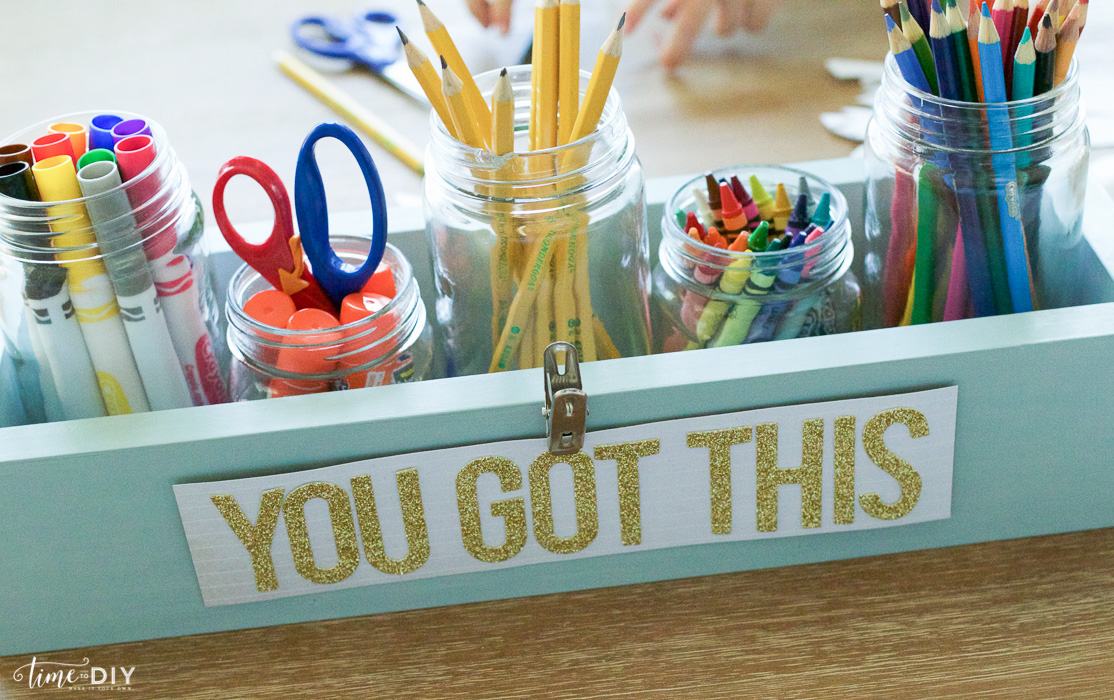
I’m starting out with “you got this” because homework is sometimes the most stressful part of our day so it’s a bit of a subliminal message, and not just for my kids! This mama needs a lot of encouragement during homework sessions some most days, haha! I will probably change out the message by season and do count downs, etc. The clip is currently being held with a 3M Command strip, and when I’m ready to commit I will mount it with super glue.
The caddy is already a big hit!

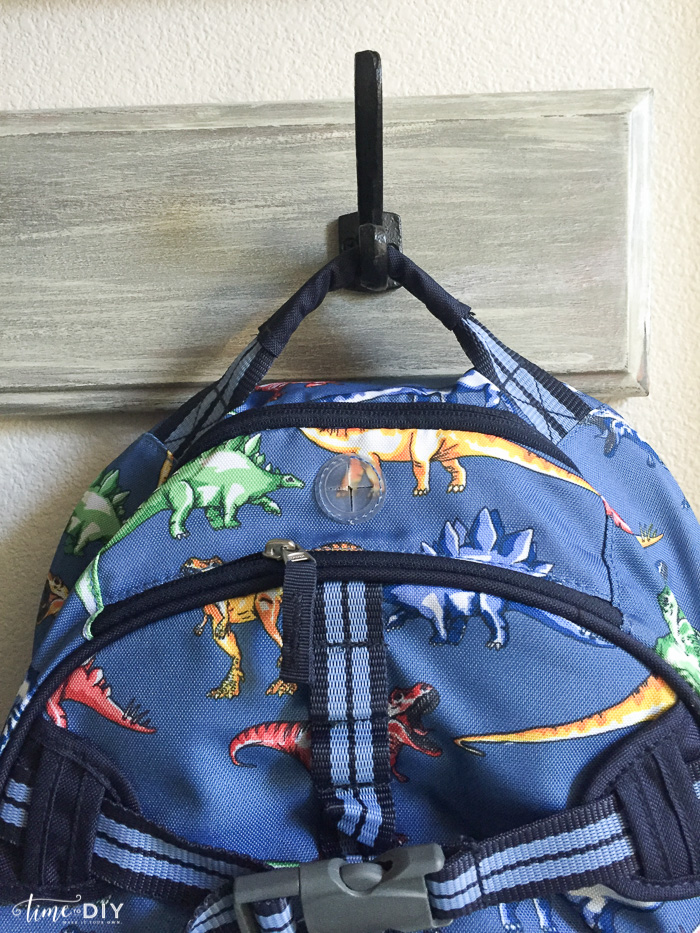
Here’s to staying more organized this year! For more ideas, check out my back-to-school DIY backpack holder,
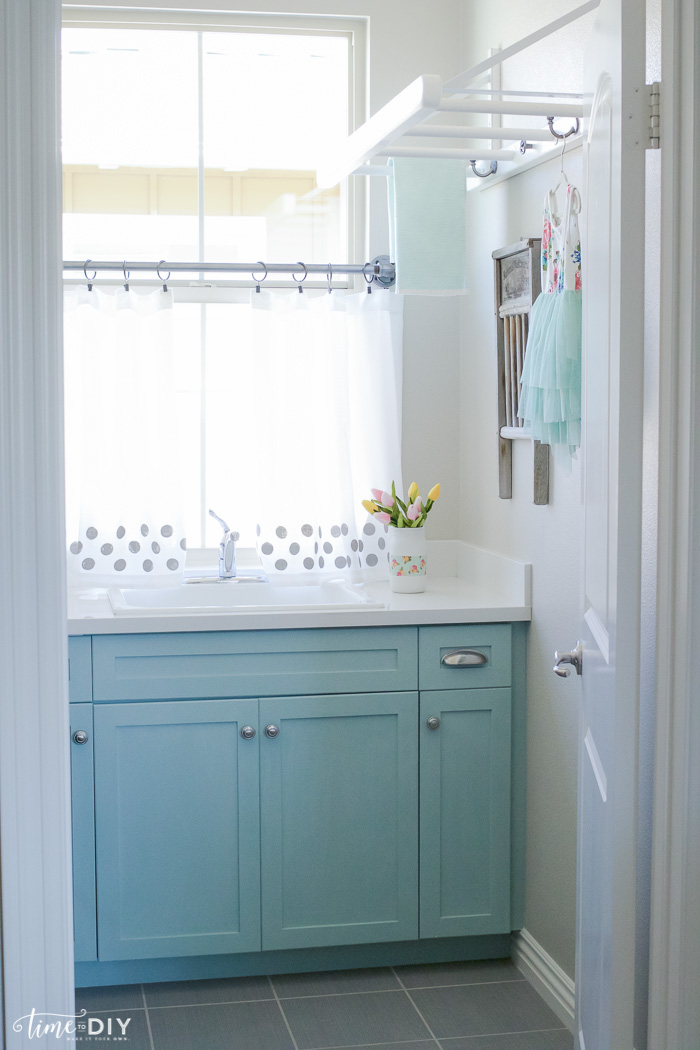
my DIY laundry room ladder for vertical organization with hooks,
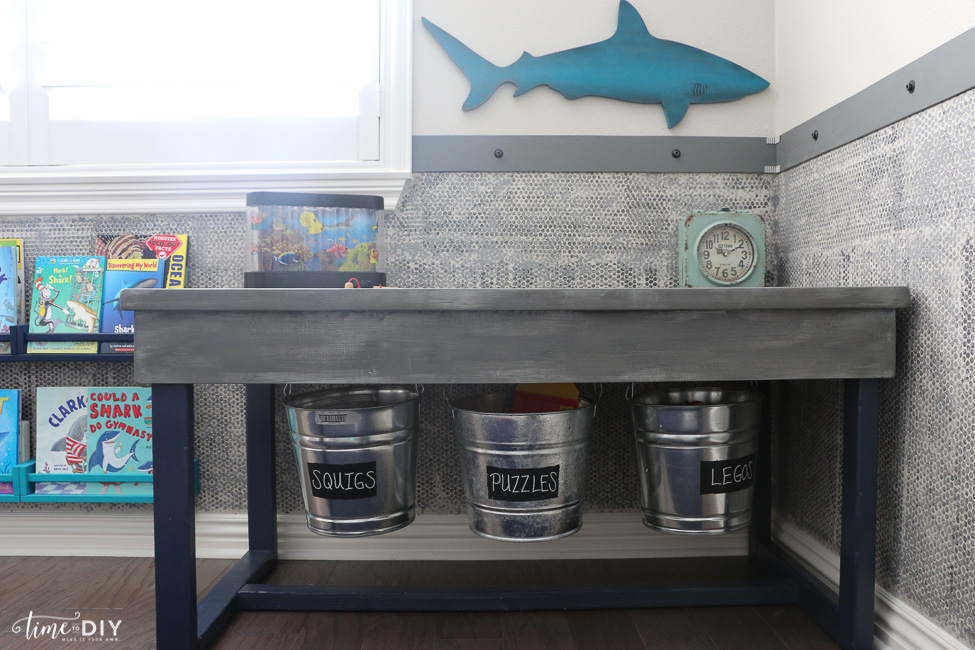
or my DIY industrial kids table with convenient hooks and bucket storage underneath.
Follow me on Facebook | Instagram | Twitter for more DIY home decor ideas. Hope you have a wonderful day!


Leave a Reply