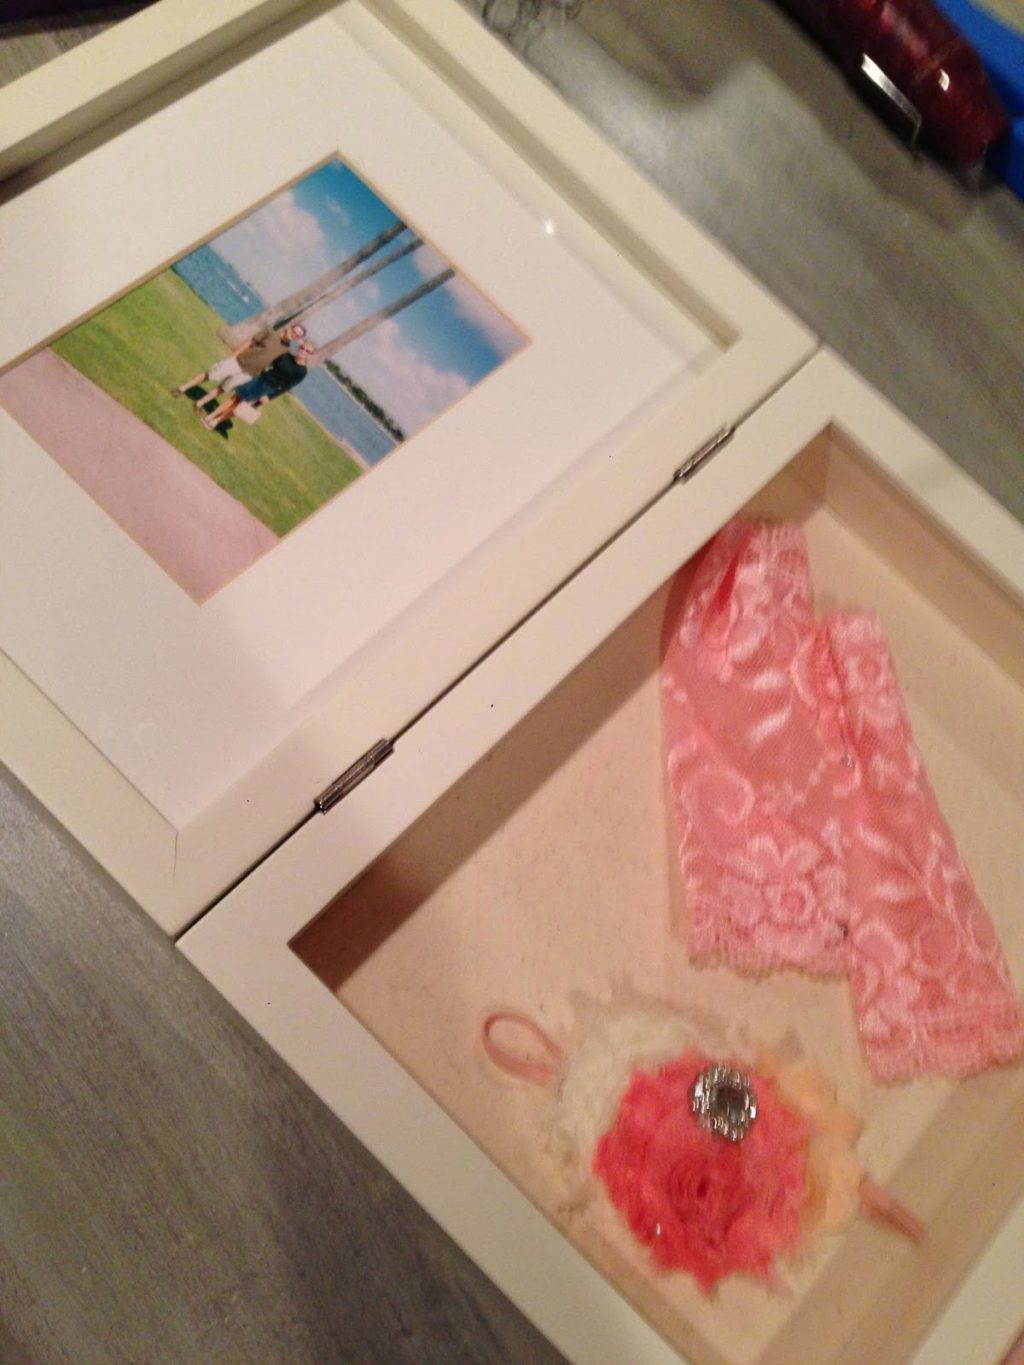
I love giving a second life to things around the house. I’ve had this shadow box for 10 years, but I haven’t been able to use it because we switched to darker wood frames. I saved it thinking maybe someday I would have a girl and could use it again.
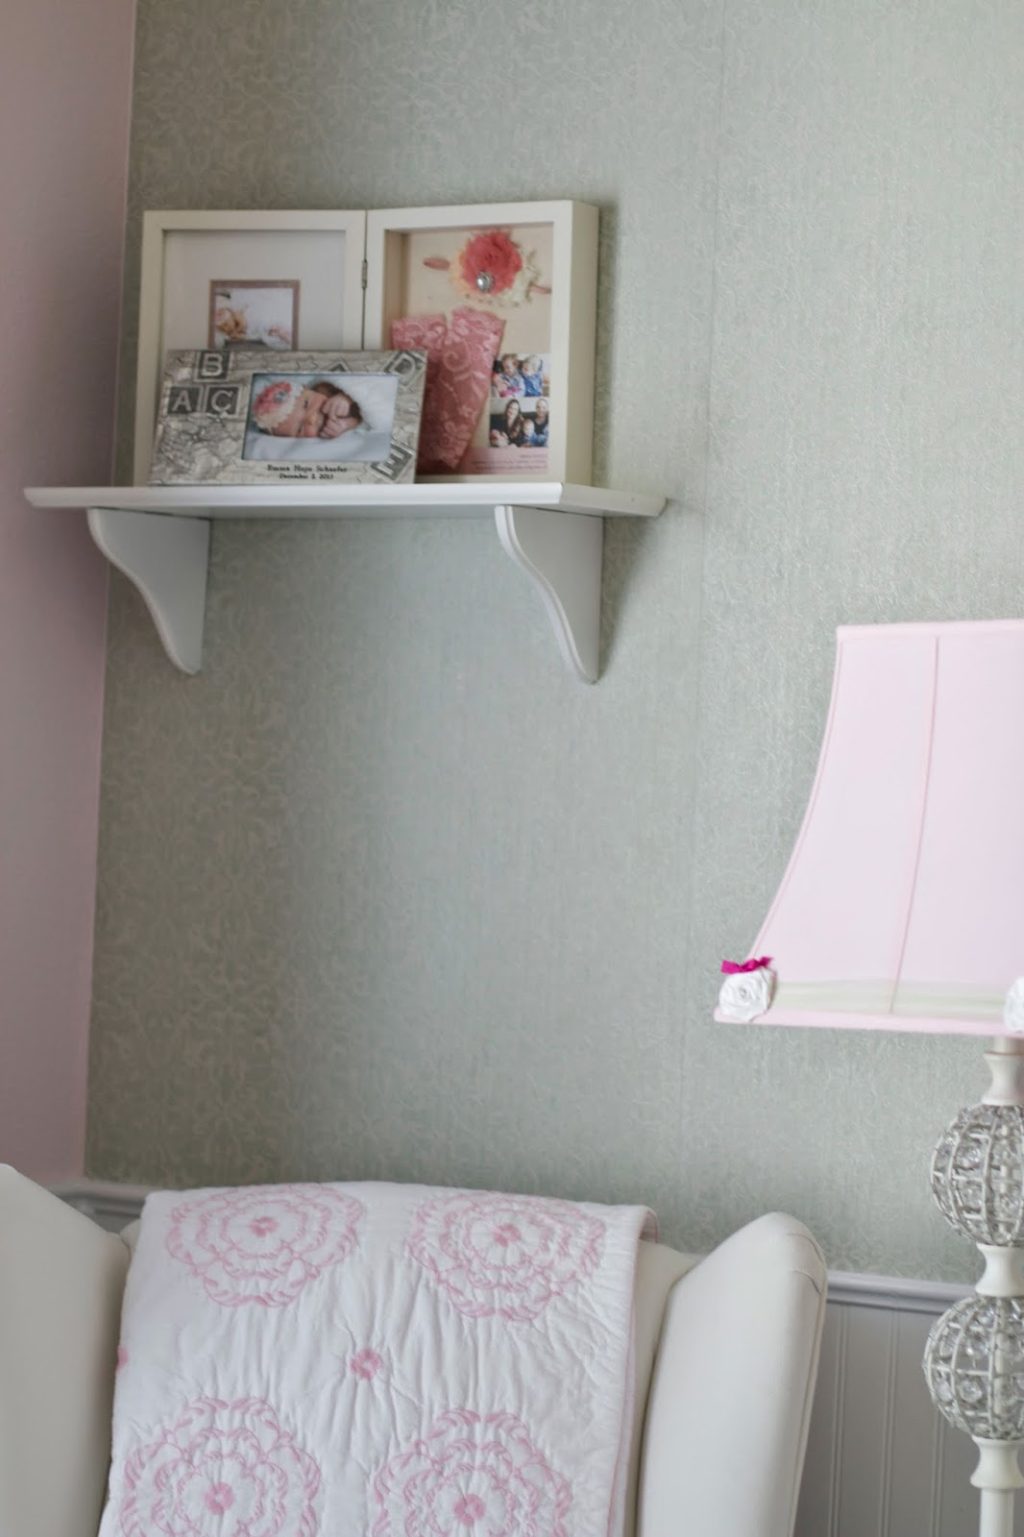
There was no space for it in Phase 2 because I used the shelf it’s on for a diaper cake and headband holder, but I realized it was better to display some frames there instead since it was a little difficult to reach. So, meaningful design was better than functional in this case.
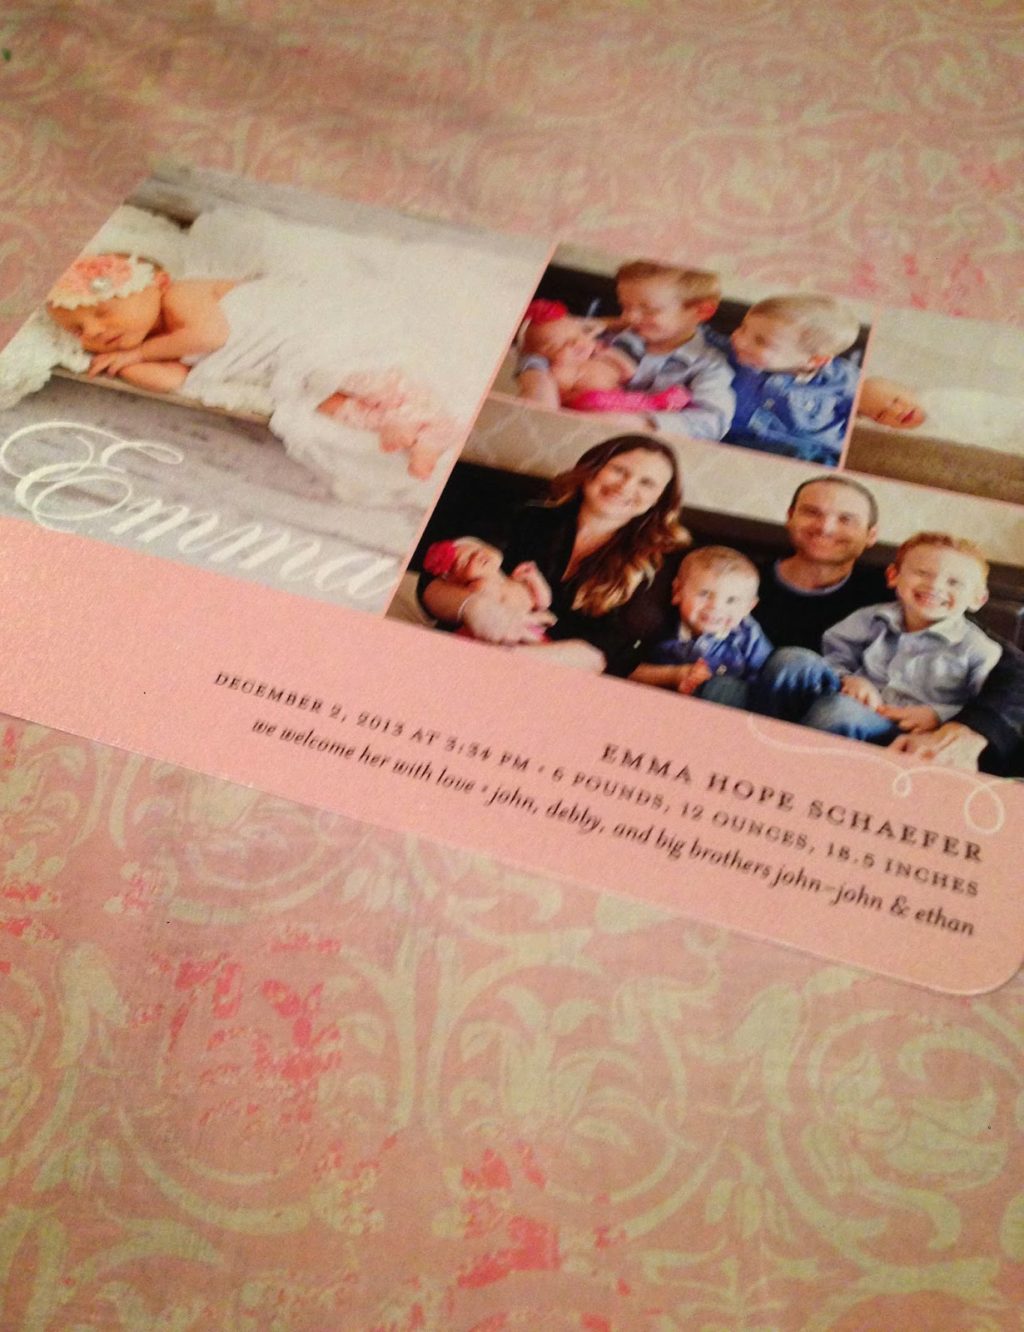
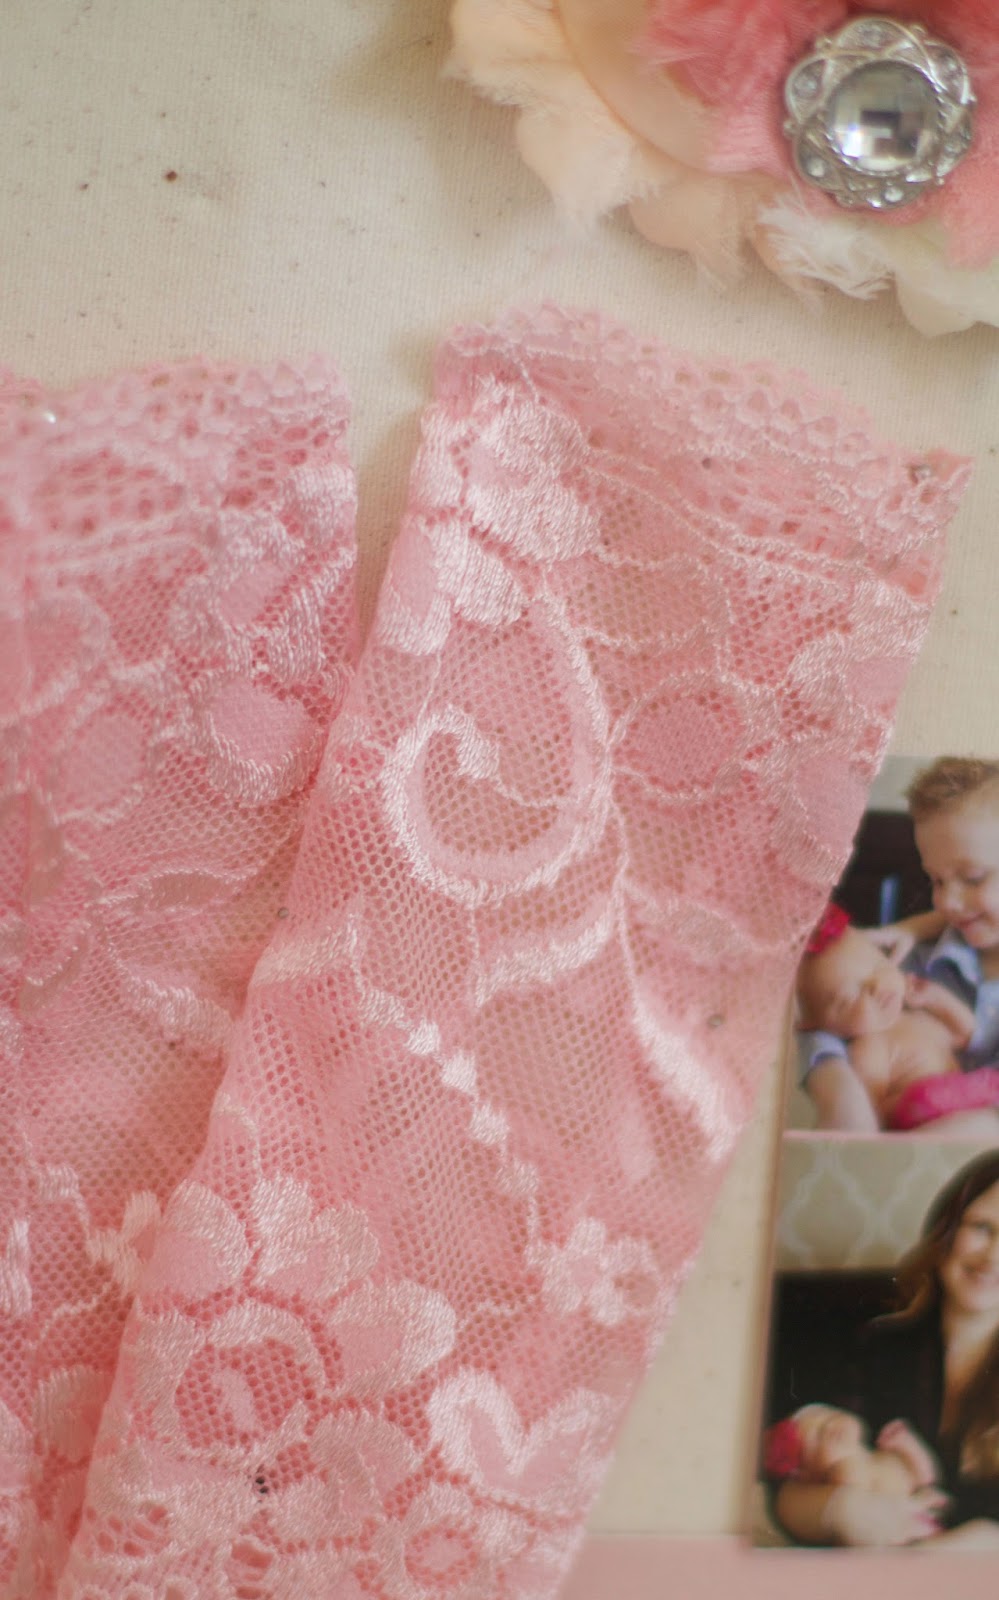
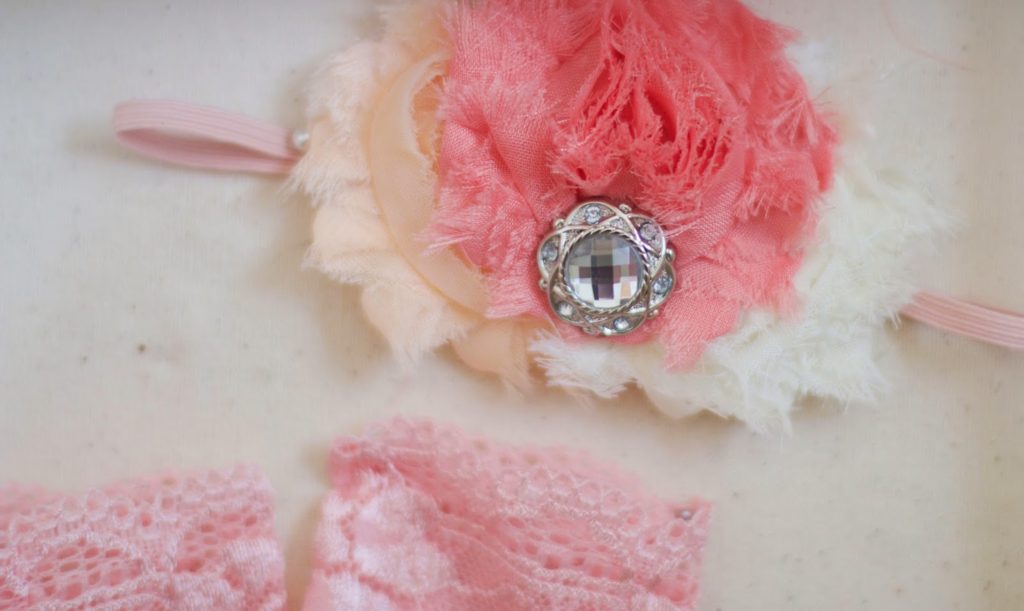
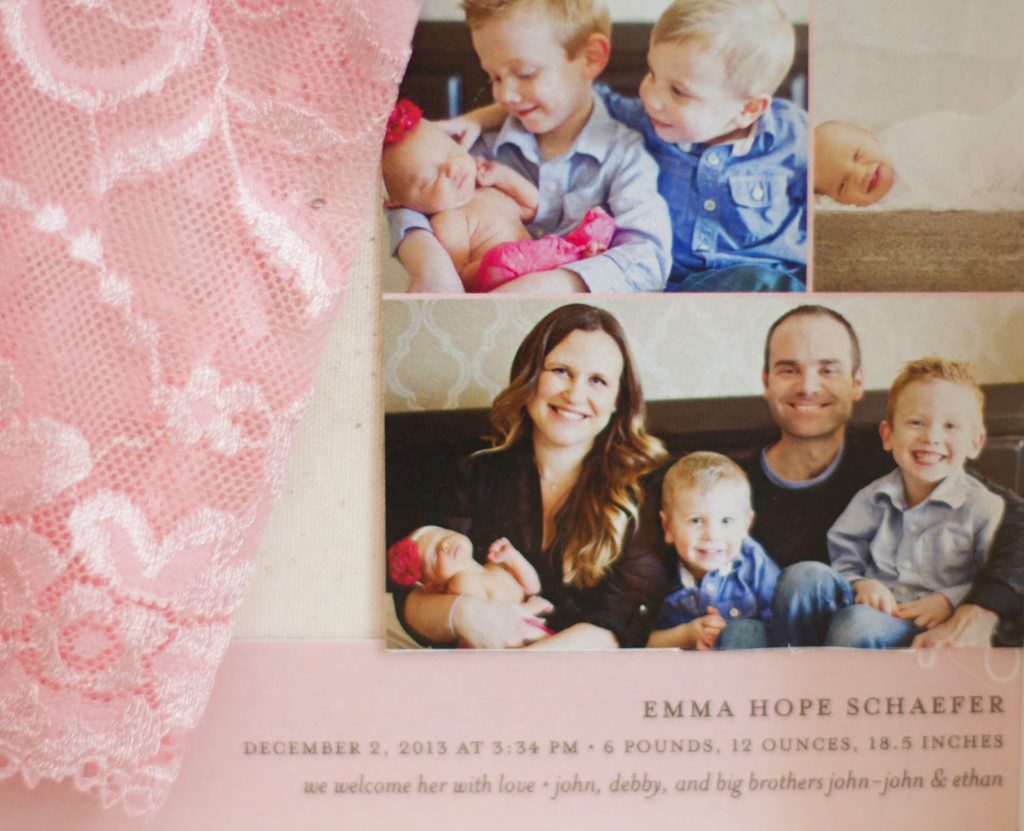
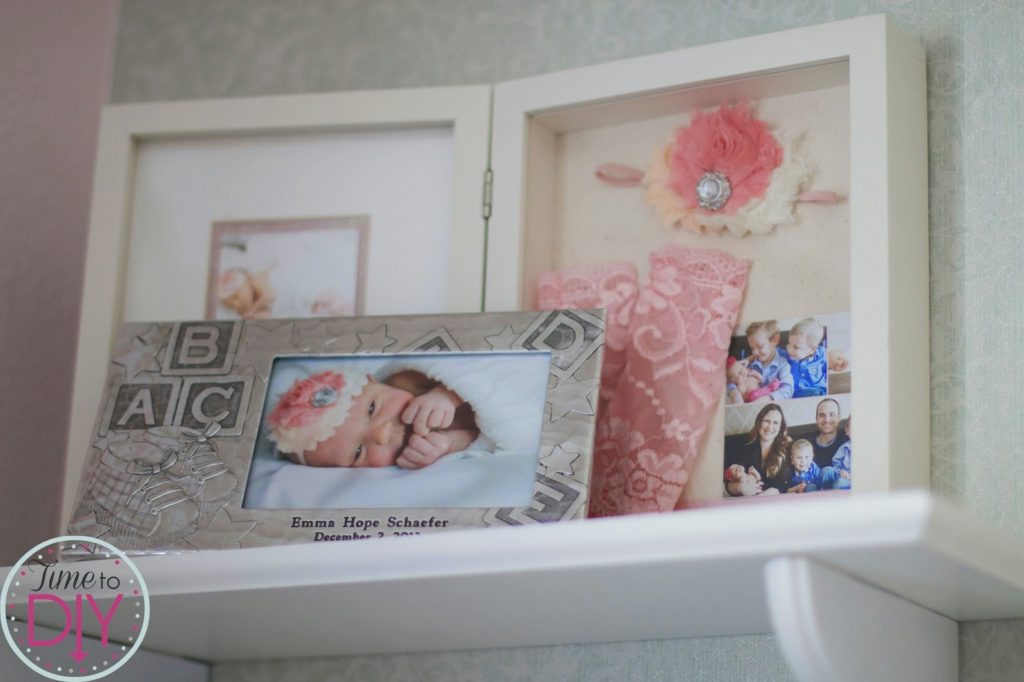
I originally thought I was going to use a newborn photo and her lace leggings and headband, but it seemed sparse, so I added her baby announcement. Because otherwise where will it end up? In a box or baby book. Well, I still have one in her baby book, but you get the point.
I had some scrapbook paper that I borrowed from another shadow box project. I had to cut up the announcement a bit to fit, but that’s okay. I used sewing push pins to place everything.
This pic would look better with a white border around it, but I already had to crop part of the photo so that wasn’t going to be easy. I may tackle trying that another time.
For now, I layered with a pewter frame from my aunt and uncle.
More Nursery DIY
- Flower Art (in collage)
- Collage Wall
- Clip Frames
- Organization
- Felt Flower Wreath
- Dolled-up Lampshade
- Two Barrette Holders
- Shoe Ledge/Headband Holder
- Oatmeal Container Headband Holder
- Stenciled Side Table
- Tulle Flower Canvas
- Baby Girl Nursery, Phase 2: The basics
- Baby Girl Nursery, Phase 1: Paint, wallpaper, beadboard
Thanks for stopping by Time to DIY! You can “like” my FB page or follow me on Twitter.





Leave a Reply